Use case: Configure a programmatic call out to a third-party service
Author: |
Lucy Billington |
Created at: |
Mar 2023 |
Updated at: |
Apr 2023 |
Use case overview
Calling out to a third-party service and taking actions based on the results returned is a common use case that is easily achieved in ForgeRock Identity Cloud.
This simple use case demonstrates how to create a journey that makes a call to a third party to deliver some data about the user and their context and receive a response. This might be in the format of a JSON payload or some other response that allows the journey to take the necessary steps according to the results of that external payload.
Steps to achieve this use case
In our example, we’ll use RunKit to create a very simple REST API that can be called from anywhere. We’ll then create a journey that will make a call to this REST API. The journey includes a debug node that allows the end user to view the response from the API.
Example REST API endpoint
Our example uses the following REST API, created in RunKit:
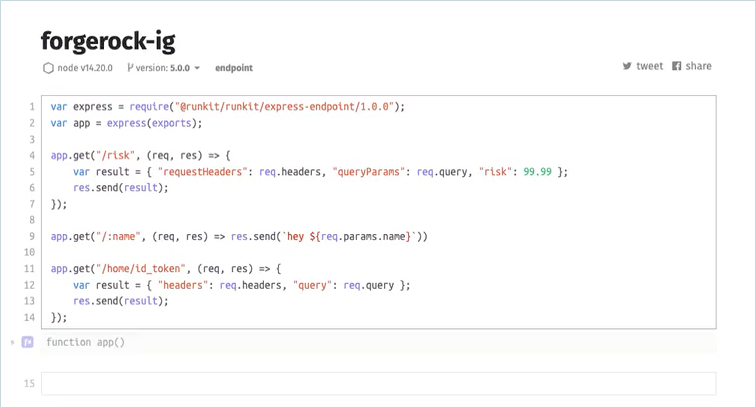
Notice that a method has been created called /risk. If you make a call
to this endpoint, the response reflects back the request headers, the
query parameters, and a risk score with a hardcoded value of 99.99.
Create the user journey
Our example journey prompts the user for their username and makes a call to the third party API through a simple script. The end user can choose to display the API response via a scripted debug node.
The journey includes the following two scripts:
-
Call External API
-
FRDebug
Call external API script
Create the Call external API script, similar to this:
var userName = nodeState.get("username").asString()
var loginDoRequest = new org.forgerock.http.protocol.Request();

loginDoRequest.setMethod("GET");
loginDoRequest.setUri("https://forgerock-ig-e9ks8vbwdrab.runkit.sh/risk?username=" + userName);

var response = httpClient.send(loginDoRequest).get();

//Depending on the response, can take different actions - for now returning sent as default
//here is an example of using a response
sharedState.put("API RESPONSE", response.getEntity().getString());
outcome = "true";
Notice that the API request passes the username as a request parameter on the API call:
loginDoRequest.setUri("https://forgerock-ig-e9ks8vbwdrab.runkit.sh/risk?username=" + userName);
FRDebug script
The journey uses a debug scripted node to show the API response from the
third party in the journey’s shared state. In our example, the debug
script is called FRDebug:
/* debug
 *
 * Display shared state, transient state, and request headers.
 *
 * This script does not need to be parametrized. It will work properly as is.
 *
 * The Scripted Decision Node needs the following outcomes defined:
 * - true
 *
 * Author: volker.scheuber@forgerock.com
 */
(function () {
  try {
    outcome = 'true';
    var anchor = 'anchor-' + new Date().getTime();
    var message = '<p><b>Shared State</b>:<br/>' + sharedState.toString() + '</p>' +
                  '<p><b>Transient State</b>:<br/>' + transientState.toString() + '</p>' +
                  '<p><b>Request Headers</b>:<br/>' + requestHeaders.toString() + '</p>';
    var script =  "Array.prototype.slice.call(\n" +
                  "document.getElementsByClassName('callback-component')).forEach(\n" +
                  "function (e) {\n" +
                  "  var message = e.firstElementChild;\n" +
                  "  if (message.firstChild && message.firstChild.nodeName == '#text' && message.firstChild.nodeValue.trim() == '" + anchor + "') {\n" +
                  "    message.className = \"text-left\";\n" +
                  "    message.align = \"left\";\n" +
                  "    message.innerHTML = '" + message + "';\n" +
                  "  }\n" +
                  "})";
    var fr = JavaImporter(
      org.forgerock.openam.auth.node.api.Action,
      javax.security.auth.callback.TextOutputCallback,
      com.sun.identity.authentication.callbacks.ScriptTextOutputCallback
    )
    if (callbacks.isEmpty()) {
      action = fr.Action.send(
        new fr.TextOutputCallback(
          fr.TextOutputCallback.INFORMATION,
          anchor
        ),
        new fr.ScriptTextOutputCallback(script)
      ).build()
    }
    else {
      action = fr.Action.goTo(outcome).build();
    }
  } catch (error) {
    nodeState.putShared('error', error.message);
    logger.error('debug script error: {}', error.message);
  }
}());
Create the journey
-
Sign in to the Identity Cloud admin UI using your admin tenant URL, in the format
https://<tenant-name>/am/XUI/?realm=/#/. -
Go to Journeys > New Journey.
-
Enter a unique name for the journey, select which identities will authenticate using this journey, (optionally) enter a journey description, and click Save.
-
Create a journey similar to this:
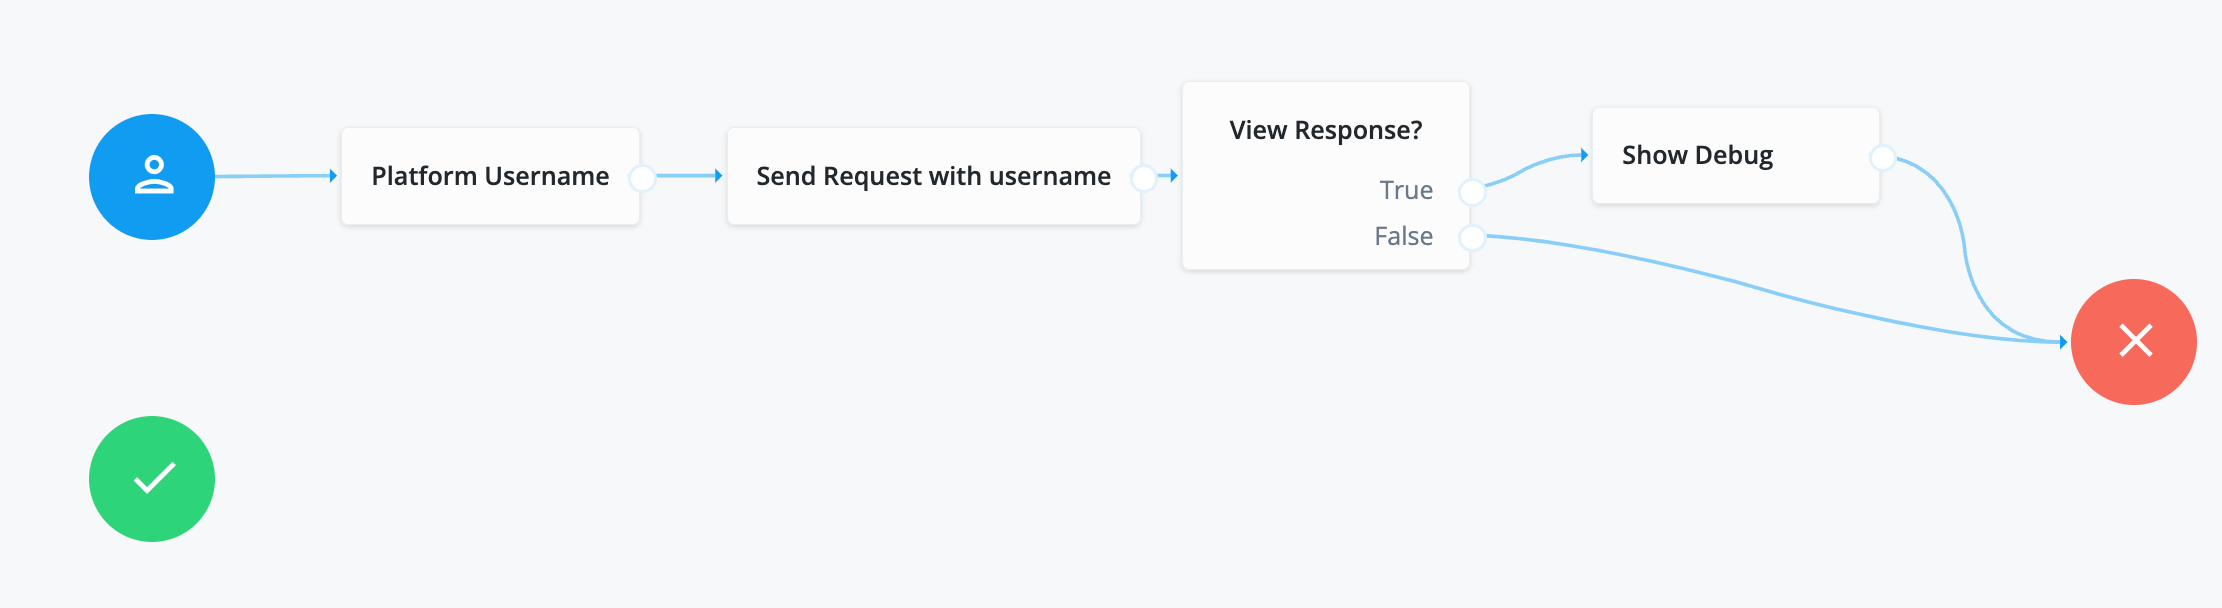
Node descriptions: * Platform Username - Prompts the user to enter their username. See Platform Username node for further information. * Send Request with username - This Scripted Decision node makes a call to the third party. See Step 5 for information on configuring this node. * View Response? - This Message node asks the user if they want to view the response. See Step 6 for information on configuring this node. * Show Debug - This Scripted Decision node is a debug node that shows the response back from the API, if requested. See Step 7 for information on configuring this node.
-
Click the Send Request with username node (Scripted Decision node), select the
Call External APIscript you created previously, and set the outcomes totrue.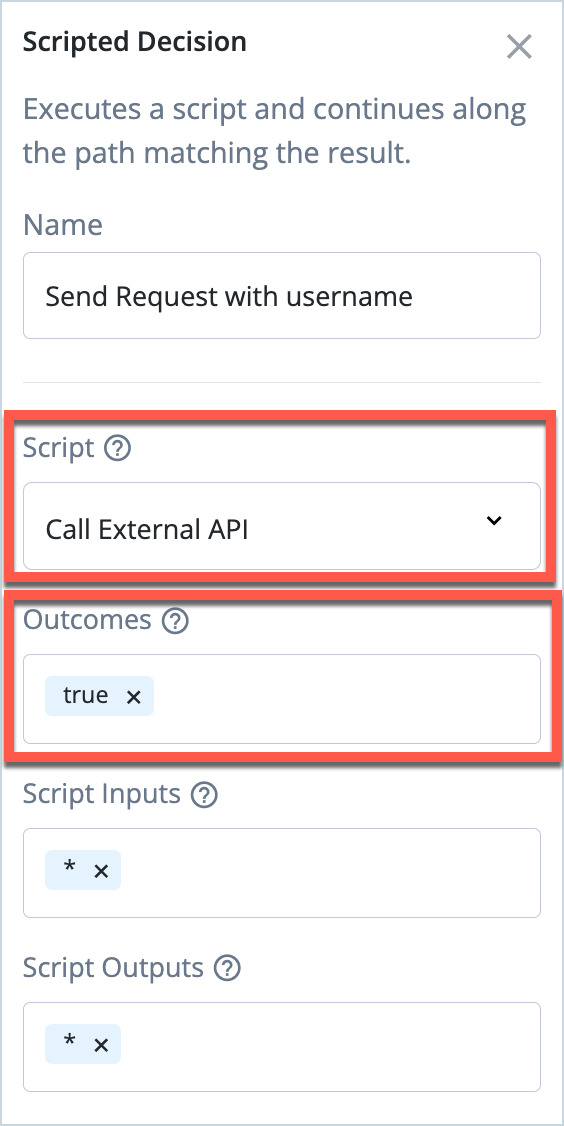
-
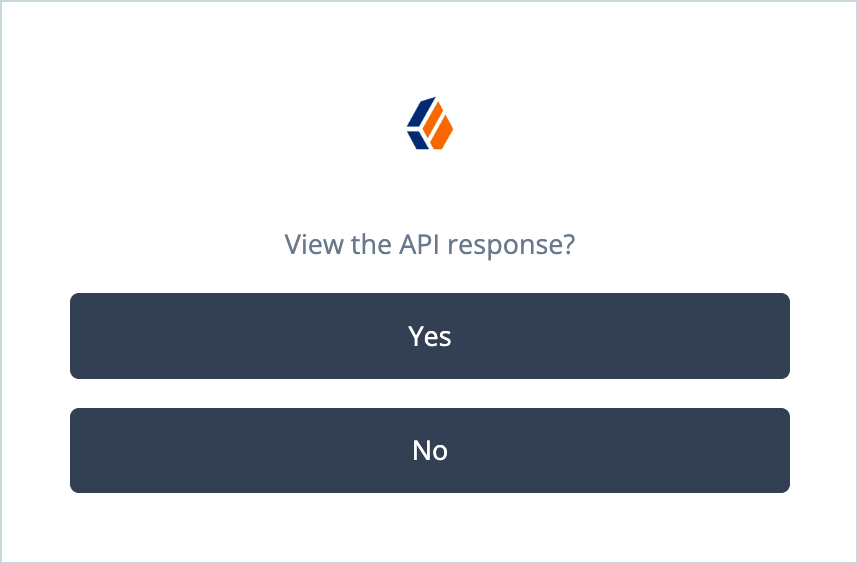
Click the View Response? node (Message node) and enter the message you want to display to users, for example, “View the API response?”.

-
Click the Show Debug node (Scripted Decision node), select the debug script you created previously, and set the outcomes to
true.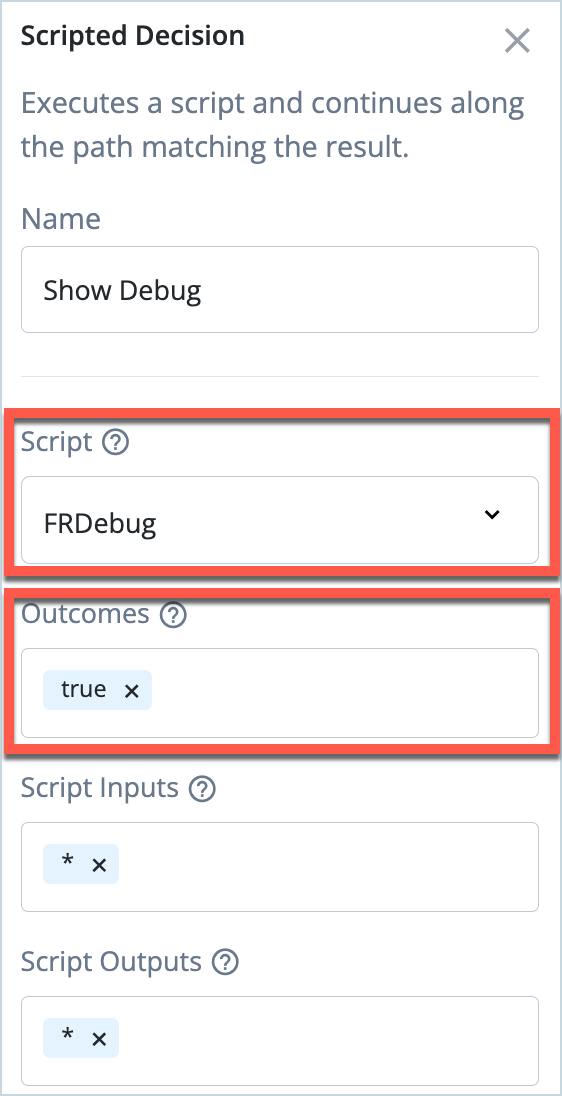
-
Click Save to save the journey.
Test the end user journey
-
In the Identity Cloud admin UI, go to Journeys.
-
Click the journey you created previously and copy the Preview URL.
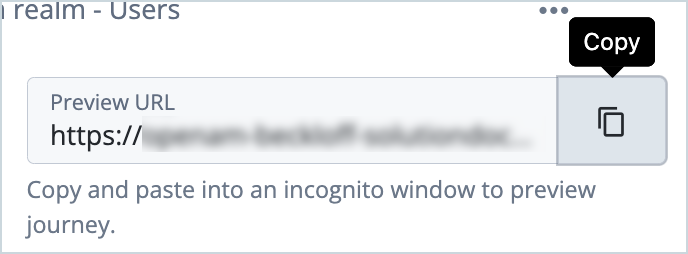
-
Paste the preview URL into a browser using Incognito or Browsing mode.
-
Enter the username of your test user and click Next.
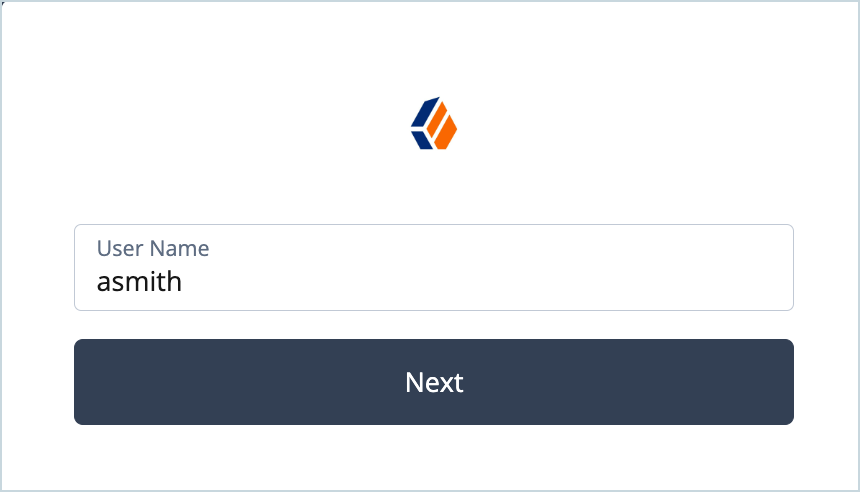
The API call is made behind the scenes.
-
Click Yes to view the API response.
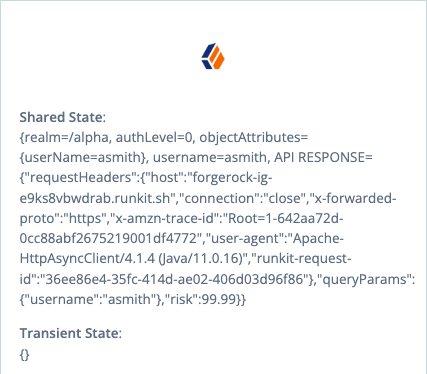
The debug node shows the API response from the call to the third party in the journey’s shared state. Notice that the username, risk score and request headers are included in the response.