Use case: Configure progressive profiling in ForgeRock Identity Cloud
Author: |
Lucy Billington |
Created at: |
Nov 2022 |
Updated at: |
Dec 2022 |
Use case overview
Progressive profiling allows you to defer requesting additional details from the end user to a time when it is needed. For example, the user may be required to provide their marketing preferences after a specified number of logins or provide complete address information after a certain length of time, in order to proceed with login. Typically, progressive profiling happens during authentication to determine whether a user’s profile is sufficiently complete to meet a business requirement.
Progressive profiling is a very common use case that is easily implemented in ForgeRock Identity Cloud using Journeys.
Sample Progressive Profile journey
Identity Cloud includes a pre-built sample Progressive Profile journey, which you can adapt or use as a basis for your own journey(s) to meet your business needs.

The sample Progressive Profile journey checks the number of logins and prompts the end user to add their marketing preferences and their update preferences if they haven’t already. It includes the following nodes:
-
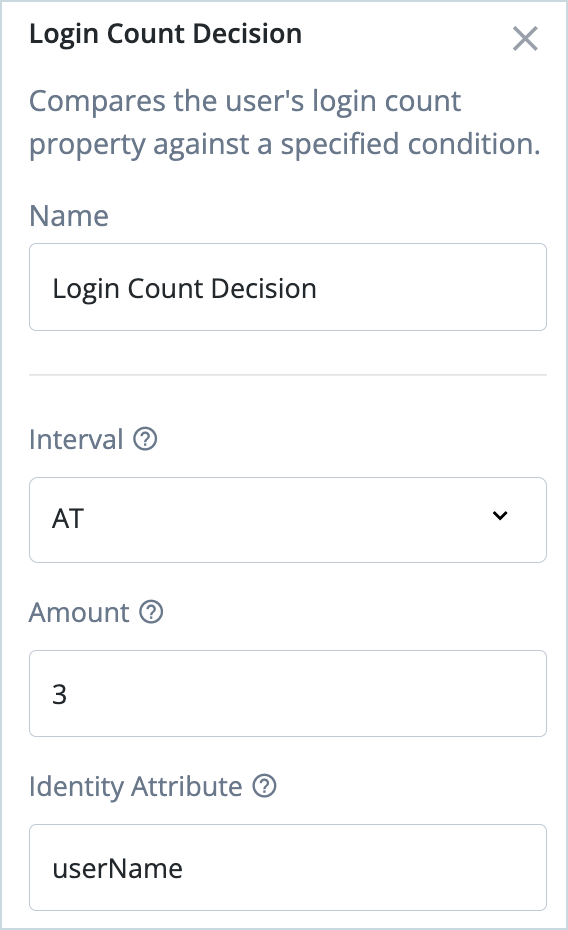
Login Count Decision - this node is configured to initiate progressive profiling AT the third login attempt. Alternatively, you can use the EVERY interval to trigger progressive profiling repeatedly after the set number of logins.
-
Query Filter Decision - this node is configured with a query filter to check that the end user has added their marketing preferences and their update preferences:
!(/preferences pr) or /preferences/marketing eq false or /preferences/updates eq false
If the marketing preferences or the update preferences have yet to be defined the node returns “false” and the user will be asked to complete this information.
NOTE: All fields of requested information are part of the default data model for Identity Cloud alpha_user identities. See User identity attributes and properties reference for further information.
-
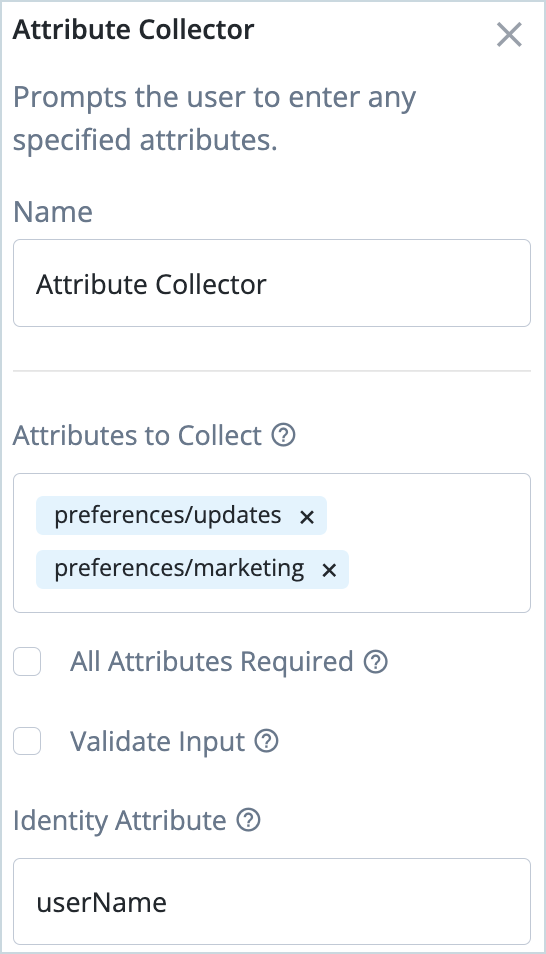
Attribute Collector - this node prompts the end user to complete their marketing preferences or their update preferences if they have not already done so.
-
Patch Object - once the missing attributes are completed the Patch Object node updates the end user profile.
Steps to achieve a use case for Progressive Profile address completion
For this use case, we’ll use the pre-built sample Progressive Profile journey to create a journey that checks if the end user’s postal address, city, postal code and country exist in their profile and prompts the user to add these details if they are missing.
NOTE: All fields of requested information are part of the default data model for Identity Cloud alpha_user identities. See User identity attributes and properties reference for further information.
Configure the use case
-
Sign in to the Identity Cloud admin UI using your admin tenant URL, in the format
https://<tenant-name>/am/XUI/?realm=/#/. -
Go to Journeys.
-
Click on the sample Progressive Profile journey, and then click the … menu and select Duplicate.
-
Enter a unique name for your journey, select which identities will authenticate using this journey, (optionally) enter a journey description, and click Save.

-
Click the Login Count Decision node and verify that this node is configured to initiate progressive profiling at the required number of login attempts (3 in this case).
-
Click the Query Filter Decision node, and enter the following in the Query Filter:
!(/postalAddress pr) or !(/city pr) or !(/postalCode pr) or !(/country pr)This query filter checks whether the end user’s postal address, city, postal code and country already exist in their profile.
-
Click the Page Node and edit the Page Header text that will be displayed to the end user when they are prompted to add their address details, for example:
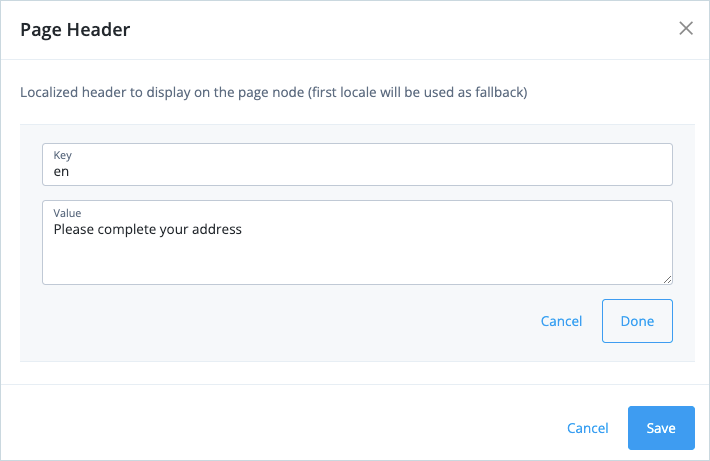
-
Click Done, and then click Save.
-
Click the Attribute Collector node and replace the Attributes to Collect with the following values:
postalAddress,city,postalCode,country. -
Click Save.
-
Go to Journeys and click on the Login journey that you would like to include the progressive profiling.
-
Add your progressive profile journey to the Inner Tree Evaluator node, similar to this example:
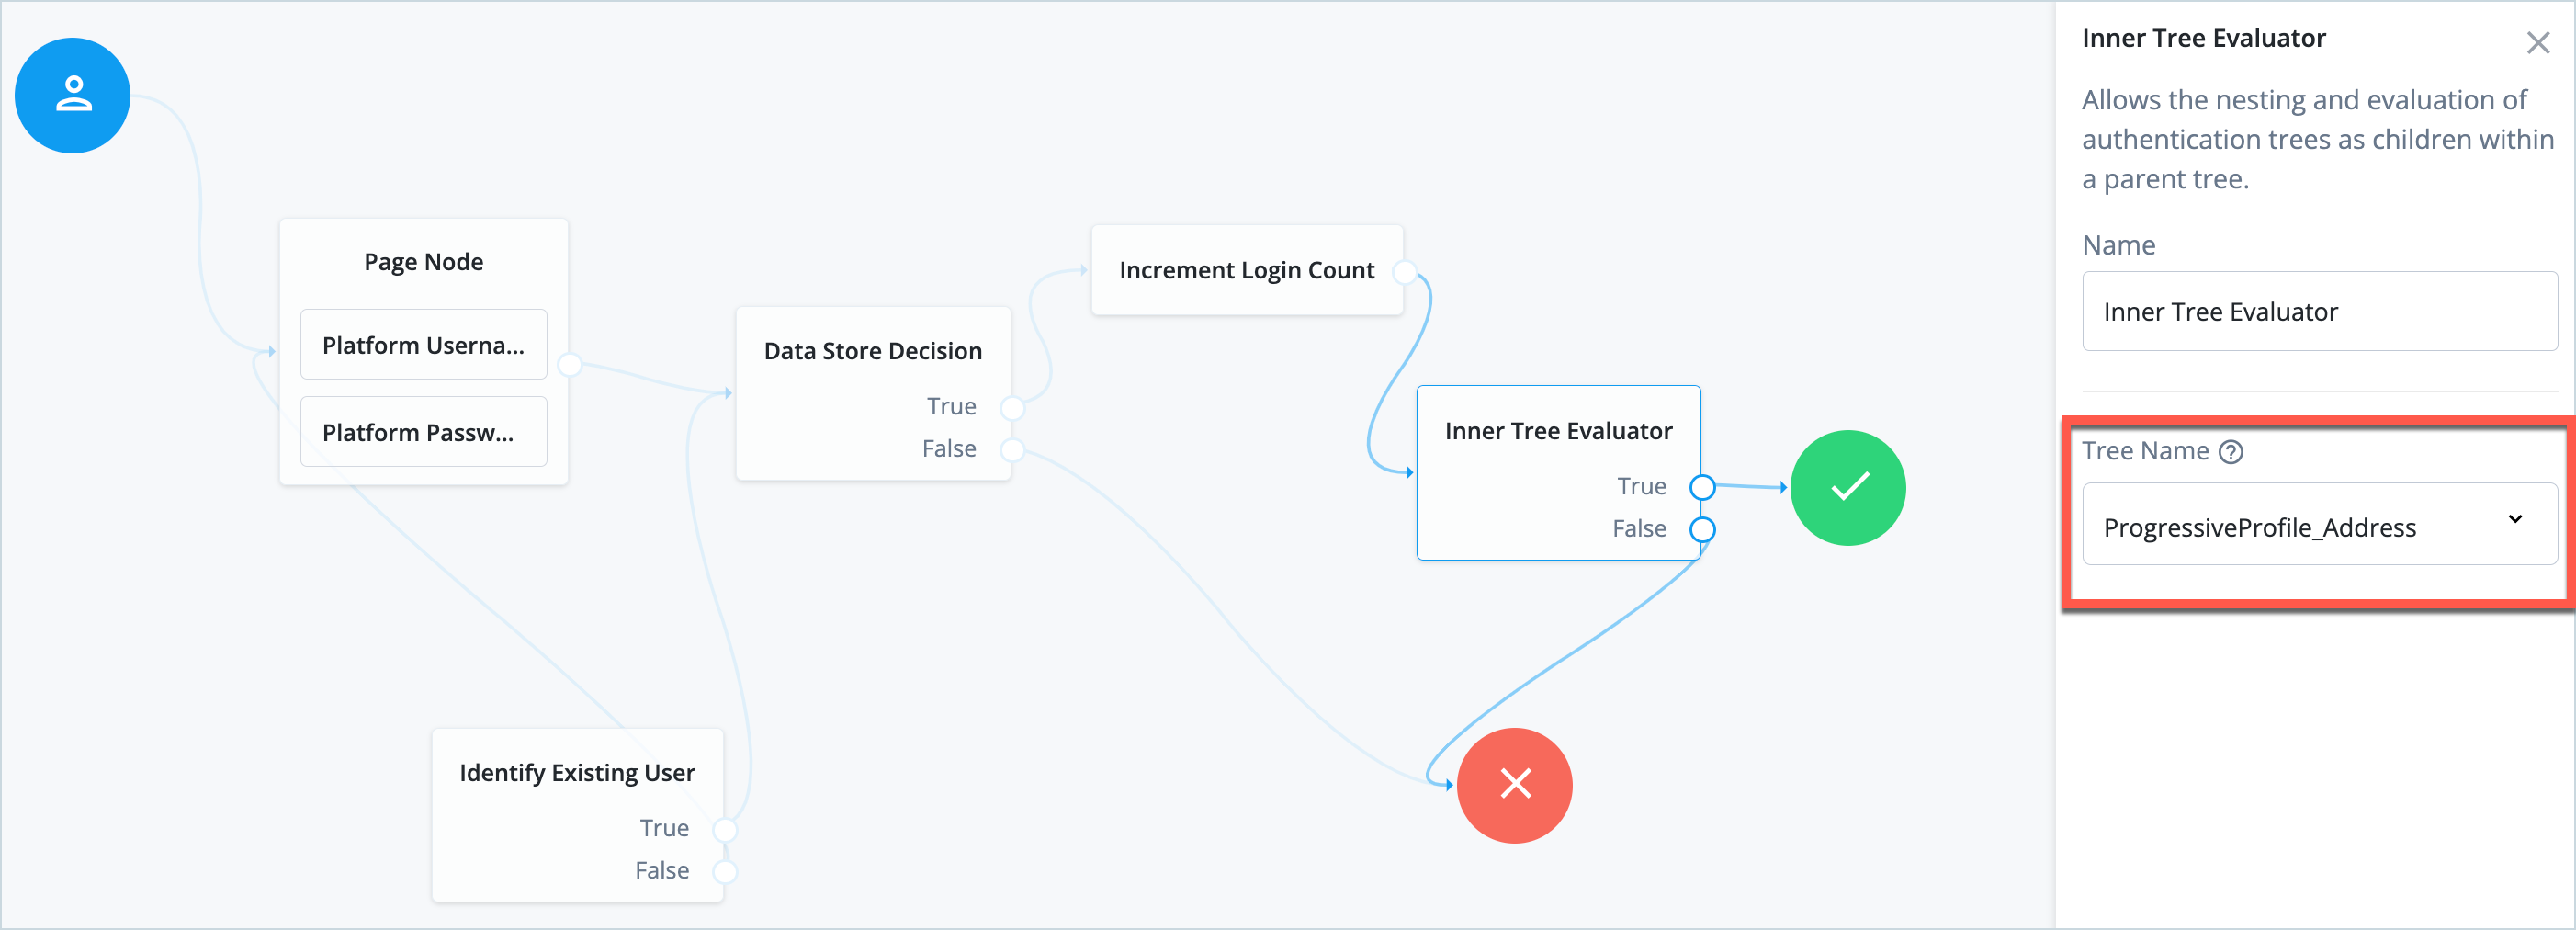
-
Click Save.
End users will now be prompted to provide missing address details on their third login.
Testing the use case
To test the use case, ensure that your test end user does not already have address details on their profile.
-
In the Identity Cloud admin UI, go to Journeys.
-
Click the Login journey that contains the progressive profile step and copy the Preview URL.
-
Paste the preview URL into a browser using Incognito or Browsing mode.
-
Enter the username and password of your test end user and click Next.
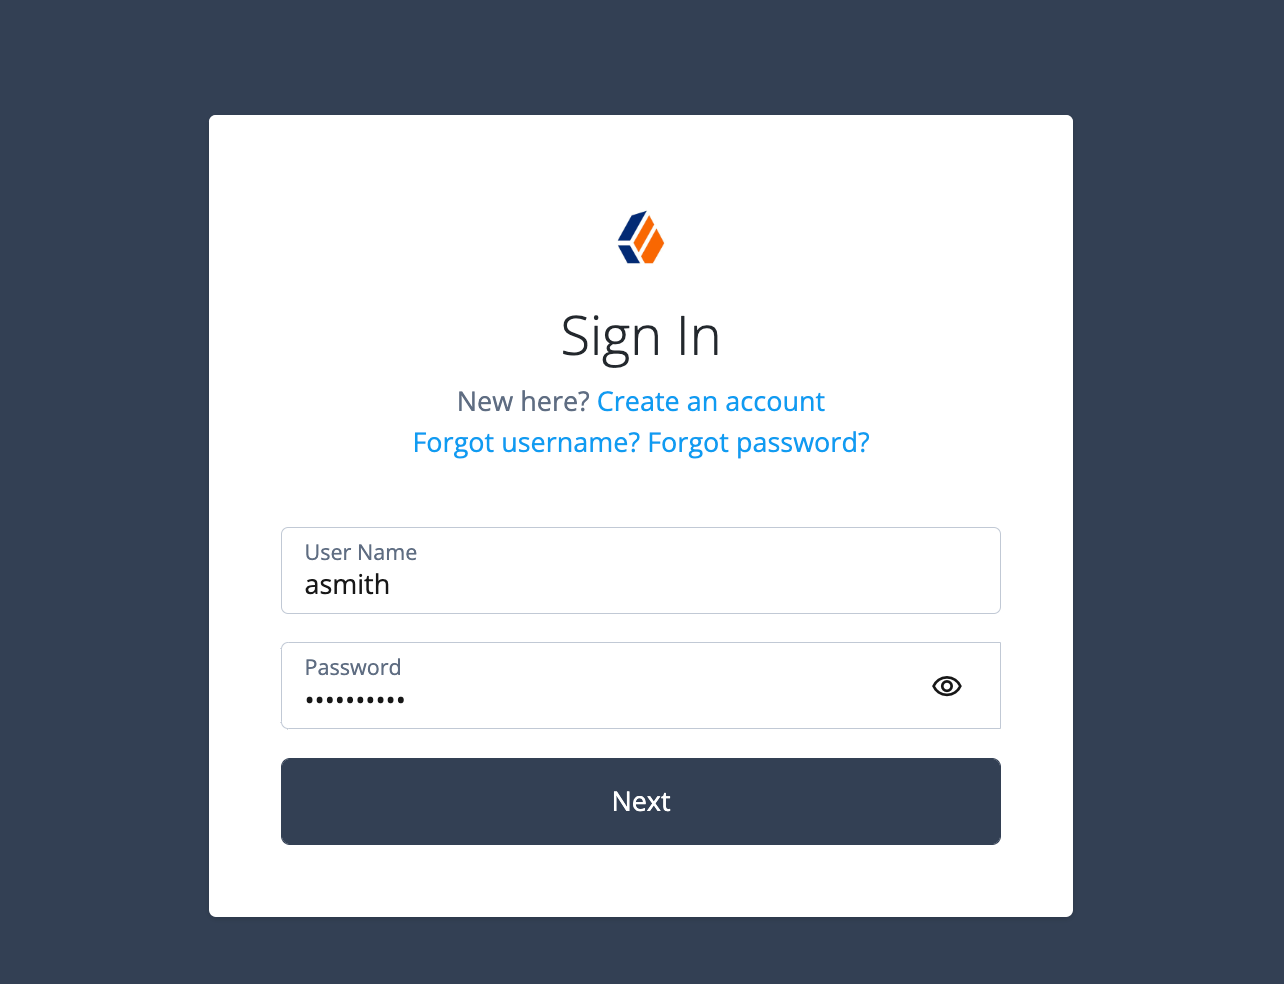
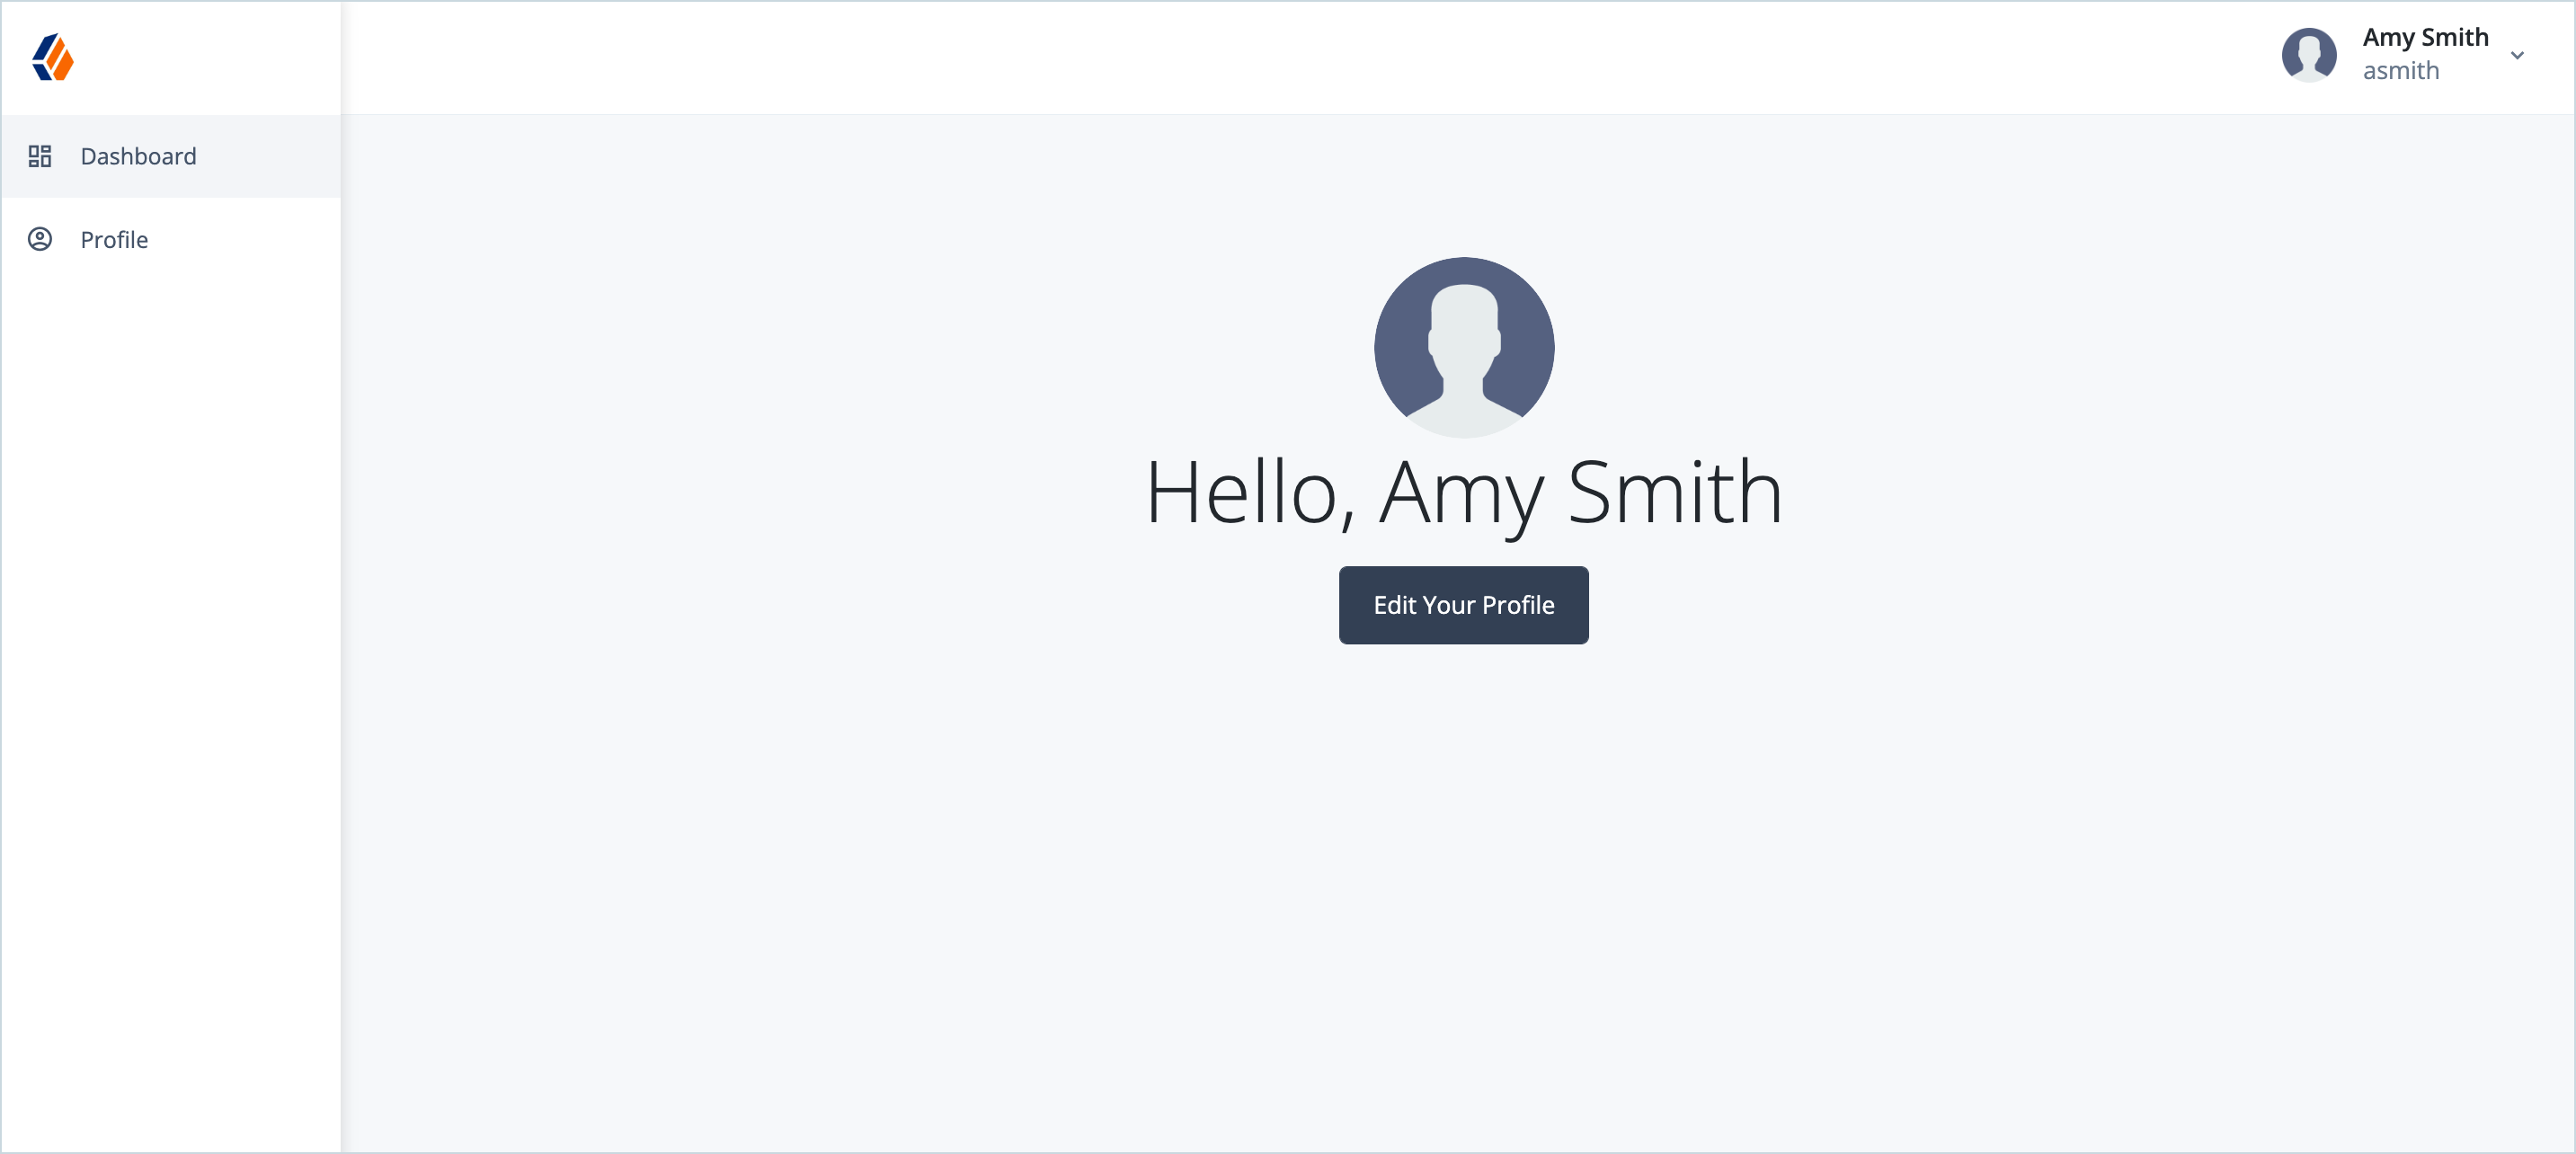
You are signed in to Identity Cloud as the test user.
-
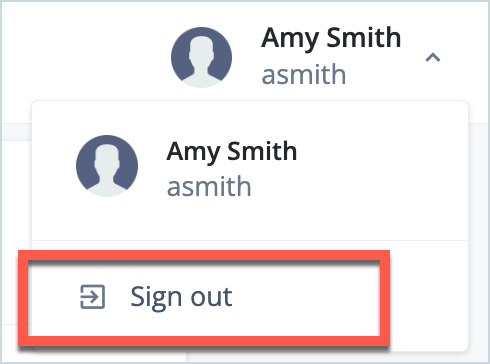
Sign out of Identity Cloud.
-
Repeat steps 4 and 5 to sign in and sign out again (as the same user).
-
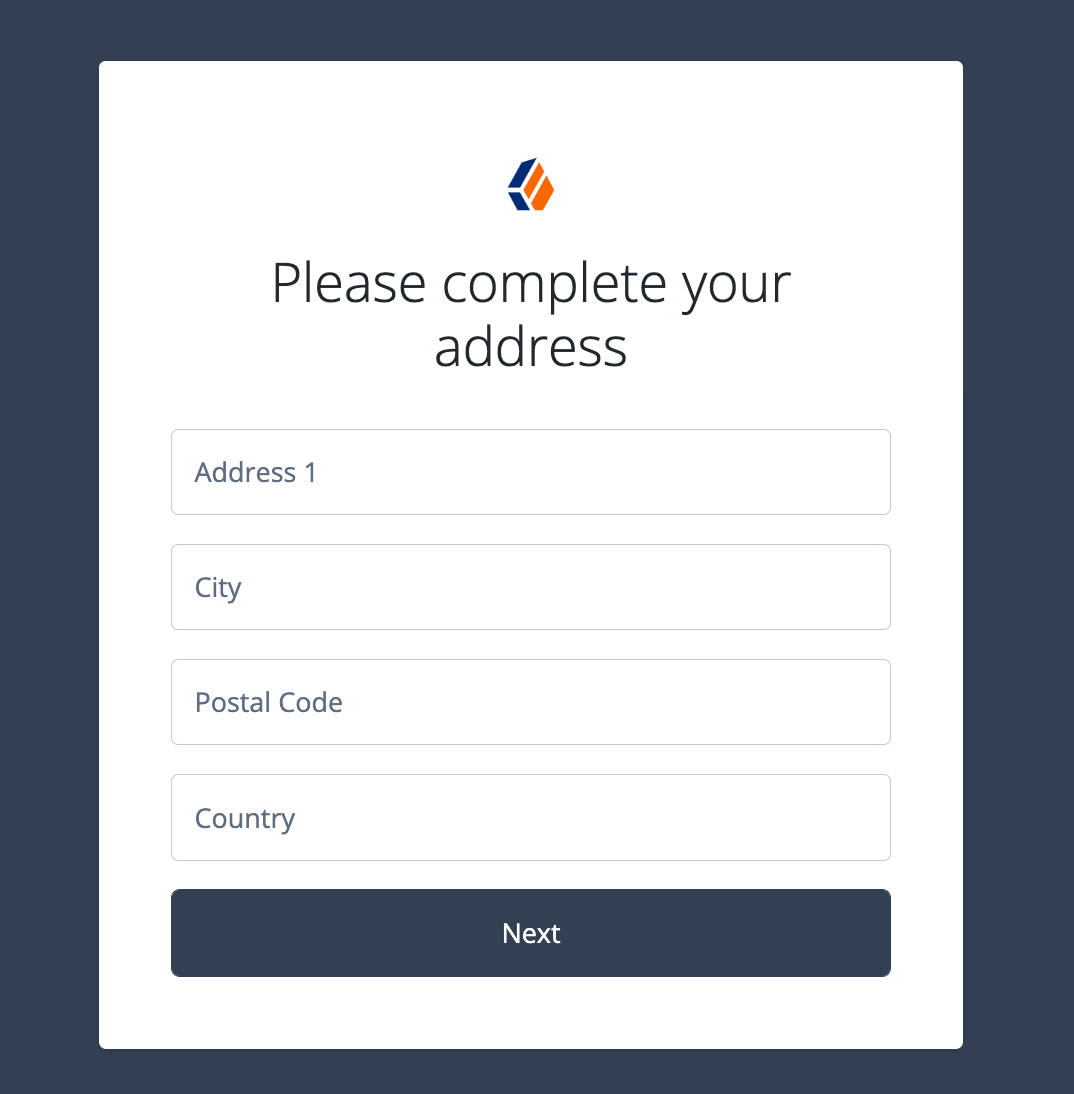
Repeat step 4 to sign into Identity Cloud for the third time (as the same user).
You should be presented with an address completion box, similar to this:
-
Complete the address details for the test end user and click Next.
You are signed in to Identity Cloud as the test end user and the address details you entered are stored with the end user’s profile.