Building an OAuth 2.0 Client with the openid-client and
Author: |
Konstantin Lapine |
Created at: |
Jan 2020 |
Updated at: |
Oct 2022 |
Summary
**
==
Easy and secure implementation of the authorization code grant in a Node.js application with resource-specific access tokens support.
OAuth 2.0 and OpenID Connect (OIDC) will be the context for this document and for the GitHub project it describes.
**
Introduction
This example of an OAuth 2.0 client extended to OIDC relying party relies on openid-client, a certified OIDC library. The library provides a comprehensive set of methods that a Node.js application can use for performing OAuth 2.0 authorization and OIDC authentication flows.
To aid with the authorization process and consumption of the resources protected by OAuth 2.0, another library is used in the code—https://www.npmjs.com/package/openid-client-helper[openid-client-helper]. The openid-client-helper package is built on top of openid-client and its public interface allows for easy implementation of common steps involved in OAuth 2.0 authorization by a resource owner. After the authorization, the helper library transparently applies automatically obtained and refreshed access tokens in requests made to protected APIs.
In addition, openid-client-helper accepts as a parameter a set of resources—that is, a collection of API references identified by their URIs. For each resource, an openid-client-helper instance requests and renews, as necessary, specific to the resource access token. Maintaining access tokens for different resources separately will enable the OAuth 2.0 client to comply with the Audience Restricted Access Tokens recommendation from the OAuth 2.0 Security Best Current Practice (BCP) draft for deployments with multiple resource servers. A resource-specific access token can be requested with a resource parameter or a unique to the resource scope. Associating an access token with the intended audience and restricting the use of an access token to a specific scope is also suggested in the Threat Mitigation section of the OAuth 2.0 Bearer Token Usage standard (RFC 6750), and in the OIDC core specifications. And, as the OAuth 2.0 Security BCP states:
“It allows the authorization server to create different access token whose format and content is specifically minted for the respective server. This has huge functional and privacy advantages in deployments using structured access tokens.”
**
==
Sample Application
Basics
This implementation is based on a newly created instance of openid-client-helper, which acts as a relying party and:
-
Performs the authorization code flow.
-
Makes token requests for individual resources registered with the instance.
-
Maintains the resulting authorization data (or “authorization state”).
-
Includes freshly minted access tokens in requests made to the protected resources.
An additional openid-client-helper instance will be appointed to demonstrate how the authorization state can be shared and reused.
Multiple helper instances could also be used for authorizing against different combinations of an authorization server and a client or/and for authentication to different OpenID providers.
Besides the remarks made here, follow the comments in the sample code and consult the openid-client-helper documentation and its API Reference. These sources also have links to openid-client docs.
**
Prerequisites
Authorization and Resource Servers
The openid-client-helper package will work with any provider that supports OAuth 2.0 and OIDC standards.
In this example, the authorization grant is performed against ForgeRock Access Management (AM), which acts as an authorization server extended to OpenID provider.
AM also acts as a resource server by exposing the UserInfo Endpoint as a resource protected with OAuth 2.0 means. A separate, differently “scoped” protected resource is provided by ForgeRock Identity Management (IDM).
You can make use of your own authorization and resource servers and replace the URIs you find in the sample code with ones that will work in your environment. To continue with the ForgeRock server components, install and run the ForgeRock Cloud Platform. Further instructions will assume that the ForgeRock platform software is running in the “default” namespace and is used for OAuth 2.0 authorization and OIDC authentication flows.
Setup
You will need to register the sample application as an OAuth 2.0 client with the authorization server—AM, in this case. You have following options for doing so:
Option 1. Making an API Request with cURL.
curl -k 'https://default.iam.example.com/am/json/realms/root/realm-config/agents/OAuth2Client/node-openid-client' \
-X PUT \
--data '{
    "userpassword": "password",
    "clientType": "Confidential",
    "redirectionUris": ["http://localhost:3000/forgerock/redirect"],
    "scopes": ["openid", "profile", "fr:idm:profile"],
    "accessTokenLifetime": 4,
    "responseTypes": ["code"],
    "grantTypes": ["authorization_code", "refresh_token"],
    "tokenEndpointAuthMethod": "client_secret_basic",
    "isConsentImplied": false,
    "postLogoutRedirectUri": ["http://localhost:3000"]
}' \
-H 'Content-Type: application/json' \
-H 'Accept: application/json' \
-H 'Cookie: iPlanetDirectoryPro='$( \
  curl -k 'https://default.iam.example.com/am/json/realms/root/authenticate' \
  -X POST \
  -H 'X-OpenAM-Username:amadmin' \
  -H 'X-OpenAM-Password:password' \
  | sed -e 's/^.*"tokenId":"\([^"]*\)".*$/\1/'
)
The newly created client information will be displayed in the results:
{"_id":"node-openid-client", . . . }-
Option 2. Making Changes in the ForgeRock Platform UI.
-
Navigate to AM Console
-
Sign in with `amadmin/password`
-
Navigate to: Top Level Realm > Applications > OAuth 2.0
-
Add a new client:
-
“Client ID”: “node-openid-client”
-
“Client secret”: “password”
-
“Redirection URIs”: [“http://localhost:3000/forgerock/redirect”]
-
“Scope(s)”: [“openid”, “profile”, “fr:idm:profile”, “fr:idm:consent_read”, “fr:idm:notifications”]
-
-
Update the new client
-
Core > “Client type”: “Confidential”
-
Core > “Access Token Lifetime (seconds)”: 4
-
Advanced > “Response Types”: [“code”]
-
Advanced > “Grant Types”: [“Authorization Code”, “Refresh Token”]
-
Advanced > “Token Endpoint Authentication Method”: “client_secret_basic”
-
Advanced > “Implied consent”: “disabled”
-
OpenID Connect > “Post Logout Redirect URIs”: [“http://localhost:3000”]
-
Save Changes
-
-
Note the refresh token grant is explicitly added to the client registration. This is because openid-client-helper relies on presence of a refresh token, which it will use for the back-channel token requests.
Other providers may have their own ways of enabling refresh tokens; for example, Google expects that the
access_typeauthorization parameter is populated with theofflinevalue.
In addition, the access token life span is intentionally set to a very small value, so that the token renewal in the running example is evident.
**
Installation
Clone or download the
examples repository
and navigate to the node-openid-client subdirectory. Then run:
npm installStarting the Application
In the node-openid-client subdirectory of the cloned or downloaded
examples repository, run:
node ./bin/wwwCode Structure
The application code was started with the Express application generator. All modifications to the generated template are marked in the code with a pair of comments that can be searched for:
/* example-start */

...the-application-specific-code

/* example-end */
In the next sections, we will go over the key changes made in the code in order to build an OIDC relying party that will use the openid-client-helper library to accomplish the following:
-
Authorize the application and authenticate the user with AM acting as an OpenID provider
-
Automatically include resource-specific access tokens in requests to protected APIs
-
Access ID token claims about the resource owner
For demonstrational purposes, the tokens received during authorization will also be introspected, and the introspection results will be displayed in the browser.
Application Dependencies
This sample uses Express.js as the application framework. It employs the express-session package for providing a user context to the authorization state created by openid-client-helper.
The sample uses connect-flash to display information stored in the authorization state during the redirects.
Both of these dependencies will be installed and used application-wide. At the beginning of app.js, you will find:
/* example-start */
var session = require('express-session')
var flash = require('connect-flash')
/* example-end */

// . . .

/* example-start */
app.use(session({
  secret: 'sad-secret',
  resave: false,
  saveUninitialized: true,
  cookie: {
    maxAge: 3600000
  }
}))
app.use(flash())
/* example-end */
Routes
These sample application-specific routes are defined in forgerock/routes.js.
In the route handlers, an instance of openid-client-helper provides middleware and public methods to carry out the authorization flow, make requests to protected APIs, and procure information about the current authorization state. Therefore, in addition to Express.js, this router module requires the openid-client-helper package:
const OpenIdClientHelper = require('openid-client-helper')The routes themselves are registered and put in use in app.js:
/* example-start */
var forgerockRouter = require('./forgerock/routes')
/* example-end */

// . . .

/* example-start */
app.use('/forgerock', forgerockRouter)
/* example-end */
Configuration
The openid-client-helper instance is created with AM endpoints and the client registration parameters described earlier in this document. If you deviated from that setup, you may need to change the instance parameters in the application code. By default, you’ll find the following configuration:
const openIdClientHelperParams = {
  issuerMetadata: {
    issuer: 'https://default.iam.example.com/am/oauth2',
    revocation_endpoint: 'https://default.iam.example.com/am/oauth2/token/revoke'
  }, // 1.
  clientMetadata: {
    client_id: 'node-openid-client',
    client_secret: 'password',
    redirect_uri: 'http://localhost:3000/forgerock/redirect',
    post_logout_redirect_uri: 'http://localhost:3000'
  }, // 2.
  resources: {
    'https://default.iam.example.com/am/': {
      scope: 'profile'
    },
    'https://default.iam.example.com/openidm/': {
      scope: 'fr:idm:profile'
    }
  }, // 3.
  customize: ({
    custom,
    Issuer,
    issuer,
    client
  }) => {
    if (Issuer) {
    }
    if (issuer) {
    }
    if (client) {
      client[custom.clock_tolerance] = 1
    }
  } // 4.
}-
AM supports OIDC Discovery. The
issuerMetadata.issuerproperty in this case will specify location at which/.well-known/openid-configurationcan be found. You can learn more about OIDC support in AM from the Configuring AM for OpenID Connect 1.0 guide.Note that therevocation_endpointproperty is not currently exposed by AM in its openid-configuration document and needs to be added to the issuer metadata manually. -
The client metadata reflects the OAuth 2.0 client registration. Please consult AM’s OAuth 2.0 Guide for details on setting up OAuth 2.0 environment and registering OAuth 2.0 client applications in AM.
-
Each configured resource is represented by an object with a single OAuth 2.0
scopeproperty defined up front. The set of resources becomes a part of the authorization state, and each resource object is further populated with a respective TokenSet. -
Passing in a function as the
customizeparameter gives you an opportunity to overwrite some openid-client defaults as described in its Customizing docs. In this case, allowing for a certain clock skew between the relying party and the OpenID provider environments helps to avoid errors like “RPError: id_token issued in the future”.
openid-client-helper-instance
You can create a named instance of openid-client-helper or import its public methods and middleware individually. For example:
const {
  authorize,
  redirect,
  unauthorized,
  deauthorize,
  fetch,
  fetchMiddleware,
  getClient,
  getAuthorization,
  getClaims,
  getWWWAuthenticateHeaderAttributes
} = OpenIdClientHelper(openIdClientHelperParams)
Authorization
In this example, the full authorization cycle is implemented.
The authorization route handler can accept alternative or additional parameters to override or to be added to ones that the openid-client-helper instance can derive from its configuration. In this example, we rely on the latter as a sole source of parameters to be included in the authorization request:
router.get(authorizePath, authorize())For example, if Google was to serve as the OpenID provider, in order to request a refresh token in an authorization request, you’d need to provide the (proprietary)
access_typeparameter and populate it with theofflinevalue, like this:app.get('/authorize', authorize({ access_type: 'offline' }))
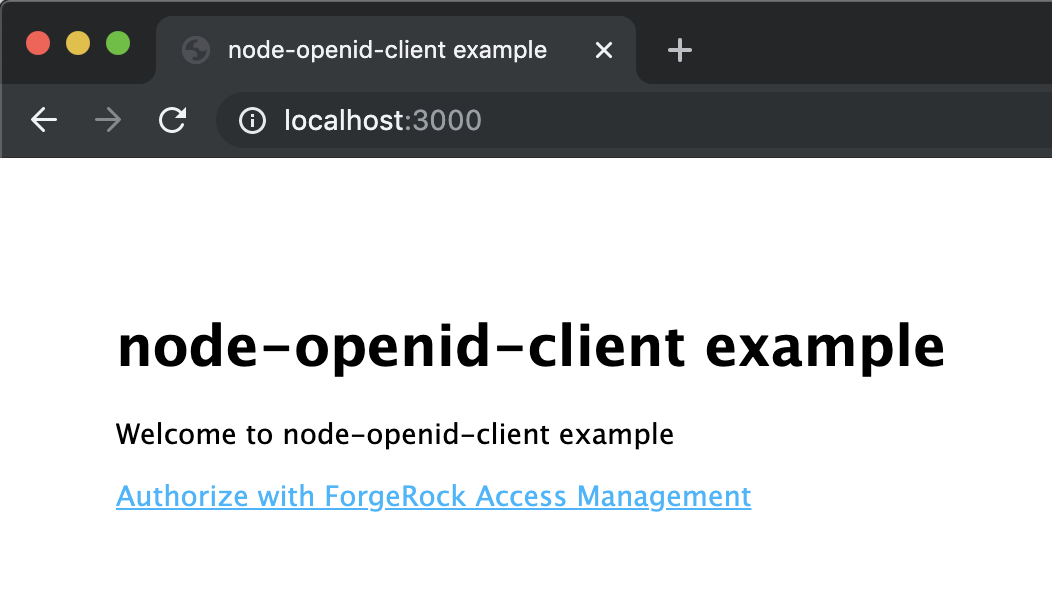
You can initiate the authorization flow by visiting http://localhost:3000 and following the Authorize with ForgeRock Access Management link.
Snapshot of the sample’s Home page:
To complete the authorization code flow with a token request, the
application needs to handle redirection (with the authorization code
included) from the authorization server. As with the authorization route
handler, the redirect middleware can accept alternative or additional
parameters to the ones already specified in the configuration. Similarly
to the authorization route, we rely on the defaults in this example:
router.get('/redirect', redirect(), (req, res) => {
res.redirect(currentPath + '/protected')
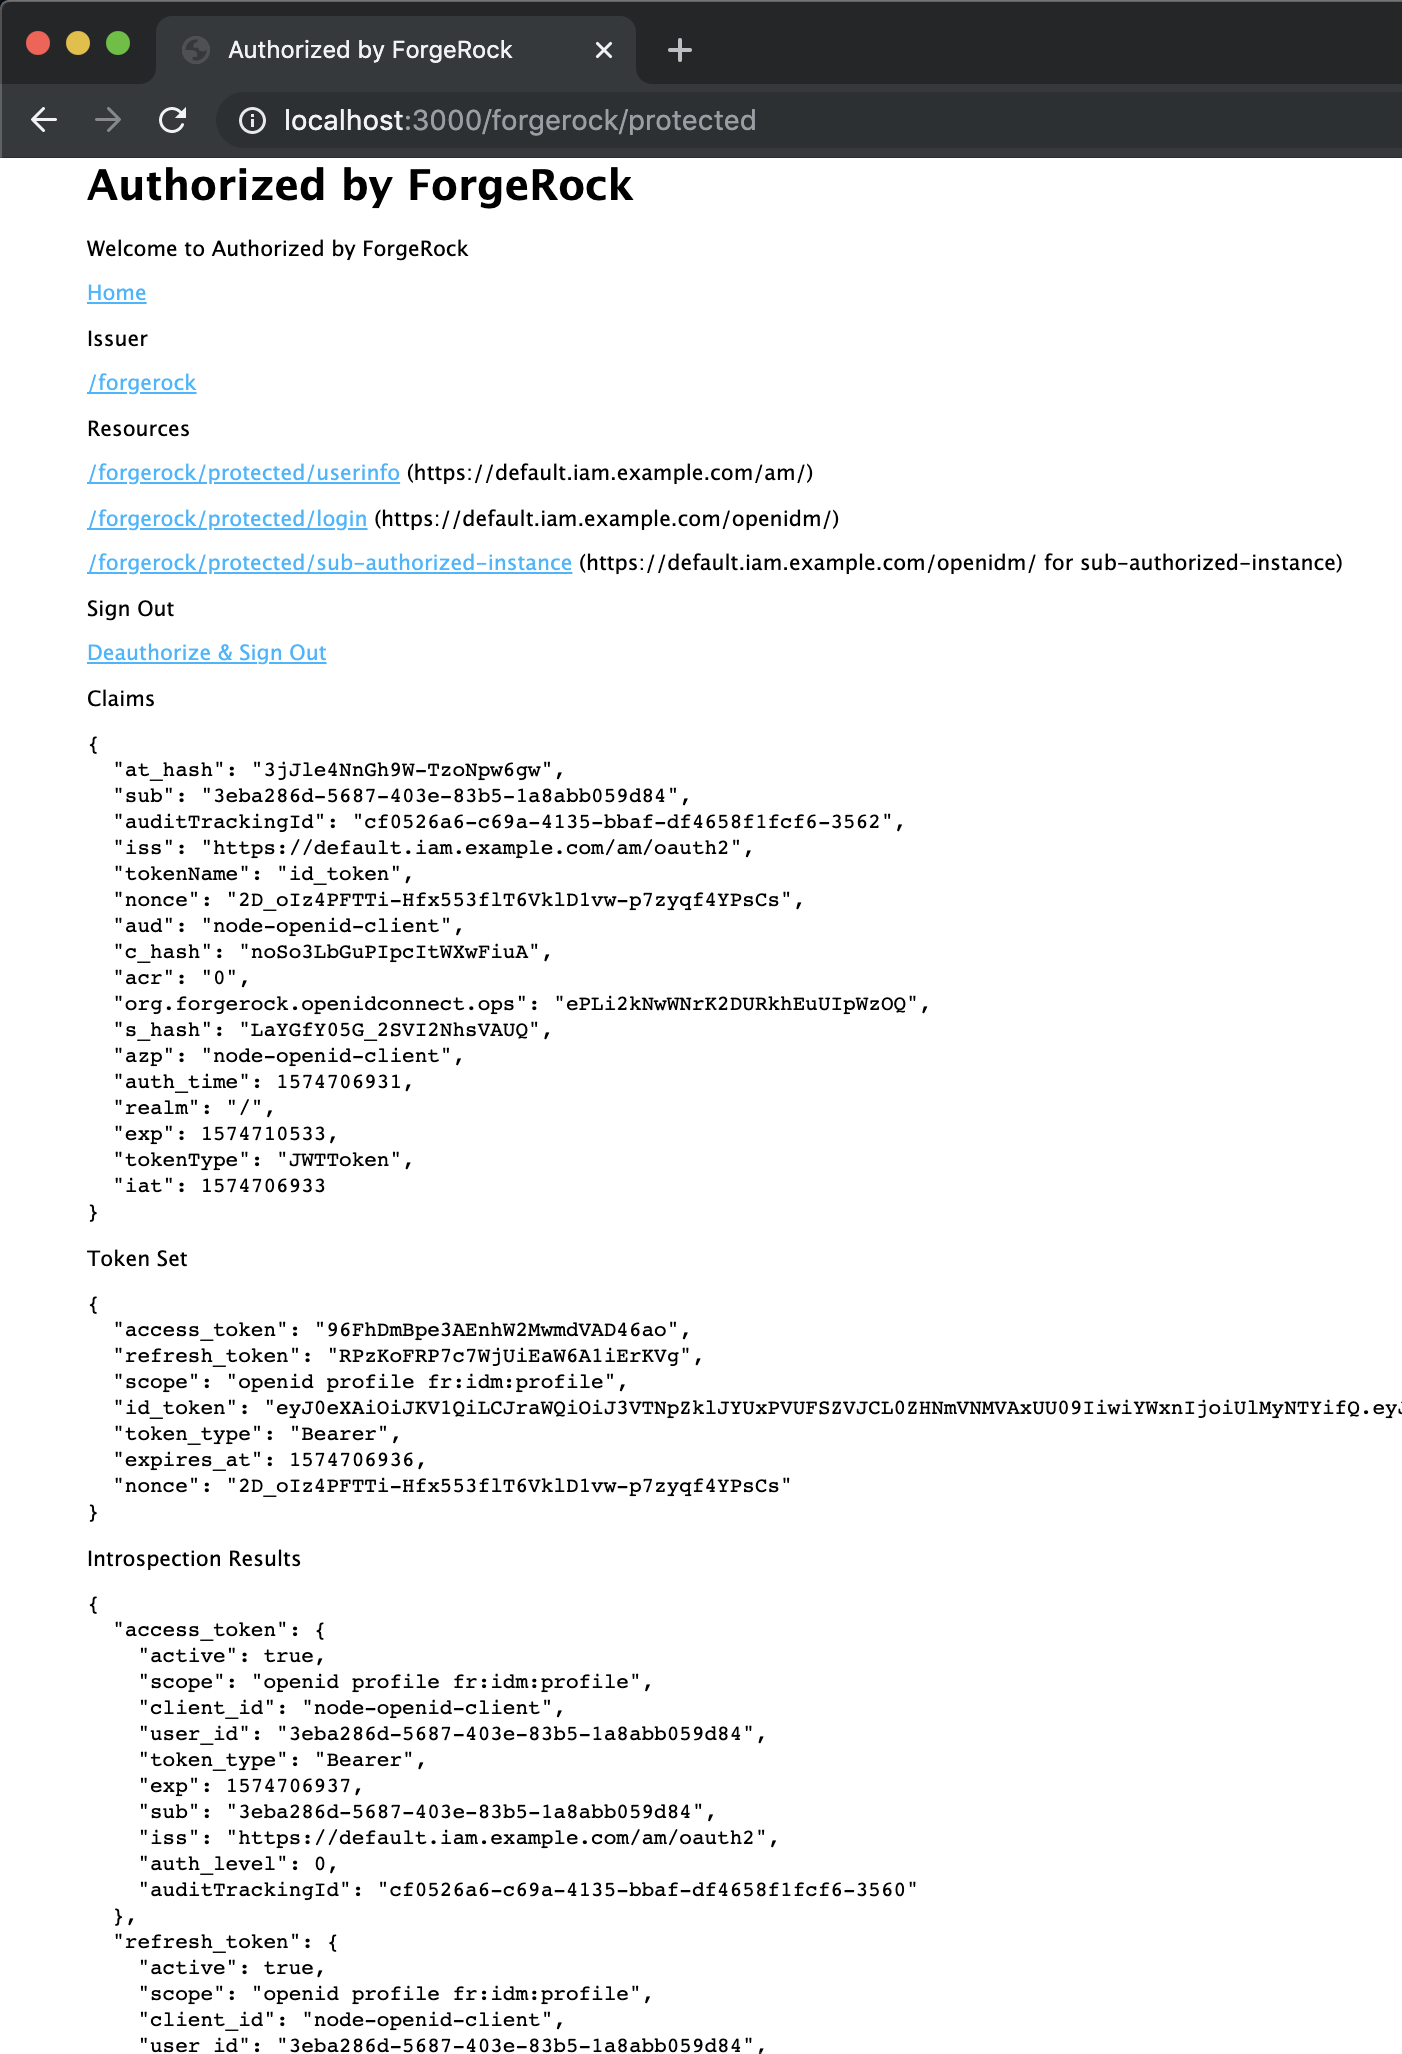
})After the tokens are obtained, the next middleware takes the user to the protected area of the application, where the authorization information, the ID token claims, and navigation links are displayed:
router.get('/protected', unauthorized({
  redirectTo: currentPath + authorizePath
}), (req, res) => {
  // . . .
}
Note the use of the
unauthorized
middleware (provided by openid-client-helper). The middleware simply
checks for the presence of the “master” token set (the one that was
obtained during the original resource-owner-approved authorization) and
takes unauthorized users to the provided redirectTo route. If you
require more sophisticated logic for the authorization check, this
middleware needs to be replaced/redefined with the desired
functionality.
Snapshot of the sample’s protected area screen:
API Call
After successful authorization, following one of the links in the Resources section will make a request to a protected API and show results of the request. It will also display the resource-specific access token and its introspection results. You will be able to see that the scope of the access token associated with the resource is a subset of scopes authorized by the resource owner during the authorization request, which was performed in the front-channel.
For making requests to protected APIs, openid-client-helper provides fetch method.
const {
  // . . .
  fetch,
  // . . .
} = OpenIdClientHelper(openIdClientHelperParams)
Ultimately, the method makes a request with the corresponding one from
the node-fetch package, but if
the requested url has a match to a registered (protected) resource,
the redefined fetch will obtain and include a fresh resource-specific
access token in the request.
Internally, openid-client-helper maintains user-specific authorization
state by attaching it to the user session. The user session is expected
to be attached to the additional req parameter. An application of the
openid-client-helper fetch method is demonstrated in the
/protected/userinfo route handler:
router.get('/protected/userinfo', unauthorized({
  redirectTo: '/forgerock/authorize'
}), async (req, res) => {
  const response = await fetch(
    'https://default.iam.example.com/am/oauth2/userinfo',
    undefined, // Use default options for this request.
    req // Provide request/session/user context.
  )

  // . . .
}
If the fetch request is error-free, it results in a node-fetch Promise<Response>, just like the original node-fetch method.
If the access token is expired, this is detected when the first attempt
to make an API call returns the
WWW-Authenticate
header and its error attribute is populated with the “invalid_token”
value. In that case, the helper attempts to refresh the access token and
repeats the call, returning the next response unchecked. The original
call maker then has an opportunity to check for “invalid_token” error
itself, utilizing another public method that could be imported with the
helper instance. For example:
const {
  // . . .
  getWWWAuthenticateHeaderAttributes,
  // . . .
} = OpenIdClientHelper(openIdClientHelperParams)
if (getWWWAuthenticateHeaderAttributes(response).error === 'invalid_token') {
res.redirect('/forgerock/authorize')
}It is up to the client how to proceed if the access token cannot be renewed automatically by the helper; in this example, the user is asked to reauthorize the client application.
Errors encountered while refreshing an access token are attached to the authorization state and can be viewed by utilizing the helper’s public getAuthorization(\{ req }) ⇒ object method. For example:
getAuthorization(({
 req
})
.refreshed || {}).errors // => Error[]
The data from the API call, the resource-specific token set, and the results of its introspection will be displayed in the browser.
Snapshot of a protected resource screen:
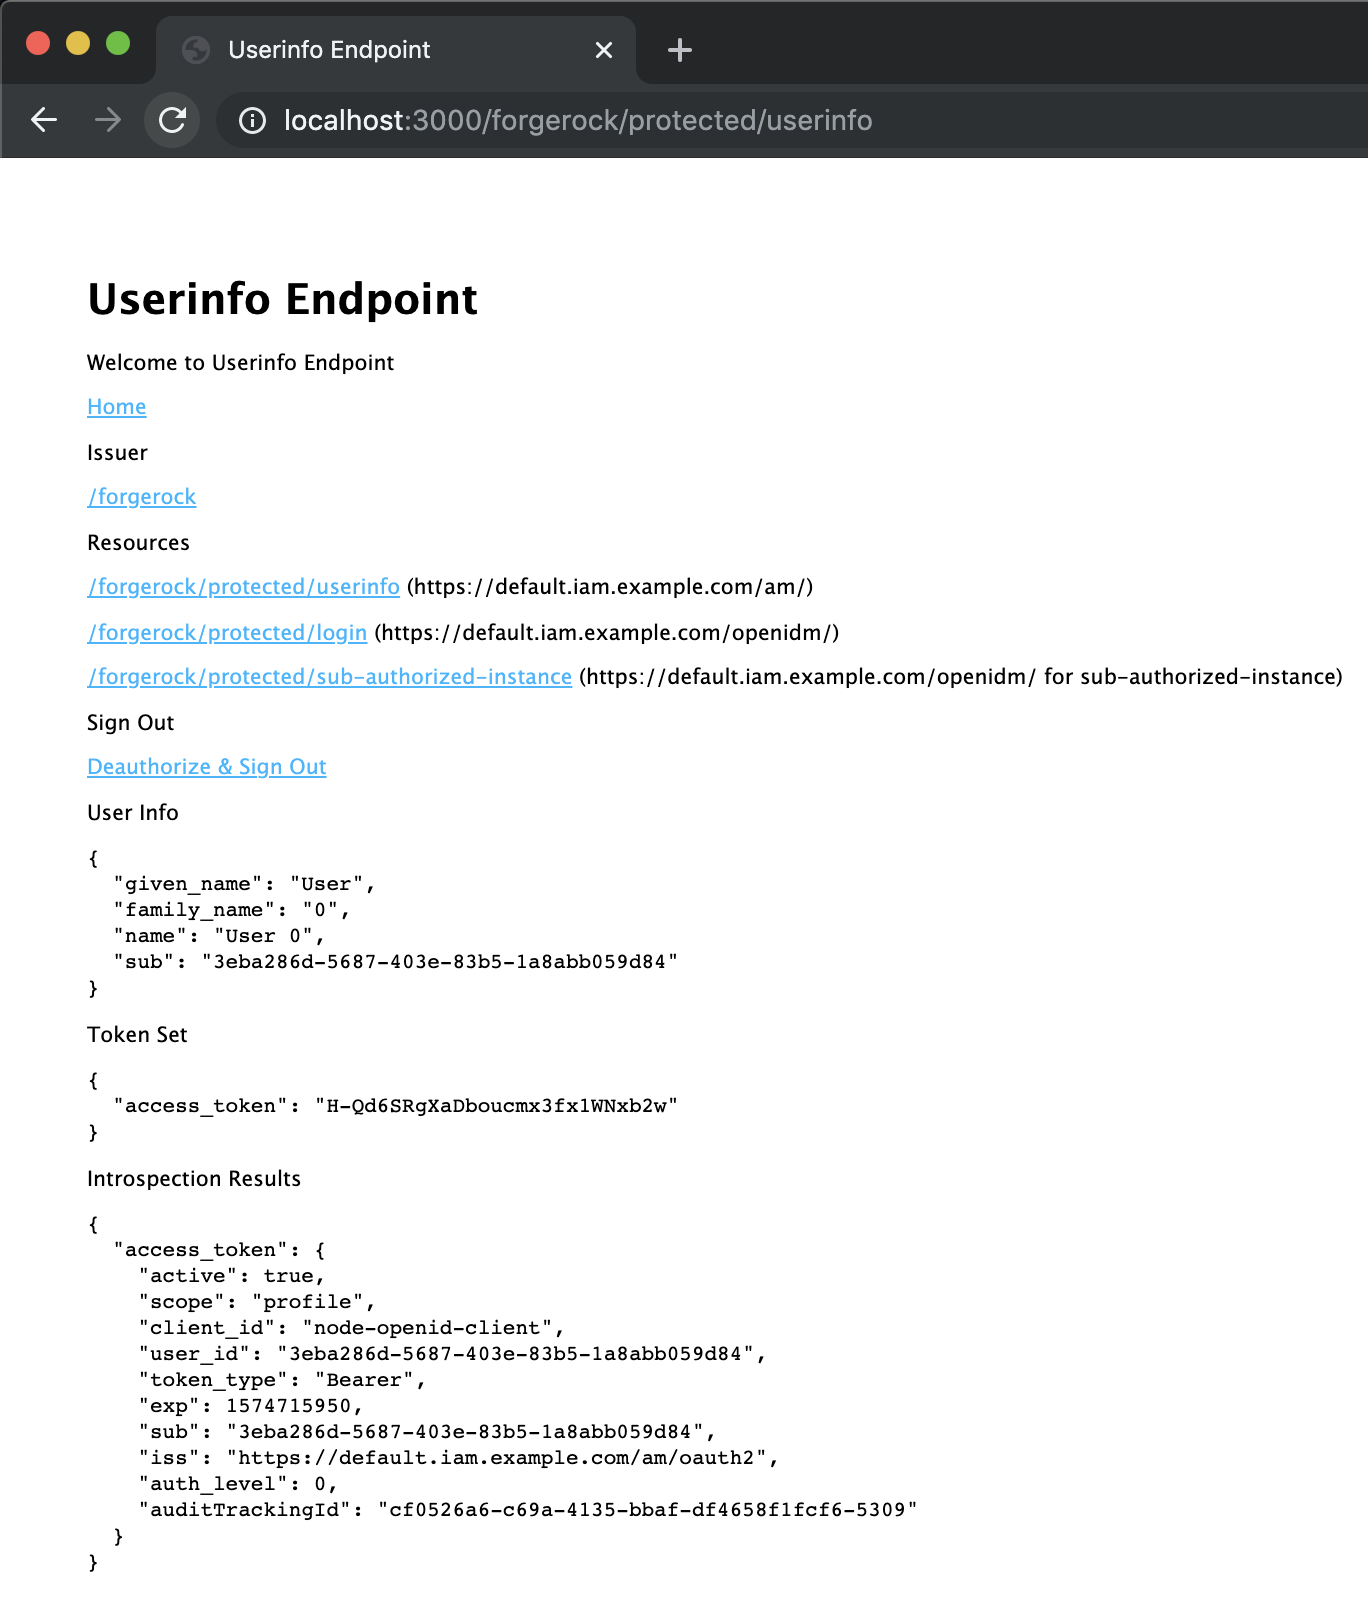
You may notice that the scope associated with the resource-specific access token is one of the scopes that you can see in the introspection results of the “master” token set. Also, given a short life span of the access token, you can observe that it is being refreshed when you revisit the page after certain period of time (four seconds, in this example).
Note that you may see the “invalid_token” error directly in the fetch results, if your authorization server returns the error in the response body, instead of the
errorattribute in theWWW-Authenticateresponse header, as suggested by the OAuth 2.0 Authorization Framework: Bearer Token Usage standard.Currently, the openid-client-helper’s
fetchmethod does not accept a custom error handler and access tokens cannot be renewed when a non-standard response is received from the authorization server.
Deauthorization
The Deauthorize & Sign Out link will take you to the route handled by the deauthorize([\{ complete })] middleware, which can be imported with the openid-client-helper instance.
const {
  // . . .
  deauthorize,
  // . . .
} = OpenIdClientHelper(openIdClientHelperParams)
router.get(deauthorizePath, unauthorized({
redirectTo: currentPath + authorizePath
}), deauthorize())As stated in the openid-client-helper
docs,
the middleware attempts to revoke all the tokens found in the
authorization state, before destroying it and making the tokens
unavailable to the client itself. Then, deauthorize([{complete()}])
will try to execute
RP-Initiated
Logout by redirecting user to the end_session_endpoint URI found in
the issuer metadata.
This default logic can be interrupted by passing in
complete({ req, res, next, endSessionUrl }) function as an argument
for the deauthorize middleware. The complete handler could perform a
custom version of RP-Initiated logout, which is demonstrated in this
example for illustration purposes:
router.get(deauthorizePath, unauthorized({
  redirectTo: currentPath + authorizePath
}), deauthorize({
  complete: ({
    req,
    res,
    next,
    endSessionUrl
  }) => {
    // . . .
  }

  // . . .
}))
Snapshot of the Deauthorized screen:

Deauthorization and signing out from the OpenID provider’s session closes the cycle. The authorization state held in the openid-client-helper instance may have some information associated with it, but in order to access protected resources, the client will need to be authorized again.
Optional
Existing Authorization
The /protected/sub-authorized-instance route handler demonstrates how
a separate instance of openid-client-helper can be provisioned with an
existing authorization and further used for a fetch call to a
protected resource.
This other instance does not authorize nor deauthorize the client and only needs minimal set of configuration properties to make token requests for the configured protected resources.
const subAuthorizedInstance = OpenIdClientHelper({
  issuerMetadata: {
    issuer: openIdClientHelperParams.issuerMetadata.issuer
  },
  clientMetadata: {
    client_id: openIdClientHelperParams.clientMetadata.client_id,
    client_secret: openIdClientHelperParams.clientMetadata.client_secret
  },
  resources: {
    'https://default.iam.example.com/openidm/': {
      scope: 'fr:idm:profile'
    }
  }
})
router.get('/protected/sub-authorized-instance', unauthorized({
redirectTo: '/forgerock/authorize'
}), async (req, res) => {
const authorization = subAuthorizedInstance.getAuthorization({
req
})
authorization.tokenSet = getAuthorization({
req
}).tokenSet
// . . .
}Fetch Middleware
Internally, openid-client-helper’s fetch calls
fetchMiddleware
method, which can be imported and used directly as an actual middleware.
Then, processing and evaluating the response can be done in a completion
handler passed in the middleware call as an additional parameter. This
approach is illustrated in the /protected/login route handler:
const {
  // . . .
  fetchMiddleware,
  // . . .
} = OpenIdClientHelper(openIdClientHelperParams)
router.get('/protected/login', unauthorized({
redirectTo: '/forgerock/authorize'
}), fetchMiddleware(
'https://default.iam.example.com/openidm/info/login',
undefined, // Use default options for this request.
function ({
req,
res,
next,
response,
error
}) {
if (error) {
next(error)
return
}
if (getWWWAuthenticateHeaderAttributes(response).error === 'invalid_token') {
res.redirect('/forgerock/authorize')
return
}
res.locals['https://default.iam.example.com/openidm/'] = response
next()
}
), async (req, res) => {
// . . .
})**
Conclusion
This example demonstrates how the openid-client-helper package can be used in a Node.js application for building an OAuth 2.0 client and implementing the authorization code grant extended with OIDC authentication. The authorized client application can utilize the openid-client-helper methods for making requests to protected REST APIs with automatically obtained and refreshed, resource-specific access tokens.