Summary
Configure Google as a social identity provider for registration and authentication in CDK.
Introduction
As more customers move toward using mobile devices for online products and services, it’s important to have the flexibility to carry the same authentication methods across applications and devices. ForgeRock Identity Platform supports delegated authentication through third-party social identity providers, such as Facebook, Google, and VKontakte.
In this article, we configure Google as the social identity provider.
A. Configure Google API in your GCP project
To enable Google to authenticate user login, you should configure your Google Cloud project (GCP) as follows:
- Log in to Google APIs and select your project.
- Navigate to APIs & Services > Dashboard > +Enable APIs and Services > GMail API > Enable:

- Create an OAuth Client ID credential:

- Create an application of Web application type:

- Specify these parameters and save your OAuth 2.0 client configuration:
- In the Name field, specify a suitable name.
- In the Authorized JavaScript origins, add your server ingress site URI, for example https://my-namespace.iam.example.com.
- In the Authorized redirect URIs, add the AM server URI, for example: https://my-namespace.iam.example.com/am:

If you do not have the URI information at the time you create OAuth client credentials, you can add that information later on.
B. Configure Google as a social identity provider in the ForgeRock Identity Platform
After completing the configuration of the Gmail API on the Google Developer Console, enable social identity provider, if it is not already enabled.
-
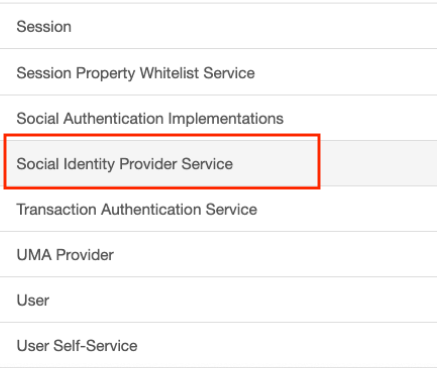
In the AM console, select Global Services from the top menu. Access Social Identity Provider Service:
-
Enable the service globally (for all realms) if it is not already enabled:


- Navigate to Realms > your realm > Services > Social Identity Provider Service:

- Enable the service if its not already enabled, and save the changes:

- Click the Secondary Configurations tab (Realm → Services → Social Identity Provider Service → Secondary Configurations), select google provider, and set the following and save the configuration:
- Toggle the Enabled switch to on.
- Enter the Client ID and Client Secret of your OAuth 2.0 client you created in Google console.
- Update the Redirect URL with your AM instance’s URL:
- Scroll down and set the following, and click Save Changes:
- Enter https://accounts.google.com in the Issuer field. (Issuer must exactly match the value returned in the ID token. You can obtain the issuer value from the provider’s well-known endpoint).
- Select Google Profile Normalization in the Transformation Script field:

Note: When you configure and use social authentication and registration with the ForgeRock Identity Platform, you will be configuring two transformation scripts:
- A script that transforms the social provider credential data to a normalized form (for example Google Profile Normalization transforms Google credential data to a normalized form.
- A script that transforms normalized credential data to managed user form that can be readily used by the ForgeRock platform, for example: Normalized to Managed User form.
You can create your own custom authentication nodes and use them appropriately in your authentication tree configuration. See the Authentication Node Guide for more information.
C. Configuring the Authentication tree
- Create an authentication tree (If necessary you may need to create authentication transformation scripts. For my simple case, I am using existing scripts). I set up a tree with these nodes:

- Configure Attribute Collector node to collect sn, givenName, and mail attributes.
- Configure the Social Provider Handler Node, to use Normalized Profile to Managed User in the Transformation Script field:
- Configure Required Attributes Present and Create Object nodes to have corresponding set of attributes. The attributes you configure will depend on your use case. For the simple test case here, managed/user is used:

- Save the authentication tree you created.
D. Test the Let users login/register themselves
- Access the service you have configured through a web browser: (https: ///?service=). Notice the Continue with Google dialog box is shown:

- Log in with your Google credentials:

- After completing the login process, you will be able to access the resources:

- If the user trying to login was not in the local user repository, a user is created with the login information you provided.
This completes a simple configuration and testing of the social authentication and registration using Google as the social identity provider.