Running ForgeOps on Mac Silicone (M1, M2) using Docker with Rosetta
Author: |
Keith Daly |
Created at: |
Jun 2023 |
Updated at: |
Jun 2023 |
Originally posted on keithdaly-identity.medium.com
The shiny new laptop…
I recently upgraded my Mac laptop from Intel to Apple M1 Max (ARM). Faster and better, as per the specs. Cooler, as per Apple. Non-functional, as per some software that I need to run on it.
My day job is an engineer at ForgeRock where I need to be able to run local instances of our identity and access management platform, in addition to working with our cloud offering. Prior to this laptop upgrade, I simply deployed our “CDK” devOps package to my local minikube/docker without worrying much about the details of how these systems are set up.
With the M1, my minikube images no longer functioned, due to missing availability of amd64v8-compiled 3rd party components and docker drivers. This document walks through the steps needed to successfully deploy on Apple Silicon.
![]() Note:
While these instructions do work, the M1s are not officially supported
by ForgeRock yet. Also, Rosetta is still a beta feature of Docker
Desktop.
Note:
While these instructions do work, the M1s are not officially supported
by ForgeRock yet. Also, Rosetta is still a beta feature of Docker
Desktop.
Step 1: Download ForgeOps Software
I am assuming that, if you are here, you have already attempted to download and deploy ForgeRock’s devOps software.
Here is the link, just in case: https://backstage.forgerock.com/docs/forgeops/7.3/cdk/minikube/setup/forgeops.htm
![]() Note:
Be sure to checkout the version stated in the docs. Otherwise, you will
be on the main branch, which is used for development and, therefore, may
change.
Note:
Be sure to checkout the version stated in the docs. Otherwise, you will
be on the main branch, which is used for development and, therefore, may
change.
Step 2: Install 3rd party tools
At the time of writing, the ForgeRock docs show this set of pre-requisites for generic “Mac”:
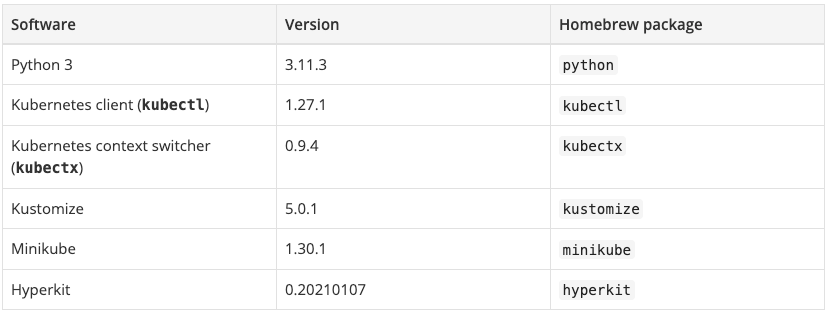
Unfortunately, Hyperkit has not been ported to x64v8 yet. So, skip this component. Do install everything else.
Step 3: Deploy and configure Docker Desktop
I used brew for this step, but you could also get the binaries from docker.com.
% brew install --cask dockerOnce docker desktop is installed, open it and go into the settings (click the gear).
In the general tab, enable “Use Virtualization framework”:

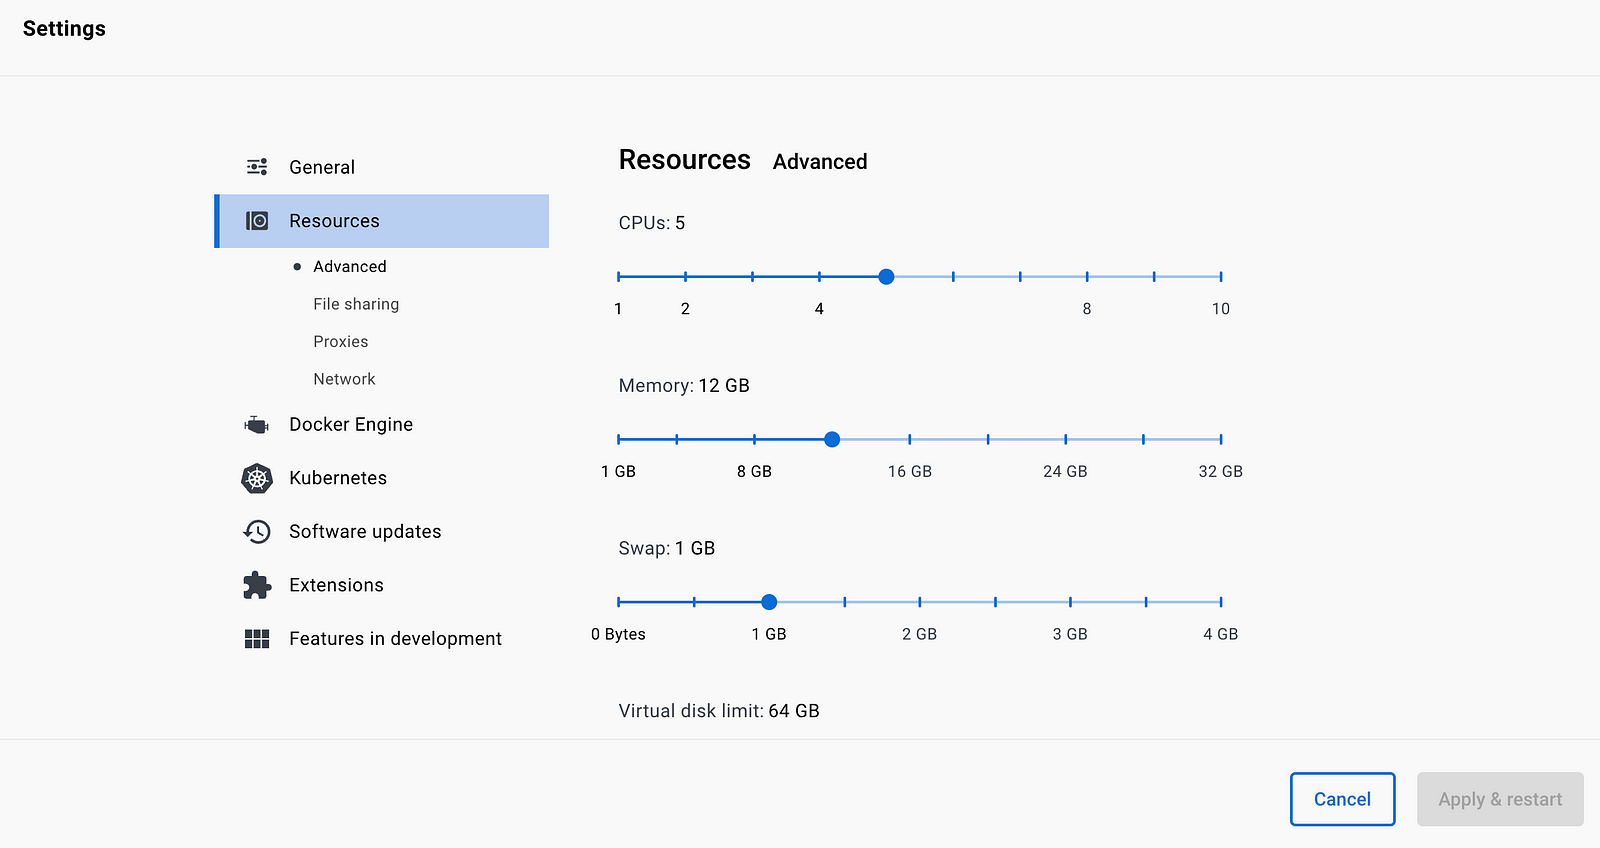
In the resources tab, change your memory settings to something over 9GB.
On my 10 core Mac, I am using 5 CPUs and 12 GB:
In the features tab, select Use Rosetta for x86/amd64 emulation on Apple
Silicon:
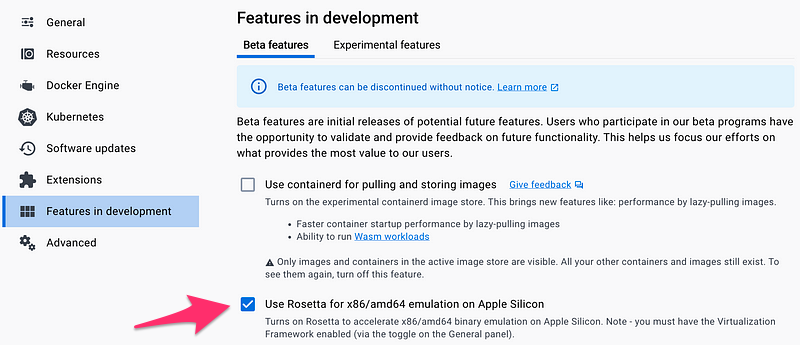
Without this change, ForgeOps will fail, since it is looking for the HyperKit engine. QEMU could be another alternative, but Rosetta is producing better performance and easier to use since it is already built into Docker Desktop.
Step 4: Deploy Minikube
Install minikube using homebrew.
% brew install minikubeAfter installation, create a minikube cluster:
% cd /path/to/forgeops/cluster/minikube
% ./cdk-minikube start --driver docker
This will create a new minikube instance, with a context named minikube, and using the docker driver.
![]() Note:
This deviates from the documentation, where it shows installation with
the hyperkit driver. We want to create the cluster using rosetta
instead. Since we enabled rosetta previously in the configuration,
rosetta will be activated when specifying the docker driver.
Note:
This deviates from the documentation, where it shows installation with
the hyperkit driver. We want to create the cluster using rosetta
instead. Since we enabled rosetta previously in the configuration,
rosetta will be activated when specifying the docker driver.
When starting minikube, it will start with the minikube context. If minikube does not detect this context, it will create one. Therefore, if you already have the minikube context in place via this process or if you have run this script before, the script may have issues.
If you run into any problems with your install,
-
Stop minikube →
minikube stop -
Remove the minikube context →
kubectl config delete-context minikube -
Remove any containers, images, or volumes that maybe left in Docker.
-
Start minikube to recreate the context →
minikube start
![]() Note:
This context created is reflected in Docker Desktop as containers
(minikube), images (gcr.io), and volumes (minikube).
Note:
This context created is reflected in Docker Desktop as containers
(minikube), images (gcr.io), and volumes (minikube).
Step 5: Install ForgeOps
Before installation, be sure to set a fully-qualified domain name to 127.0.0.1 in /etc/hosts.
127.0.0.1 host.domain.com
![]() Note: This differs from the documentation where the minikube ip address
is used. This is because rosetta works differently than hyperkit.
Instead, we will expose the address later with minikube tunnel.
Note: This differs from the documentation where the minikube ip address
is used. This is because rosetta works differently than hyperkit.
Instead, we will expose the address later with minikube tunnel.
Be sure that you are in the minikube context. Then, create a namespace inside the minikube context for this deployment and switch to the new namespace.
![]() Note:
minikube will not appear as a valid context if minikube is not running.
Start minikube with
Note:
minikube will not appear as a valid context if minikube is not running.
Start minikube with minikube start if needed.
% kubectx minikube
Switched to context "minikube".

% kubectl create namespace <my-namespace>
namespace/<my-namespace> created

% kubens <my-namespace>
Context "minikube" modified.
Active namespace is "<my-namespace>".
Once in the correct context and namespace, deploy ForgeOps to your minikube:
% cd /path/to/forgeops/bin
% ./forgeops install --namespace <my-namespace> --fqdn <host.domain.com>![]() Note:
Deploy ForgeOps. If stalls, generally ok to kill process with ctl-c and
re-run command. User Docker engine.
Note:
Deploy ForgeOps. If stalls, generally ok to kill process with ctl-c and
re-run command. User Docker engine.
The final step is to tunnel minikube interfaces to your Mac:
% minikube tunnelStep 6: Access your deployment
Your deployment will be available from:
http://<your_server-name>/platform and http://<your_server-name>/am
To get the starting amadmin password:
% cd /path/to/forgeops/bin
% ./forgeops info | grep amadmin
179rd8en9rffa82rcf1qap1z0gv1hcej (amadmin user)
Post deployment notes:
I use k9s to view my deployment. Install this with homebrew:
% brew install k9sTo get to your system, set the context and namespace, then start k9s:
% kubectx minikube
% kubens <my-namespace>
% k9s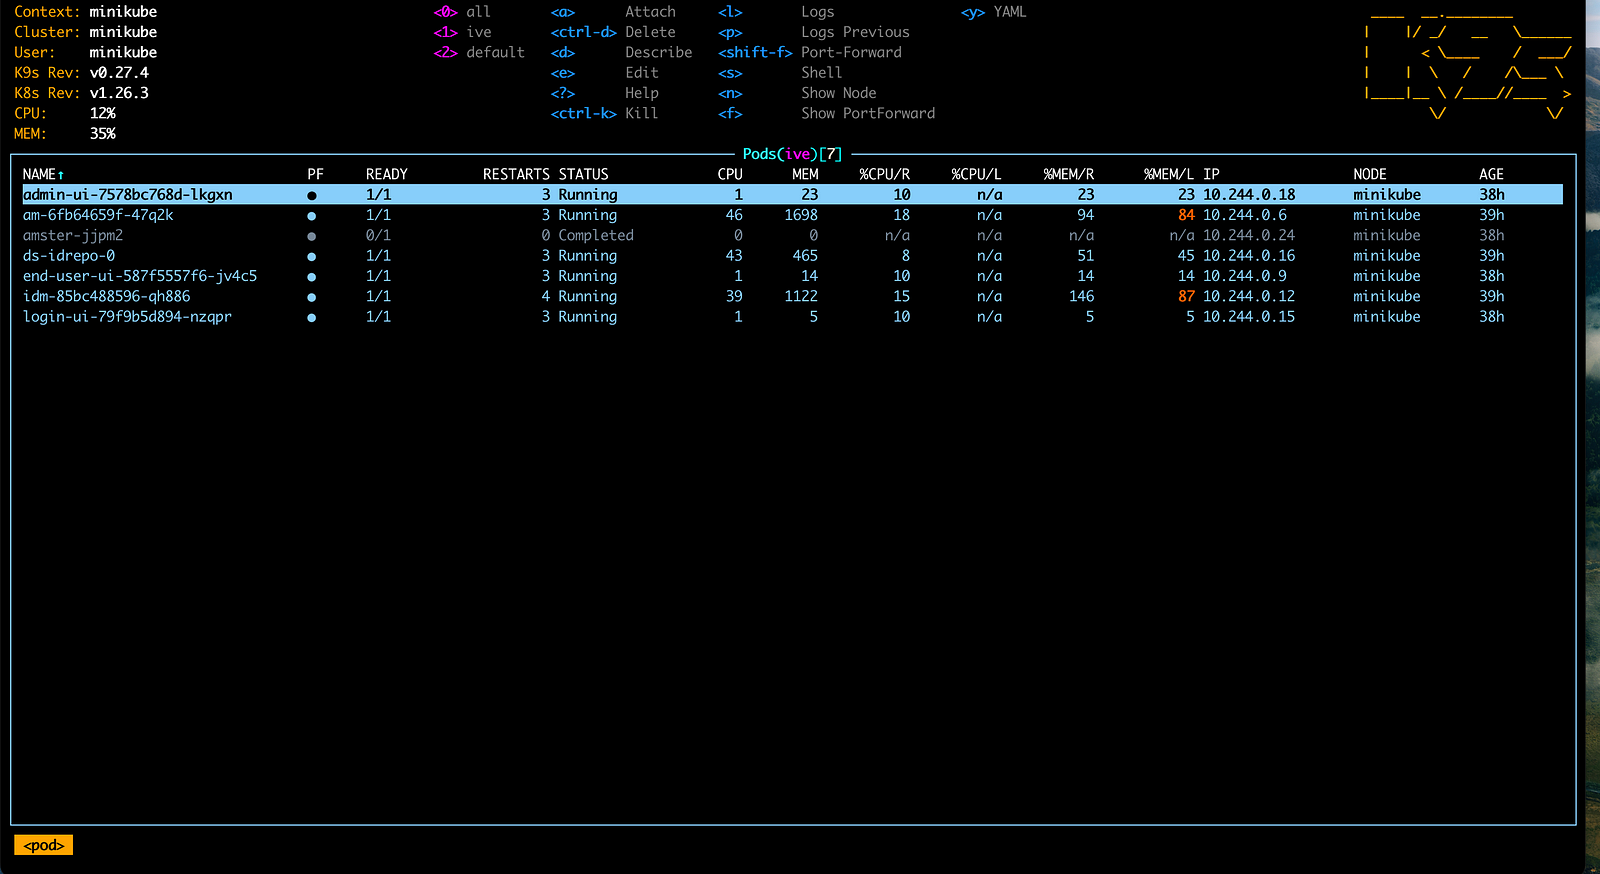
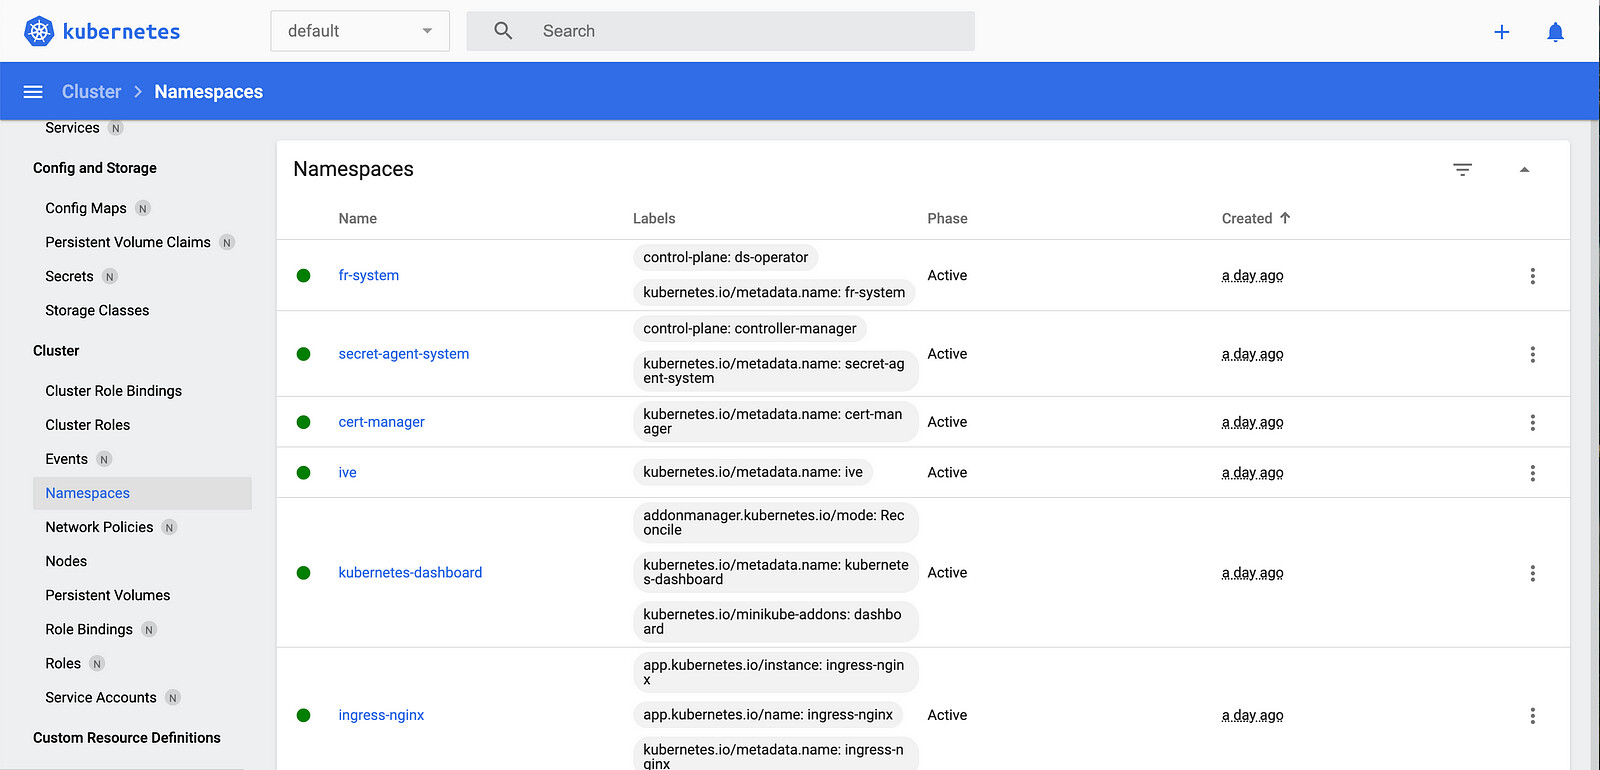
There is also a browser-based console available from minikube, if you prefer. Start this with:
% minikube dashboard