Use case: Configure identity verification of new users in ForgeRock
Author: |
Lucy Billington |
Created at: |
Jun 2023 |
Updated at: |
Jun 2023 |
Use case overview
Enabling organizations to verify end users through identity proofing is a common use case that is easily implemented in ForgeRock Identity Cloud. Adding an identity verification step to your user journeys creates a high level of assurance by bringing physical identities, such as official identification documents and biometrics, to the digital world.
Identity Cloud integrates with several third-party identity verification services out of the box. Examples include Onfido, BioCatch and Jumio.
For this use case, we’ll demonstrate how to include an Onfido identity check in a user registration journey. An Onfido check can include the user’s official identification documents such as a passport or driver’s license and optionally collect biometrics.
Steps to achieve this use case
In this simple use case, we’ll create a registration journey that registers a new user to Identity Cloud, including an identity check. The journey collects the user’s username and email address, and then checks an official identification document with Onfido and uses the response to provision their account.
Prerequisites
You will need a Live API token, which is available from the Tokens pane of the Onfido dashboard.
Create an Onfido registration journey
-
Sign in to the Identity Cloud admin UI using your admin tenant URL, in the format
https://<tenant-name>/am/XUI/?realm=/#/. -
Go to Journeys > New Journey.
-
Enter a unique name for the Onfido journey, select which identities will authenticate using this journey, (optionally) enter a journey description, and click Save.
-
Create a journey similar to this:
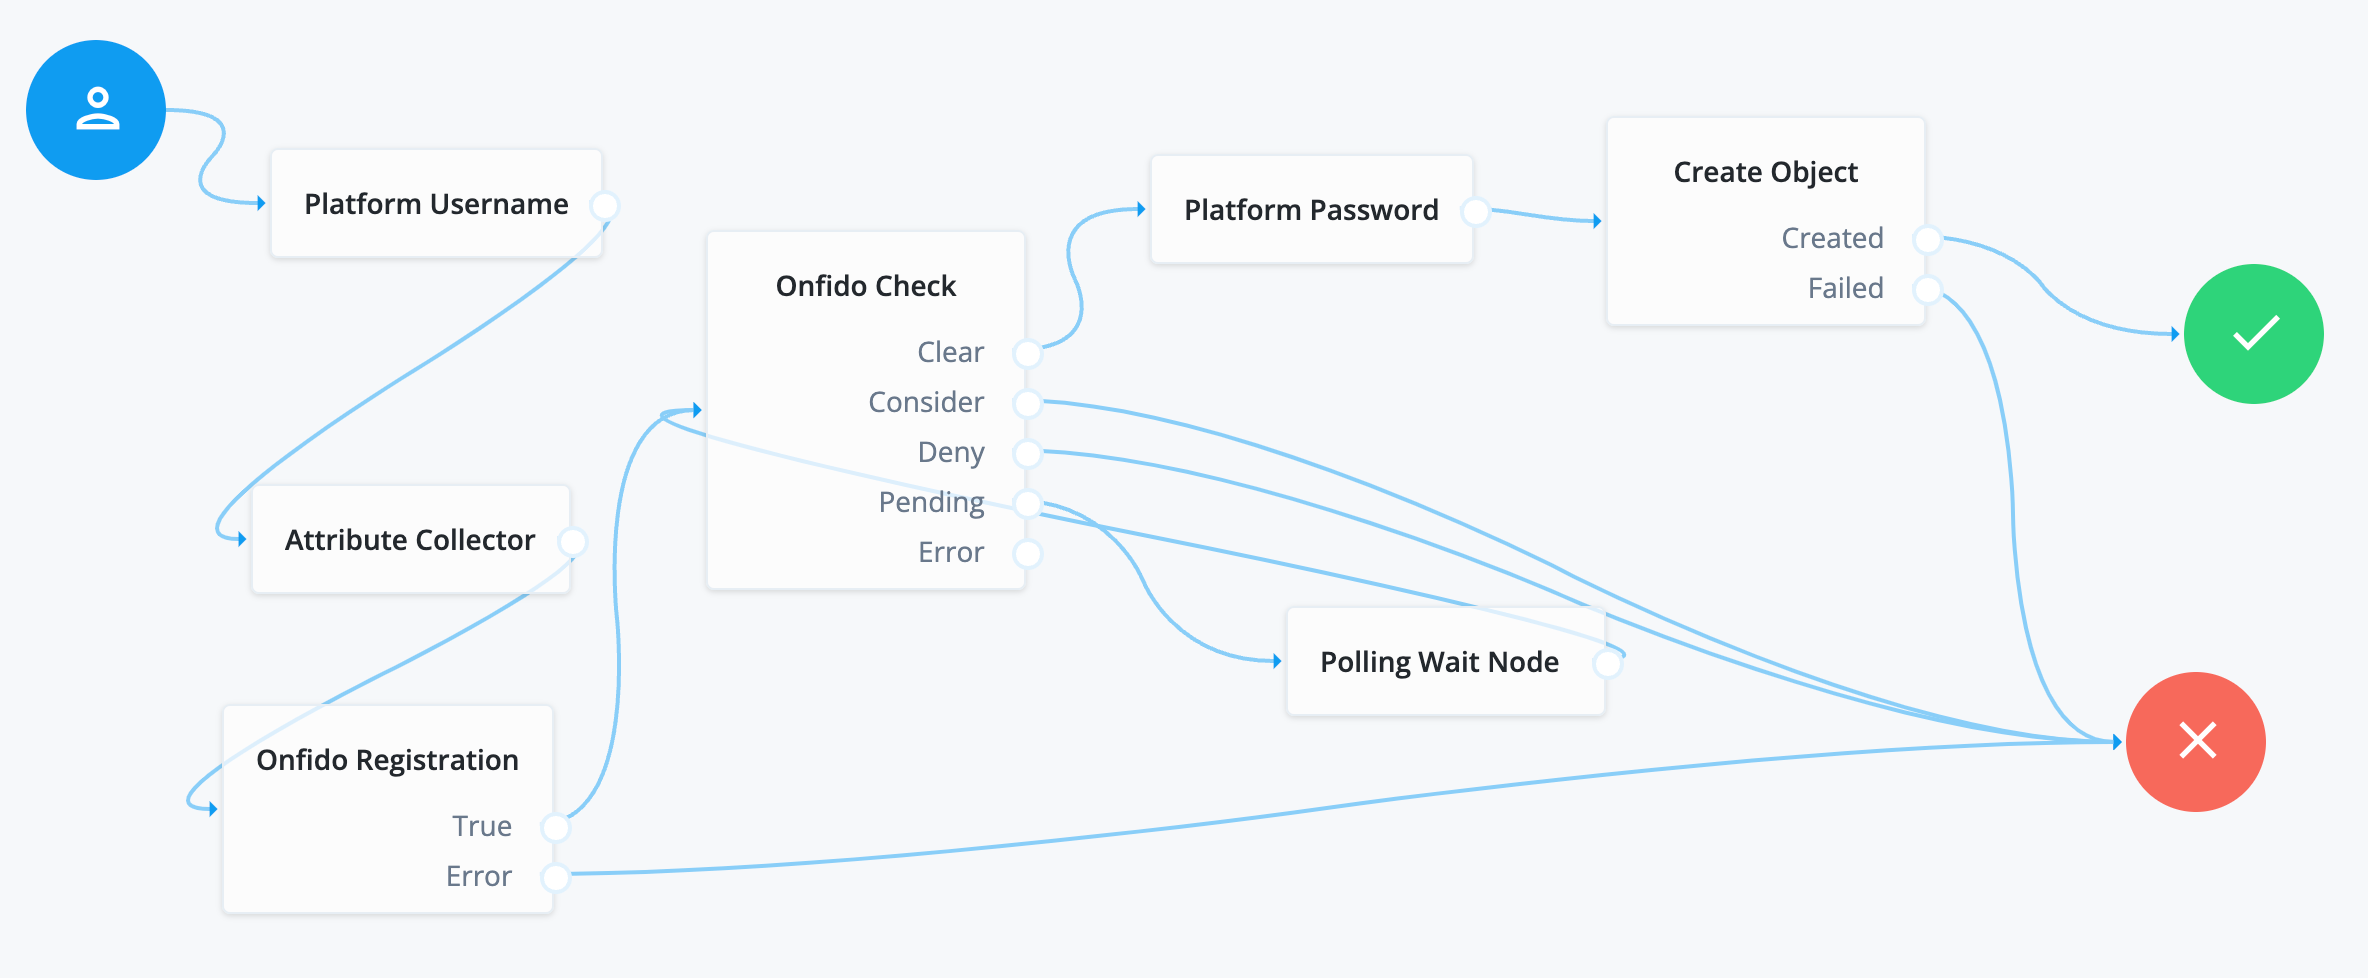
Node descriptions: * Platform Username - Prompts the user to enter their username. See Platform Username node for further information. * Attribute Collector - Collects the values of attributes that will be used to populate the new account in Identity Cloud. See Attribute Collector node for further information. * Onfido Registration - Registers a user with Onfido using identity verification, and optionally collecting biometrics. See Onfido Registration node for further information. * Onfido Check - Integrates an Onfido check for identity verification, matching a user with their official identification documents. See Onfido Check node for further information. * Polling Wait - Pauses authentication progress for a specified number of seconds, to wait for a response from the Onfido check. See Polling Wait node for further information. * Platform Password - Collects the user’s password once the verification step has been completed. See Platform Password node for further information. * Create Object - Creates a new user account in Identity Cloud based on information collected during registration. The Identity Resource must match the user object, for example,
managed/alpha_user(the default is managed/user). See Create Object node for further information. -
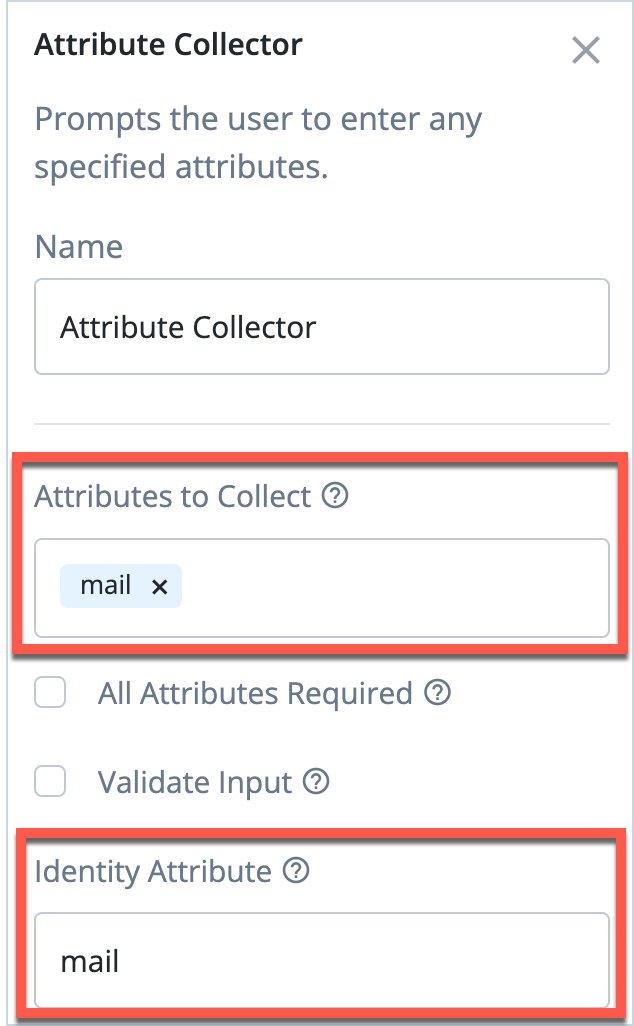
Click the Attribute Collector node and add the Attributes to Collect and the corresponding Identity Attribute. This is the attribute that will be used to identify the user object in Identity Cloud.
In our example we’re collecting the user’s email:
-
Click the Onfido Registration node and configure the following:
-
Onfido Live Token - Paste in the Onfido Live API token from the Onfido dashboard.
-
Just-in-Time Provisioning - Select this check box. When selected, the account will be provisioned In Identity Cloud, after checking the user’s identification documentation with Onfido.
-
Onfido ApplicantID Attribute - Make sure the value matches a managed user attribute for the selected realm that will be used by the Onfido Registration node. (To configure the managed object properties for the alpha realm, go to Native Consoles > Identity Management > Configure > Managed Objects > Alpha_user). The default is
title.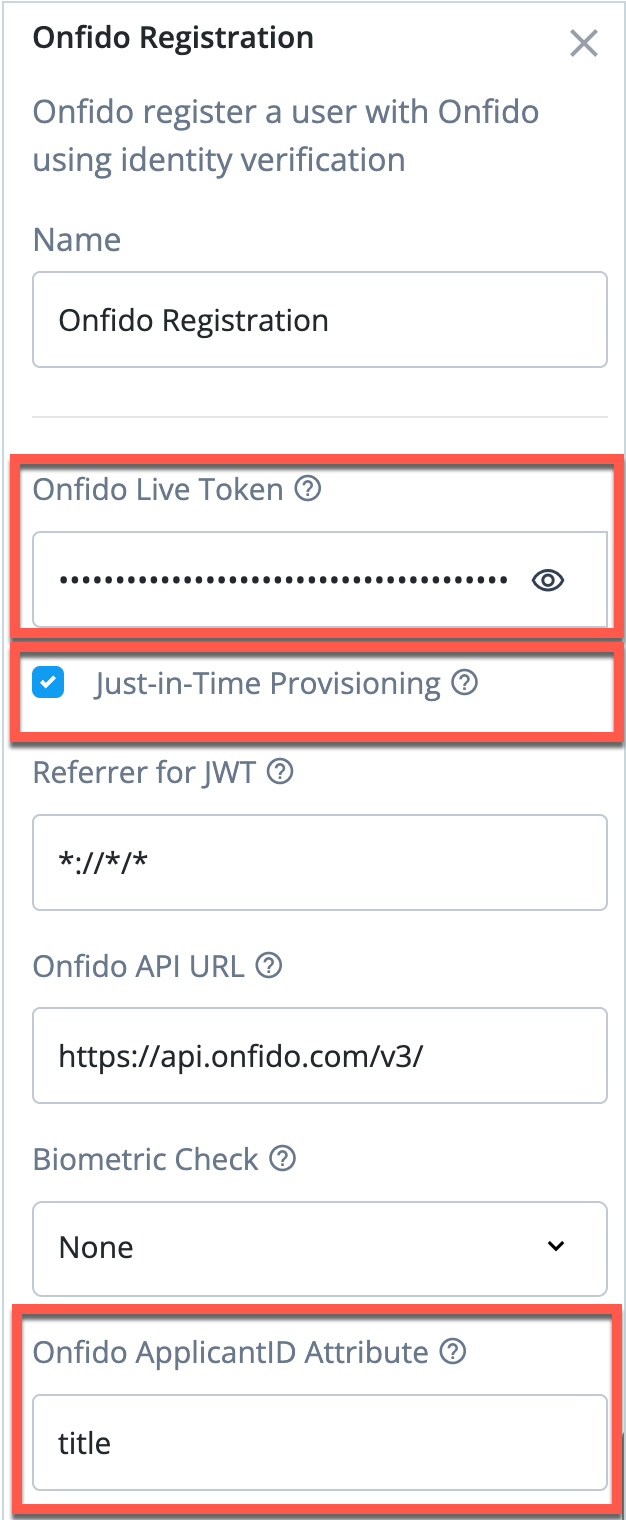
-
-
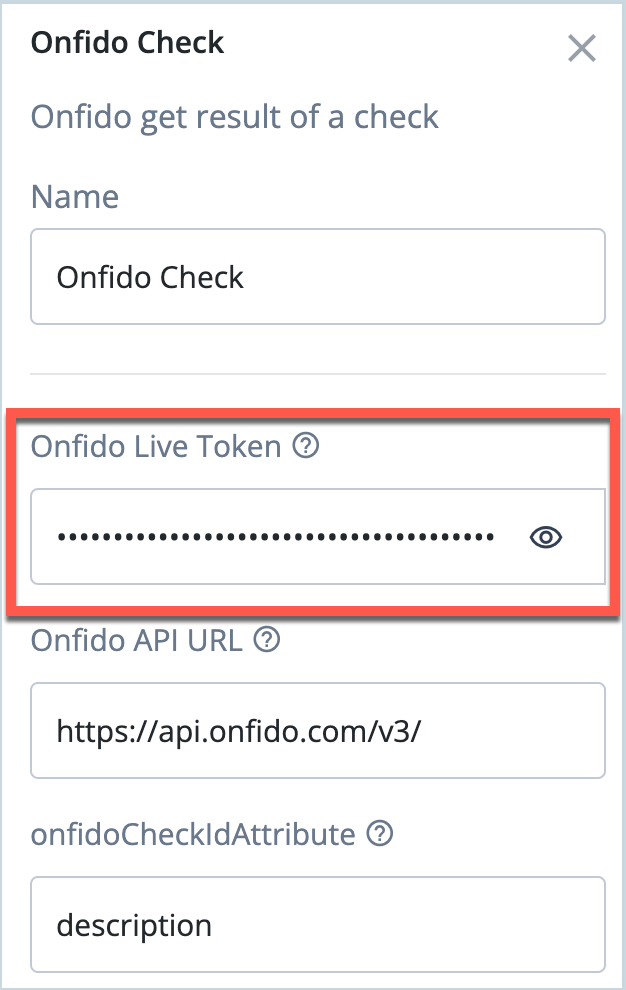
Click the Onfido Check node and paste in the Onfido Live API token from the Onfido dashboard.
The Onfido Check node outcomes for this journey are: * Clear - the document is valid and the user can complete the registration. * Consider - Onfido rejected one or more documents or images, so this is treated as a failed verification. Note that you could consider linking this outcome to an additional authentication step in your journey for stronger step-up authentication. * Deny - the check has failed and the user is denied access. * Pending - the authentication has paused to allow time for Onfido to begin processing before the Onfido Check node is called to retrieve the status of the checks. You can adjust this time in the Polling Wait node. The default is 8 seconds.
-
Click Save to save the journey.
Testing the use case
To test this use case, make sure that your test end user doesn’t already have an account in Identity Cloud.
You will need the following:
-
An official identification document. In our example, we’ll use a driver’s licence.
-
A mobile phone.
Provision a new user account with Onfido
-
In the Identity Cloud admin UI, go to Journeys.
-
Click the Onfido journey you created previously and copy the Preview URL.
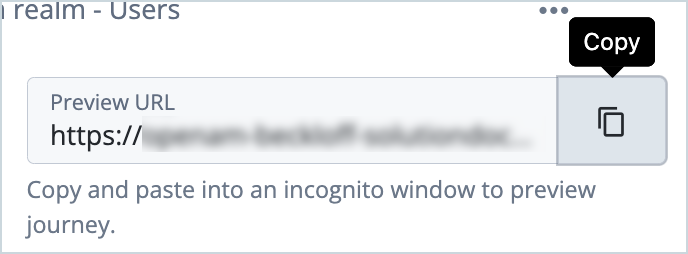
-
Paste the preview URL into a browser using Incognito or Browsing mode.
-
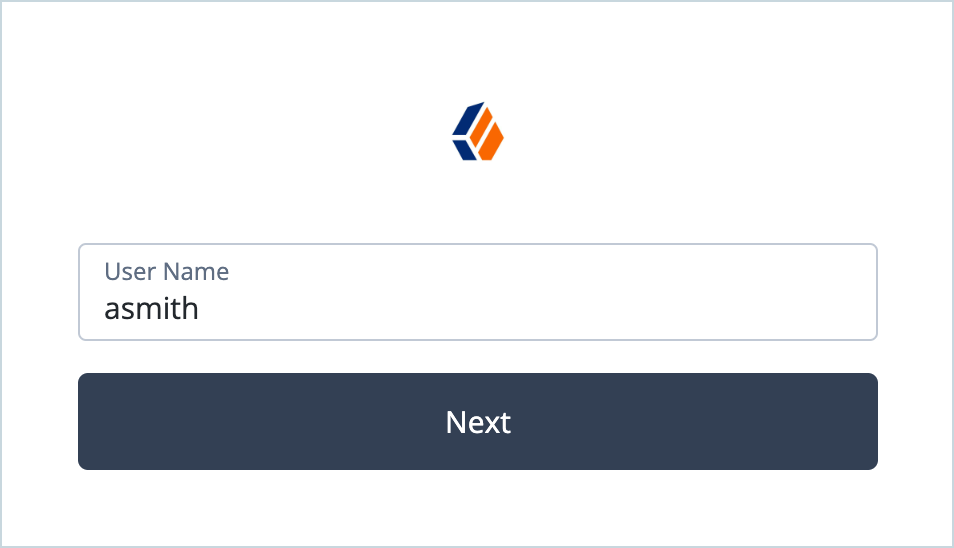
Enter the test user’s username in the Sign In screen and click Next.
-
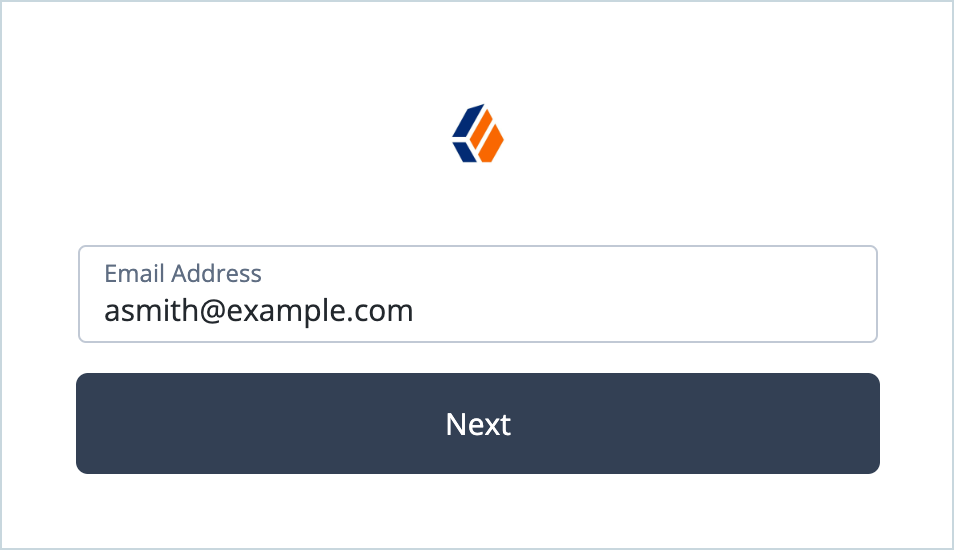
Enter the test user’s email address and click Next.
-
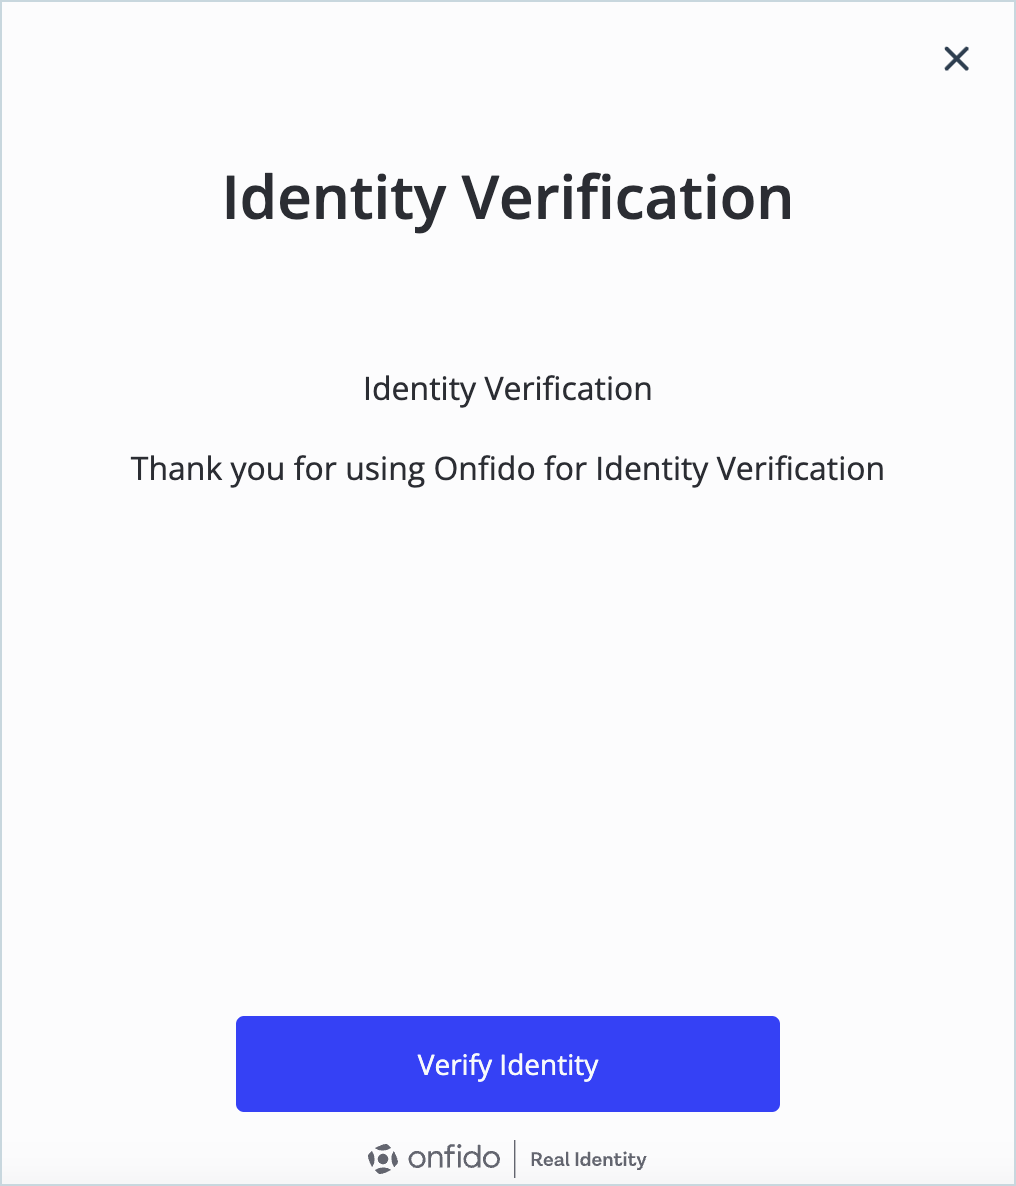
Click Verify Identity.
-
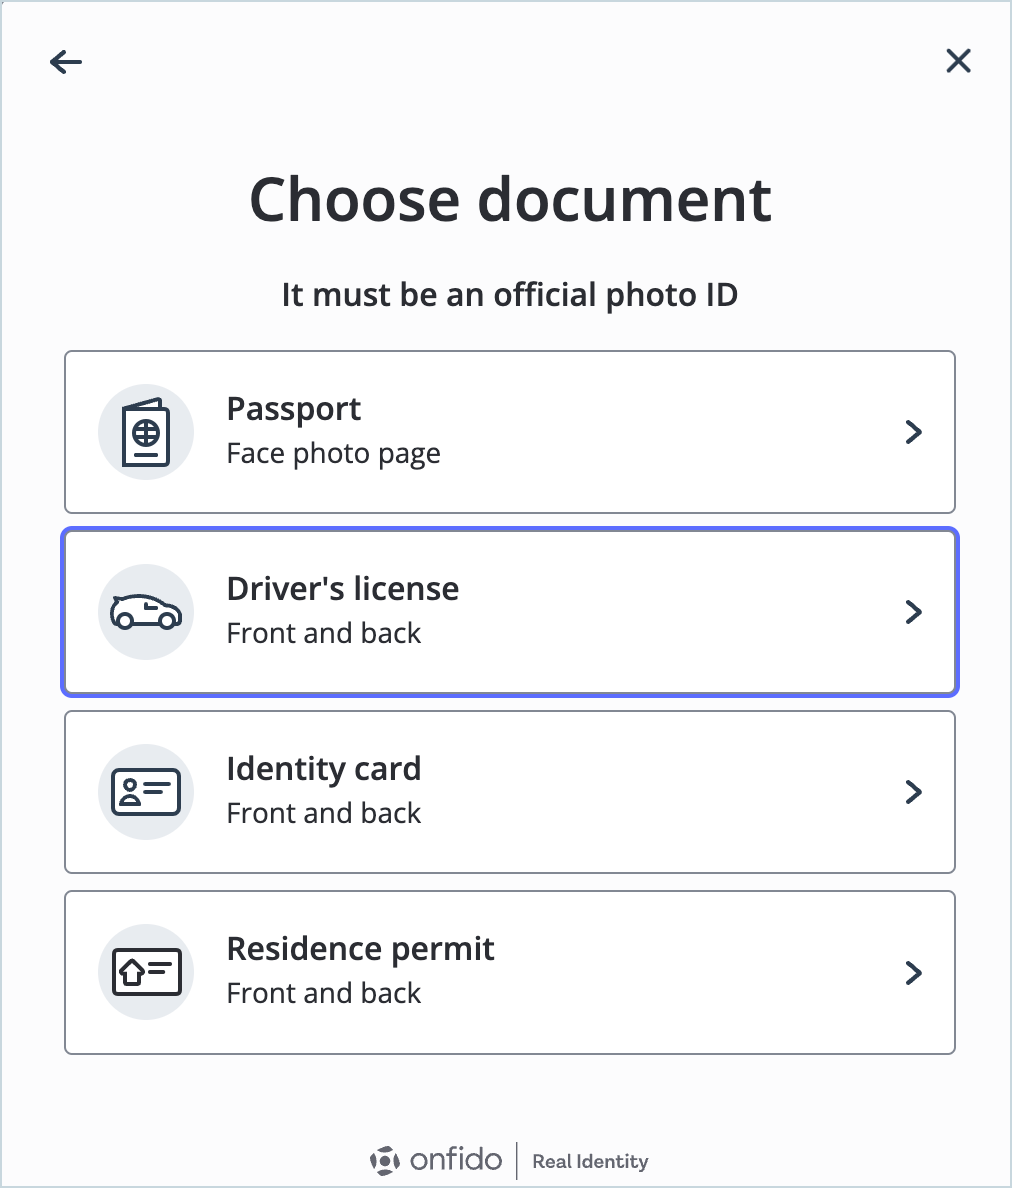
Click on the document type to use for verification. In our example, we’re using a Driver’s Licence.
-
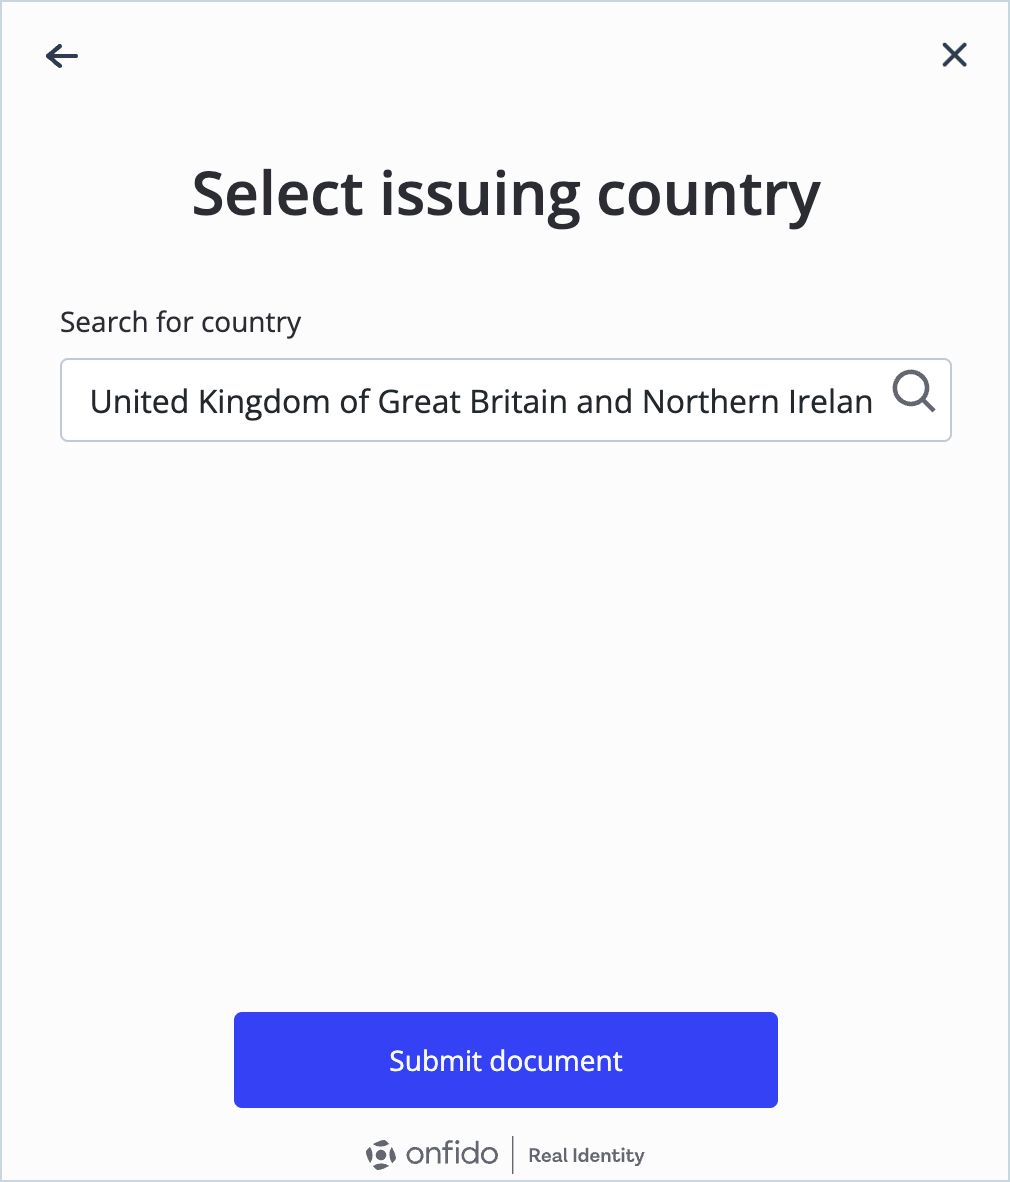
Select the issuing country for the driver’s licence and click Submit document.
-
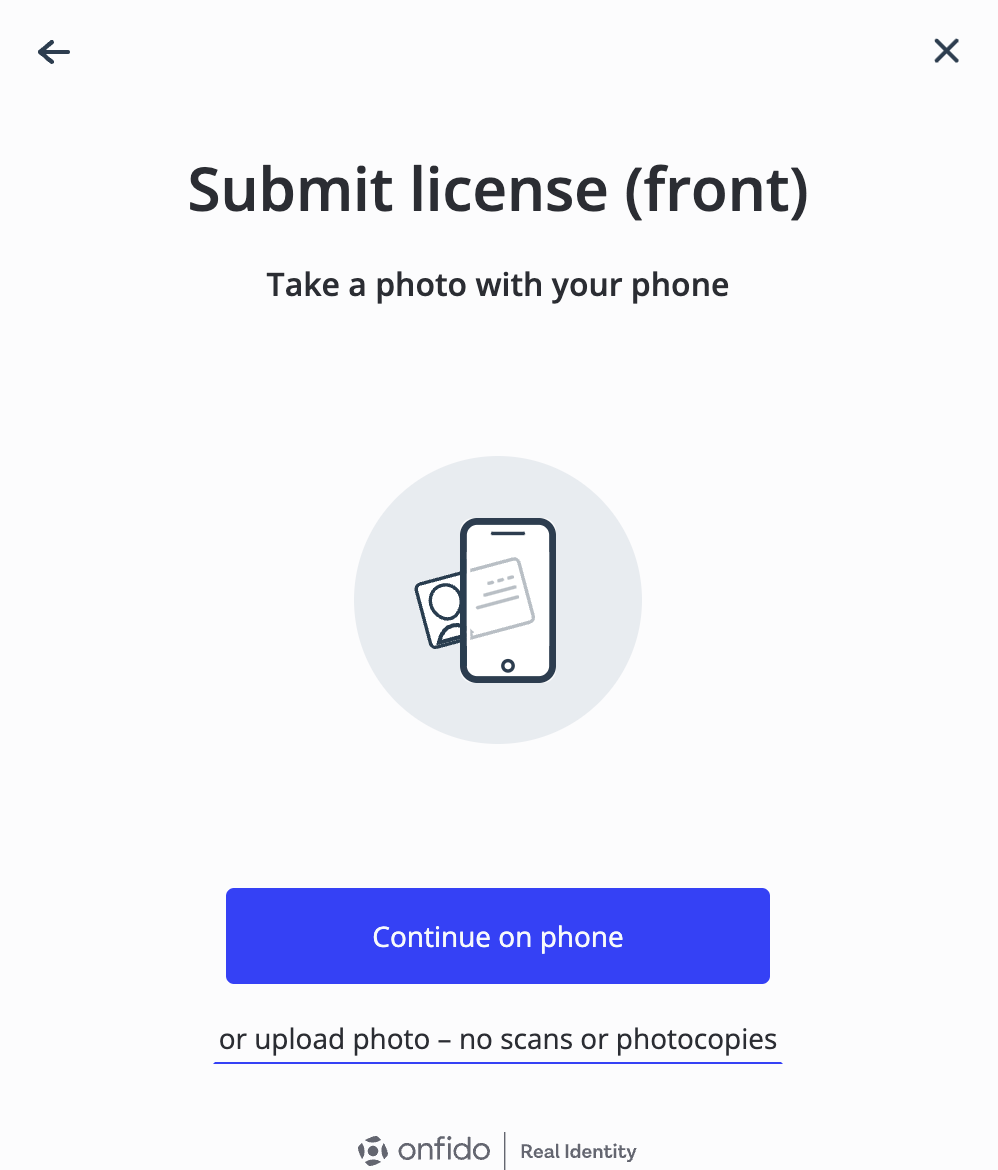
Click Continue on phone.
-
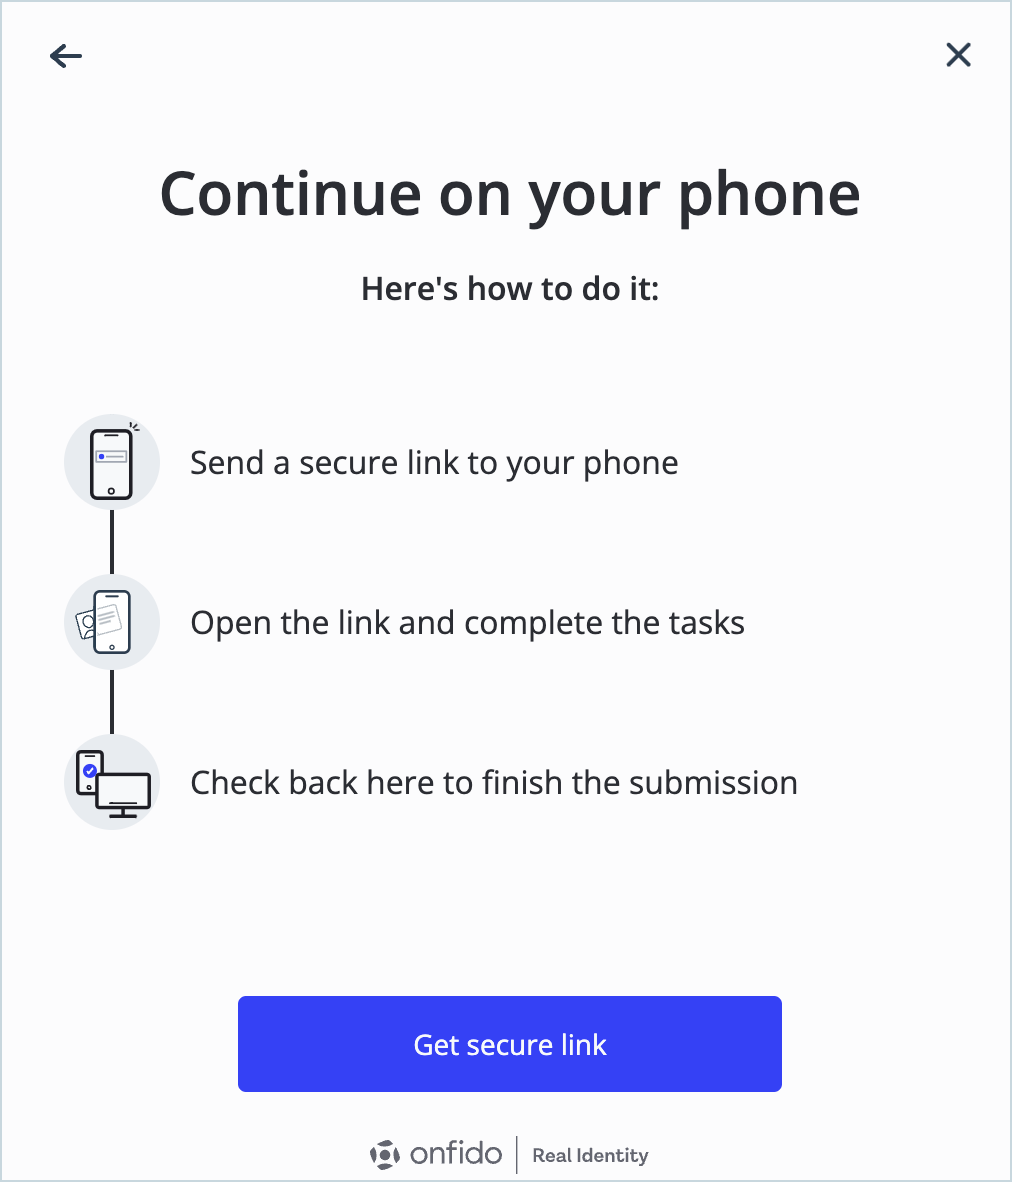
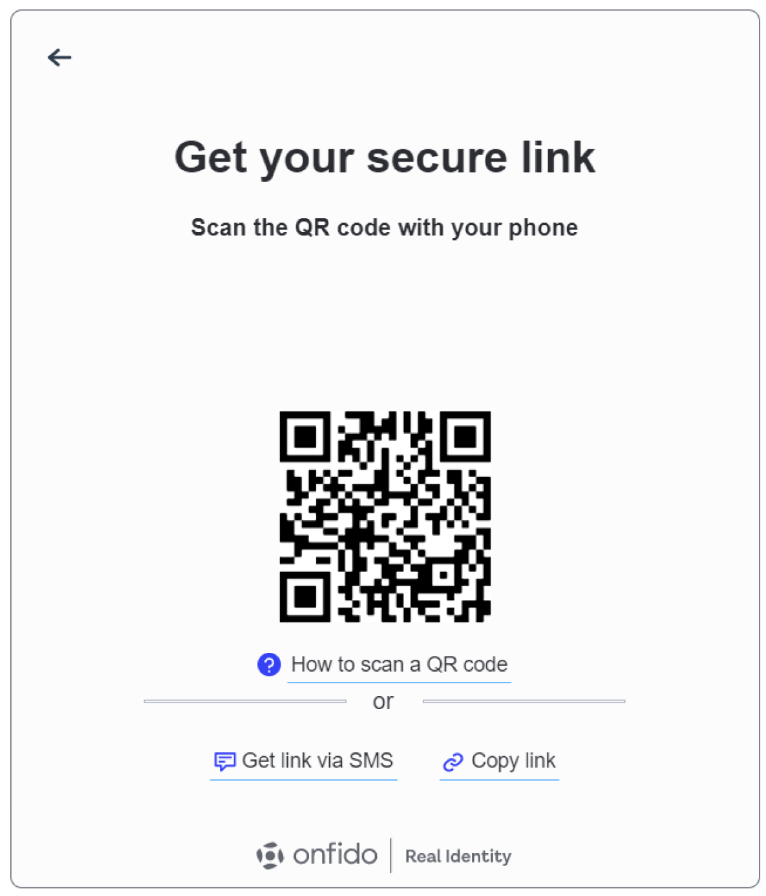
Click Get secure link.
-
Scan the QR code with your phone and go to the Onfido site.
-
Follow the instructions on your phone to confirm the readability of each side of the document. For example:
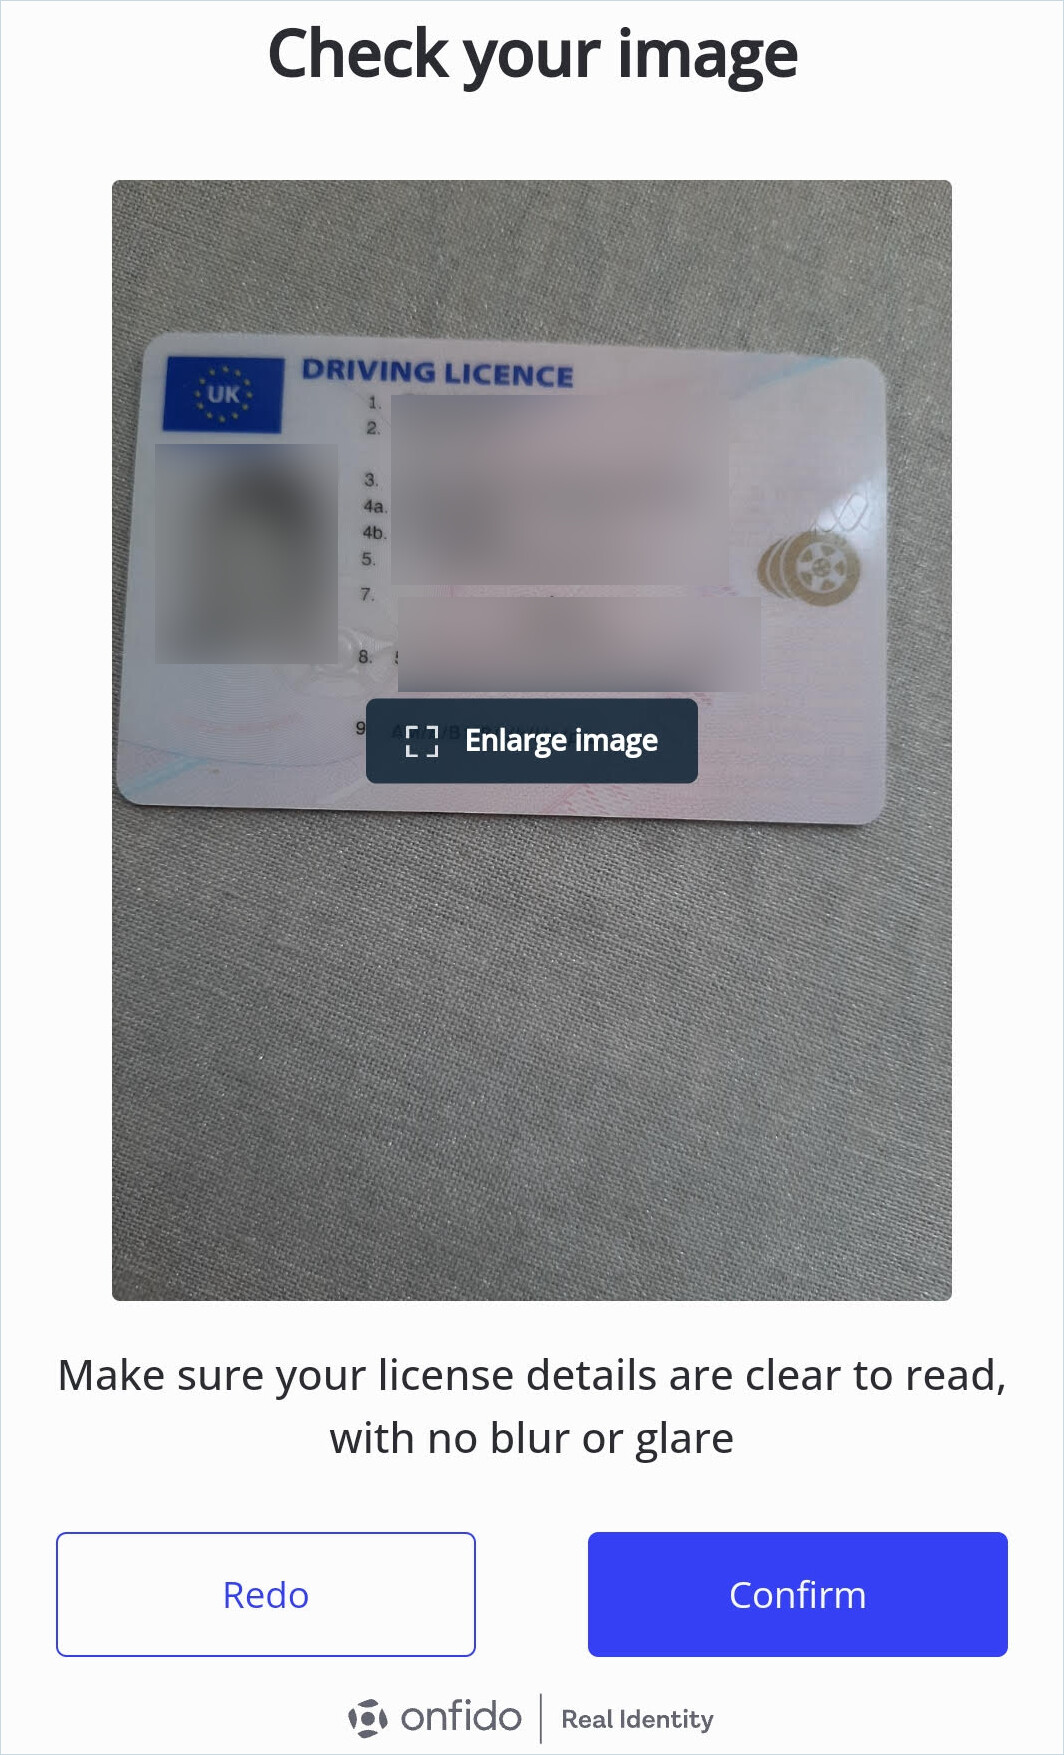
Once the uploads of the back and front of the document are complete, return to your computer to complete the registration.
-
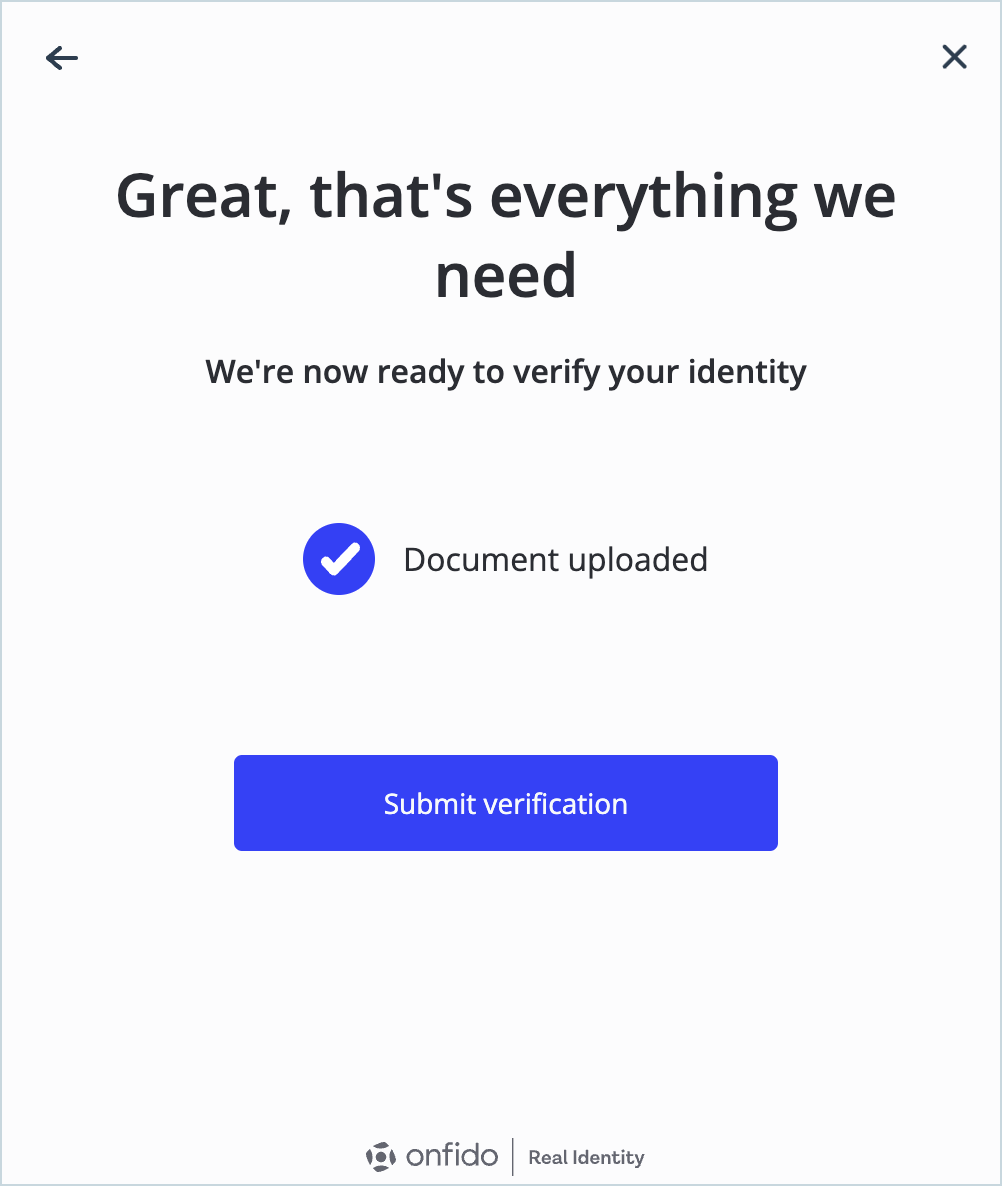
Click Submit verification.
-
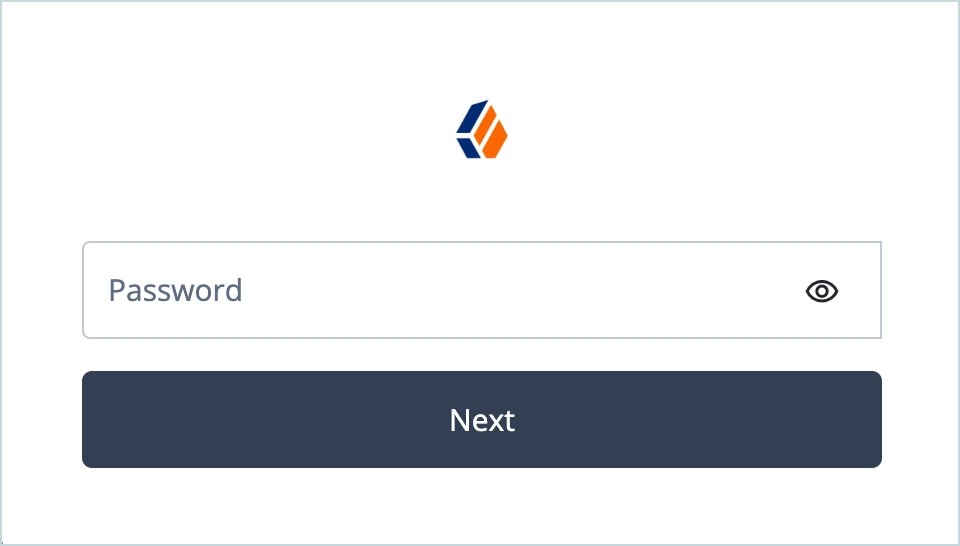
Once the document has been verified, enter a password for the test user and click Next.
If the registration is successful, you are successfully logged in as the test end user. The user’s account is created in Identity Cloud.
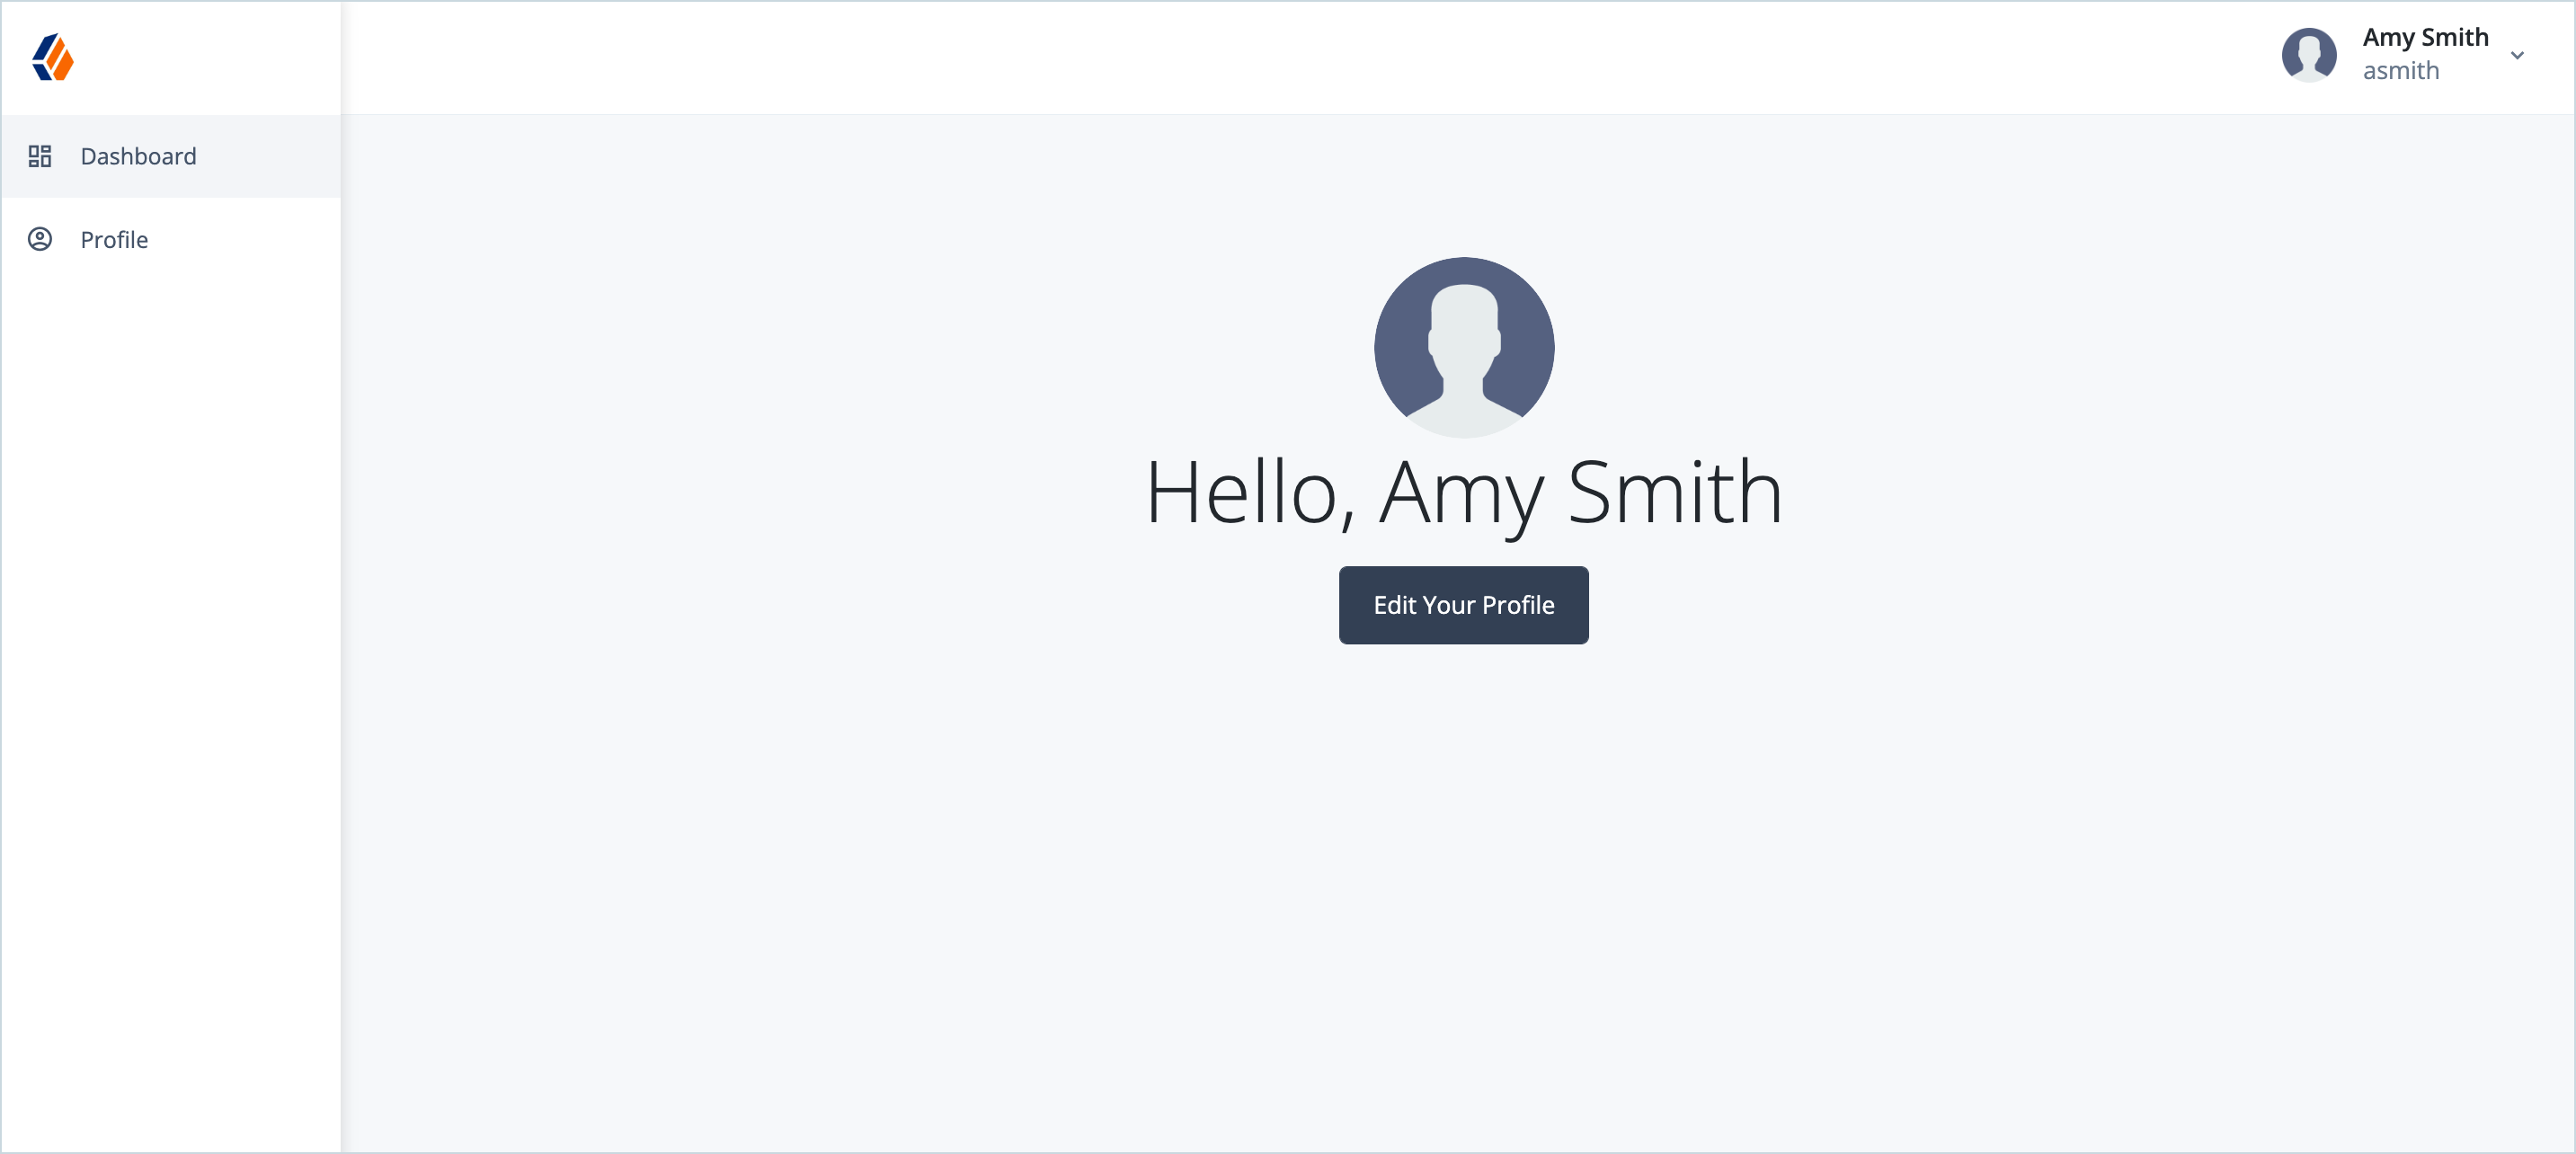
Notice that in the user’s profile (Edit Your Profile > Edit Personal Info), the field that is used to collect the Onfido ApplicantID Attribute contains a unique identifier from Onfido. For example:
