Use case: Configure lost second-factor token replacement in ForgeRock
Author: |
Lucy Billington |
Created at: |
Dec 2022 |
Updated at: |
Jan 2023 |
Use case overview
Allowing end users to replace a lost second-factor authentication token is a common use case that is easily implemented in ForgeRock Identity Cloud. If a device that has been registered for second-factor authentication is lost or stolen, the user can provide a recovery code as an alternative method of authentication.
This use case is achieved by creating a user journey that allows the user to register a device and authenticate with it or use a recovery code to register a new device if the device is lost or stolen. Once a new device has been registered, the user can delete the old device from their profile.
Steps to achieve this use case
This example use case demonstrates how to create a simple login journey that includes Web Authentication (WebAuthn) nodes for FIDO2-enabled device registration and authentication, and recovery code nodes for authenticating if a registered device is lost or stolen.
To create the login journey:
-
Sign in to the Identity Cloud admin UI using your admin tenant URL, in the format
https://<tenant-name>/am/XUI/?realm=/#/. -
Go to Journeys > New Journey.
-
Enter a unique name for the journey, select which identities will authenticate using this journey, (optionally) enter a journey description, and click Save.
-
Create a journey similar to this, keeping the default node configurations as they are:
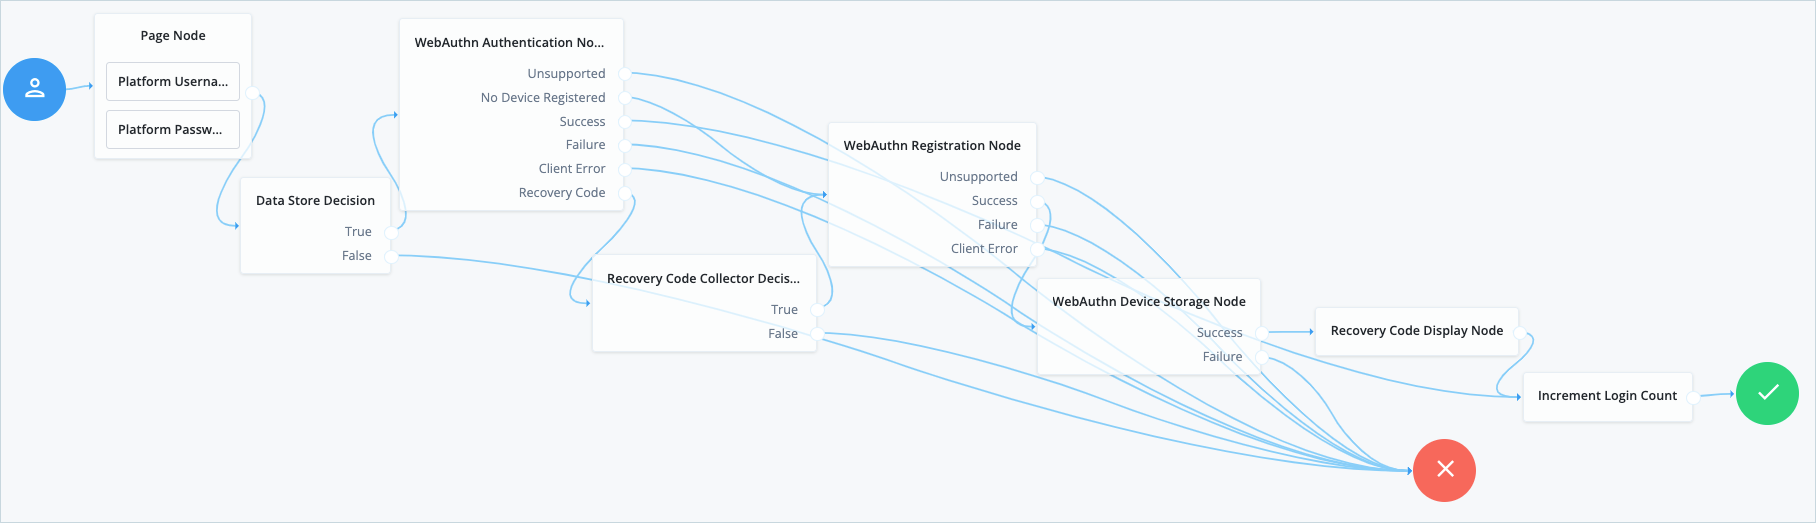
Node descriptions: * Platform Username - Prompts the user to enter their username. See Platform Username node for further information. * Platform Password - Collects the user’s password. See Platform Password node for more information. * Data Store Decision - Verifies that the username and password values match those in the data store configured for the realm. See Data Store Decision node for further information. * WebAuthn Authentication Node - Checks whether the device supports WebAuthn and allows users to use a registered WebAuthn device during authentication. See WebAuthn Authentication node for further information. * Recovery Code Collector Decision - Allows users to authenticate with a recovery code provided when registering a device for multi-factor authentication. See Recovery Code Collector Decision node for further information. * WebAuthn Registration Node - Allows users of supported clients to register FIDO2 devices for use during authentication. See WebAuthn Registration node for further information. * WebAuthn Device Storage - Writes information about FIDO2-enabled devices to a user’s profile. The user can subsequently authenticate using the device. See WebAuthn Device Storage node for further information. * Recovery Code Display - Retrieves generated recovery codes from the transient state and presents them to the user, for safe-keeping. The codes can be used to authenticate if a registered device is lost or stolen. See Recovery Code Display node for further information. * Increment Login Count- Increments the successful login count property of a managed object. See Increment Login Count node for further information.
-
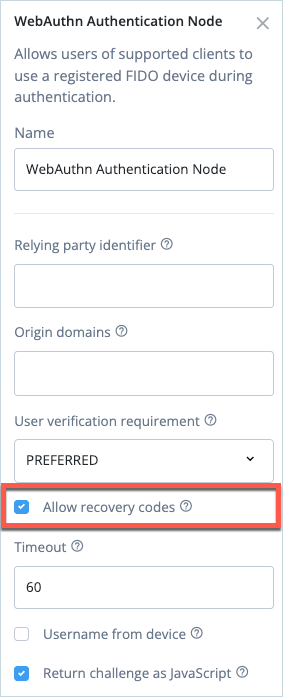
Click on the WebAuthn Authentication Node and select the Allow recovery codes checkbox in the node configuration.
-
Click on the Recovery Code Collector Decision node and select
WEB_AUTHNas the recovery code type in the node configuration.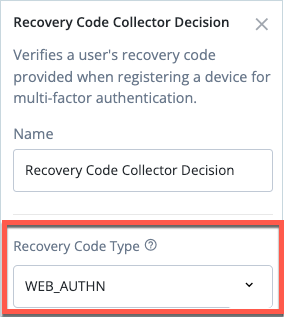
-
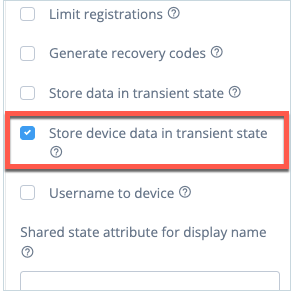
Click on the WebAuthn Registration Node and select the Store device data in a transient state checkbox in the node configuration.
-
Click Save to save the journey.
Testing the use case
To test the use case, make sure that your test end user doesn’t have any devices already registered on their profile.
NOTE: The test should be run on a client that supports WebAuthn. See MFA: Web authentication (WebAuthn) for further information. The steps may differ slightly depending on your browser type; in this example, we’re using Google Chrome.
The test is in two parts:
-
Register a FIDO2 device and store the recovery codes
-
Use a recovery code to log in and register a new FIDO2 device
Register a FIDO2 device and store the recovery codes
-
In the Identity Cloud admin UI, go to Journeys.
-
Click the WebAuthn journey you created previously and copy the Preview URL.
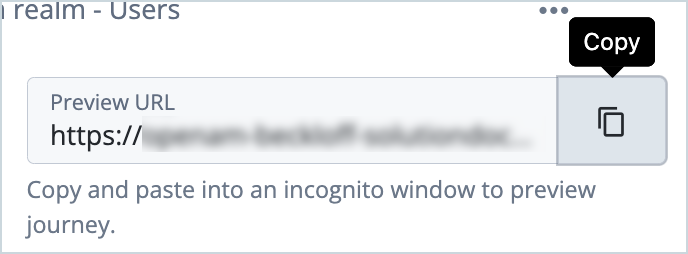
-
Paste the preview URL into a browser using Incognito or Browsing mode.
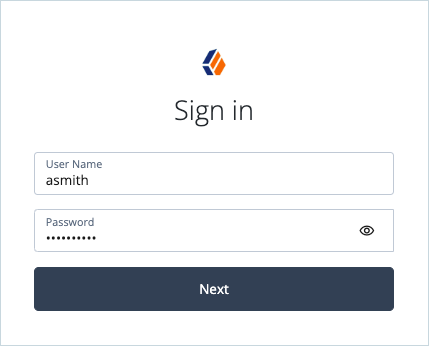
-
Enter the test user’s username and password in the Sign In screen and click Next.
-
Select the method of registering the device. In this example, we’ll choose
This device.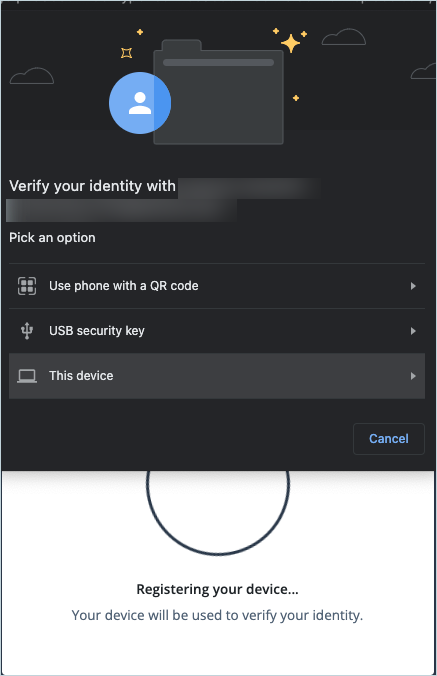
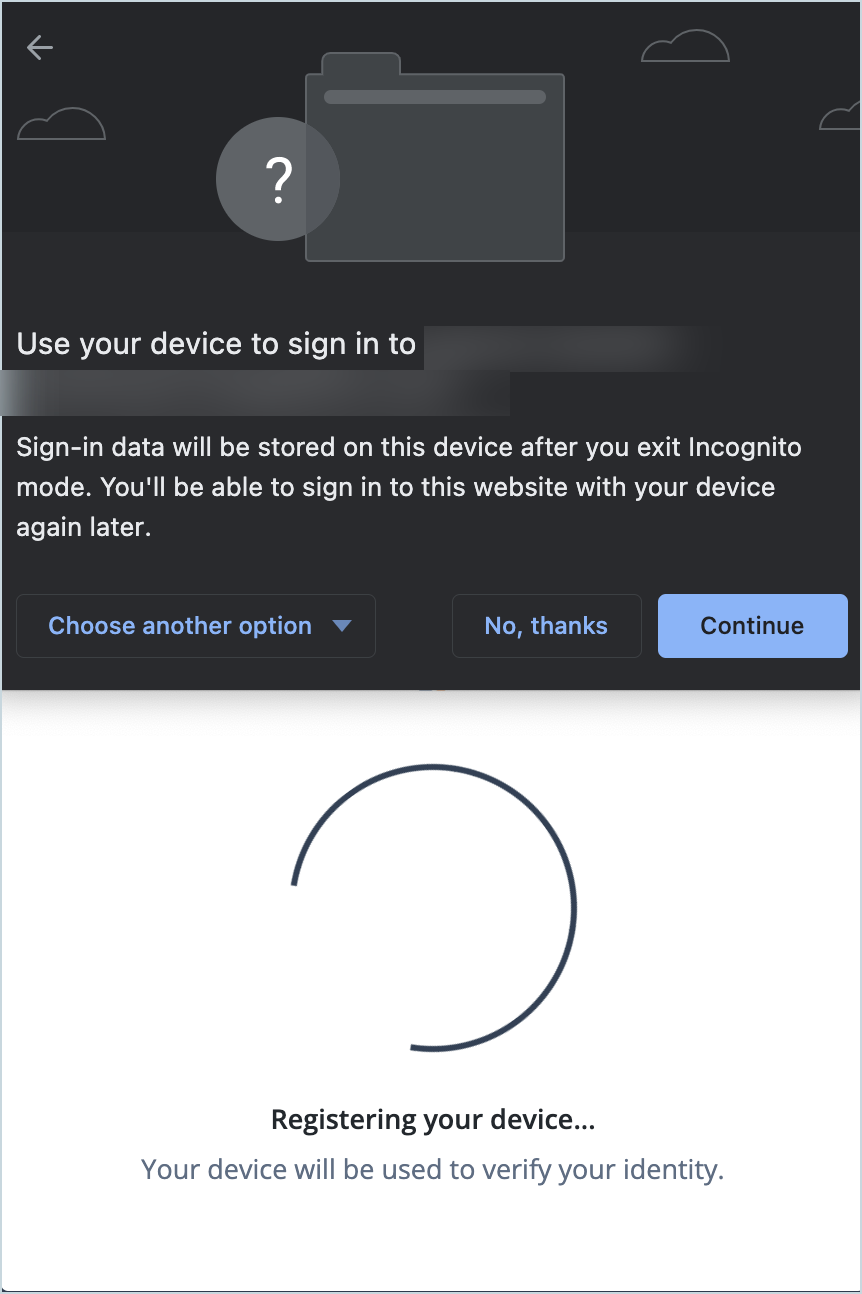
-
Click Continue.
-
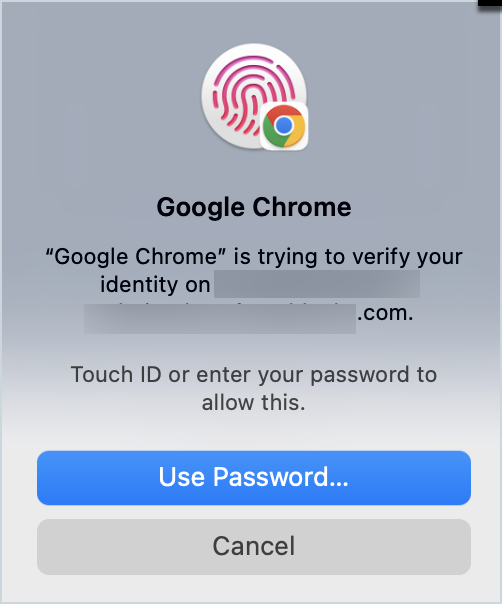
Scan your fingerprint when prompted. For example, with Touch ID:
-
Print and store the security codes in a safe place and click Done.
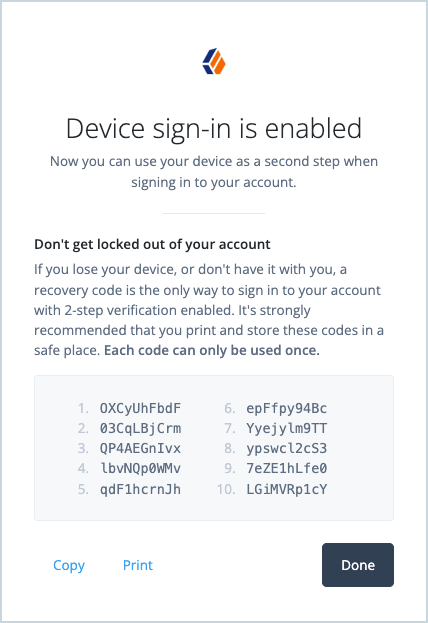
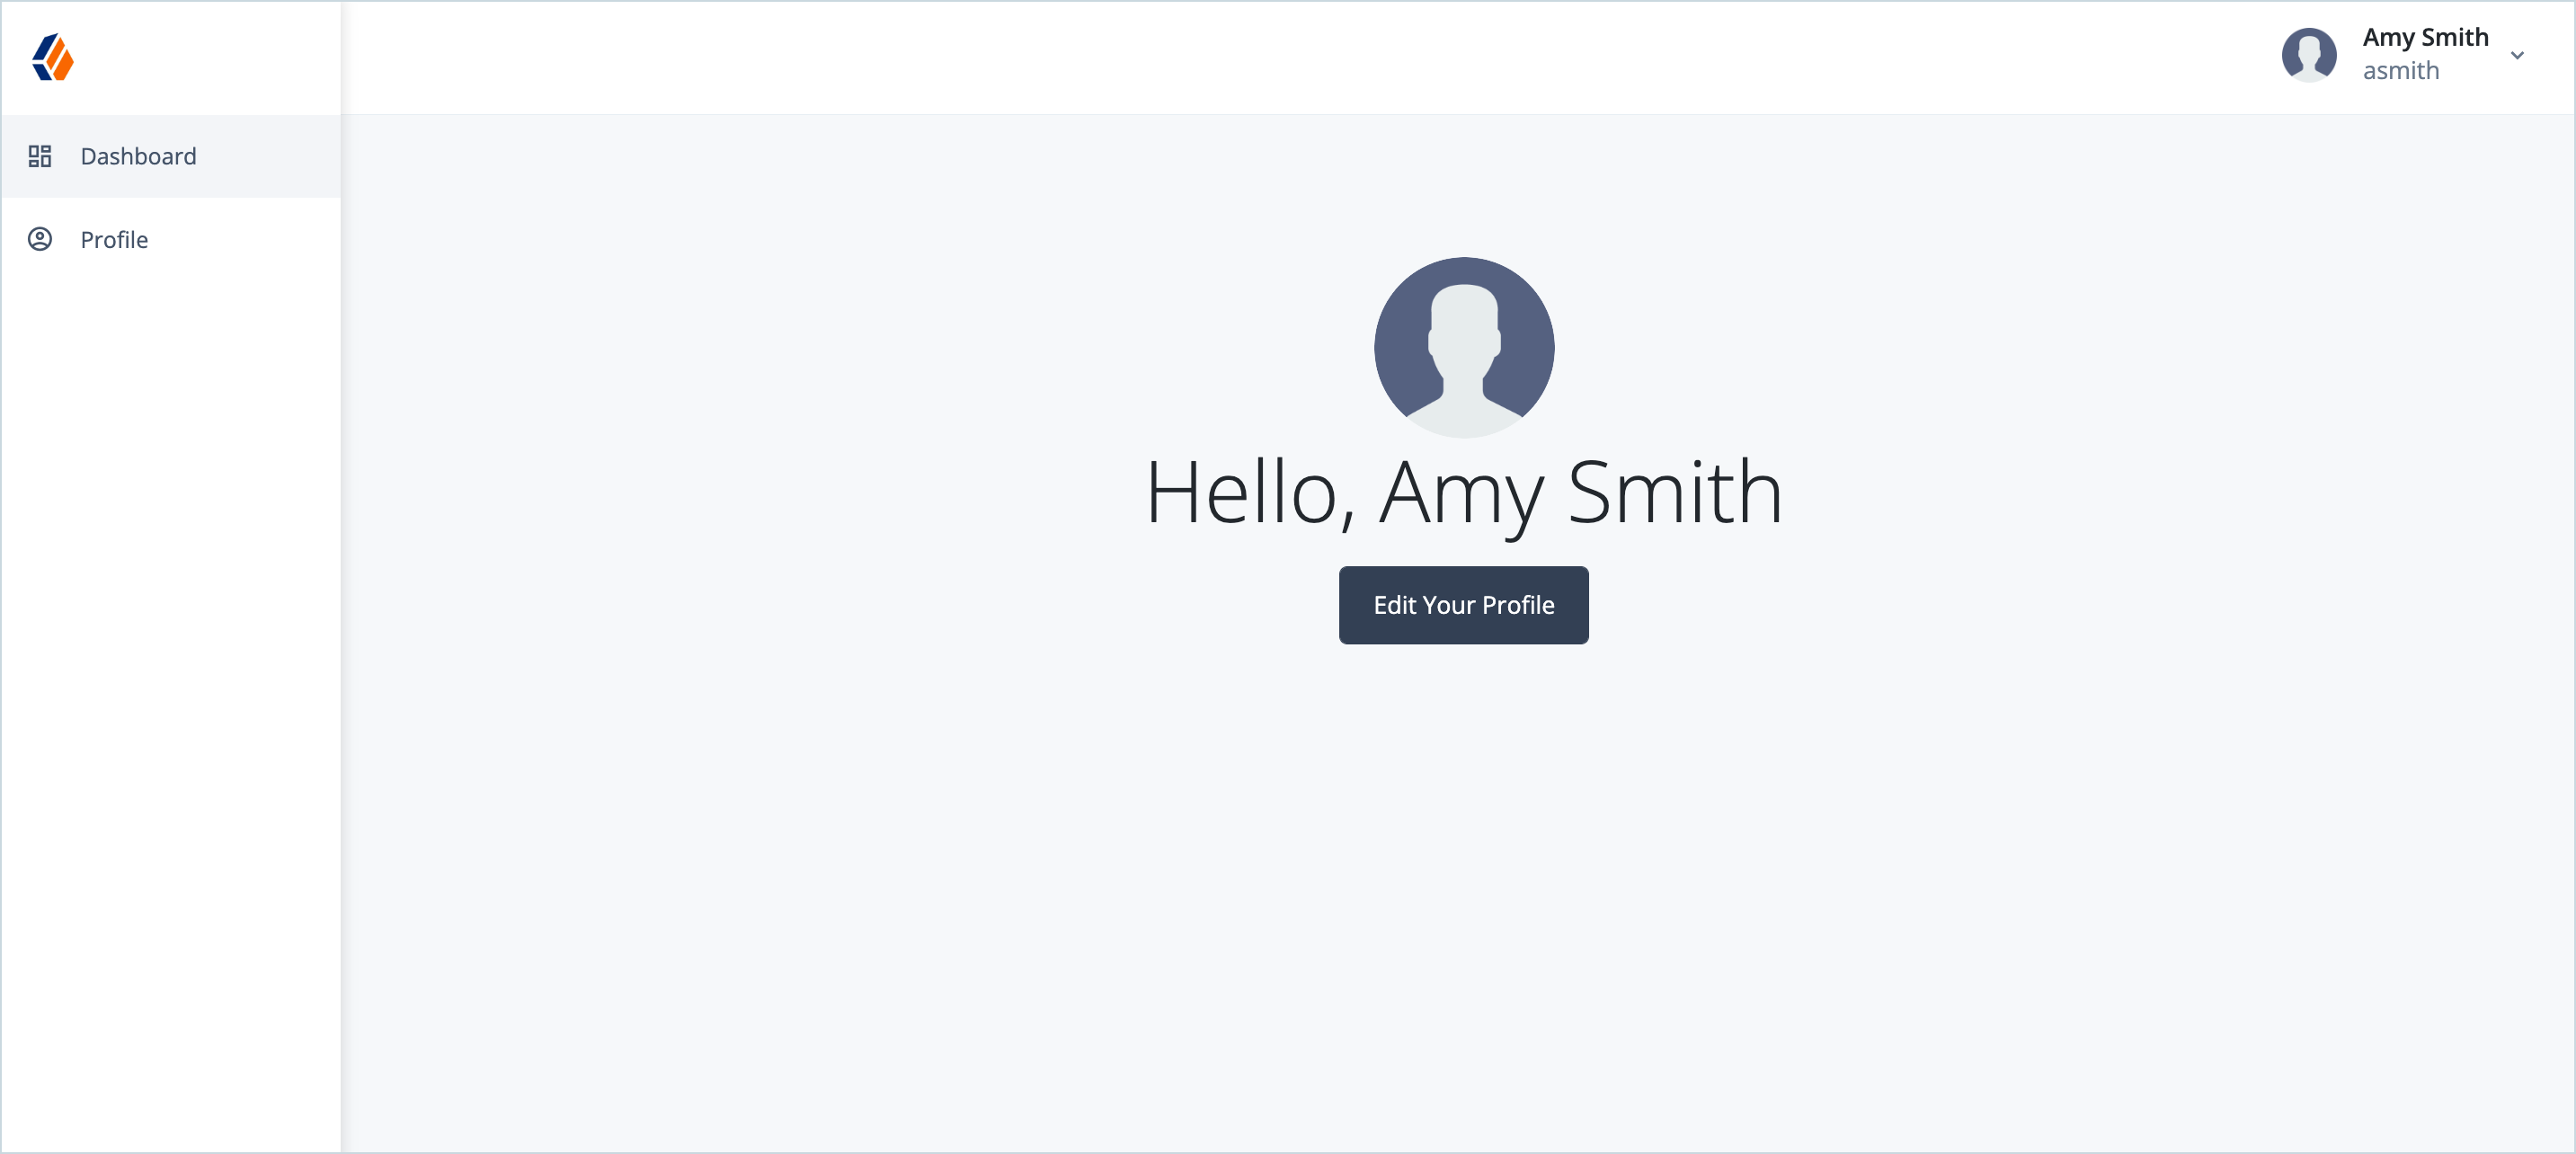
Once the test user’s identity has been verified and the device has been associated with the account you are successfully logged in.
-
Click Edit Your Profile.
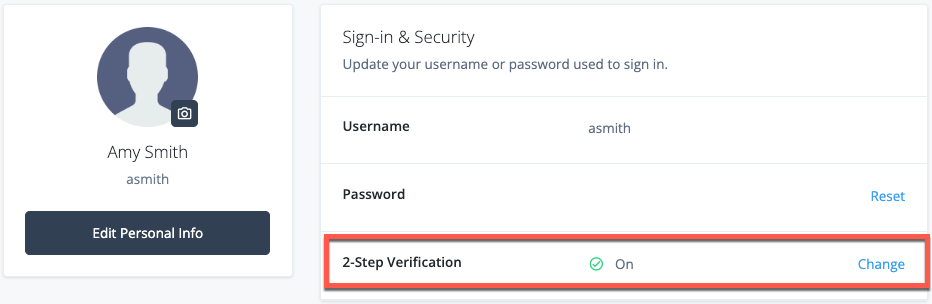
In the Sign-in & Security section, 2-Step Verification should be ‘On’. This indicates that device(s) have been registered.
-
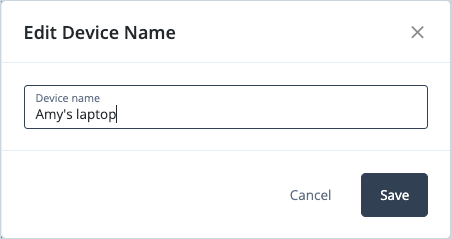
Click Change > … > Edit Name to rename the registered device and click Save.
-
Sign out of Identity Cloud.
Use a recovery code to log in and register a new FIDO2 device
-
Paste the same WebAuthn journey URL (you created previously) into a different browser using Incognito or Browsing mode.
-
Enter the test user’s username and password in the Sign In screen and click Next.
-
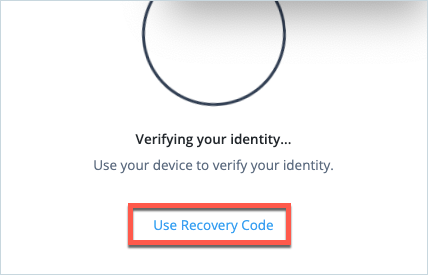
Click Use Recovery Code.
-
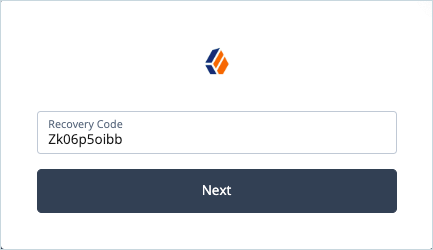
Enter one of the recovery codes you saved in the previous steps and click Next. For example:
-
Select the method of registering the device. In this example, we’ll choose
This device.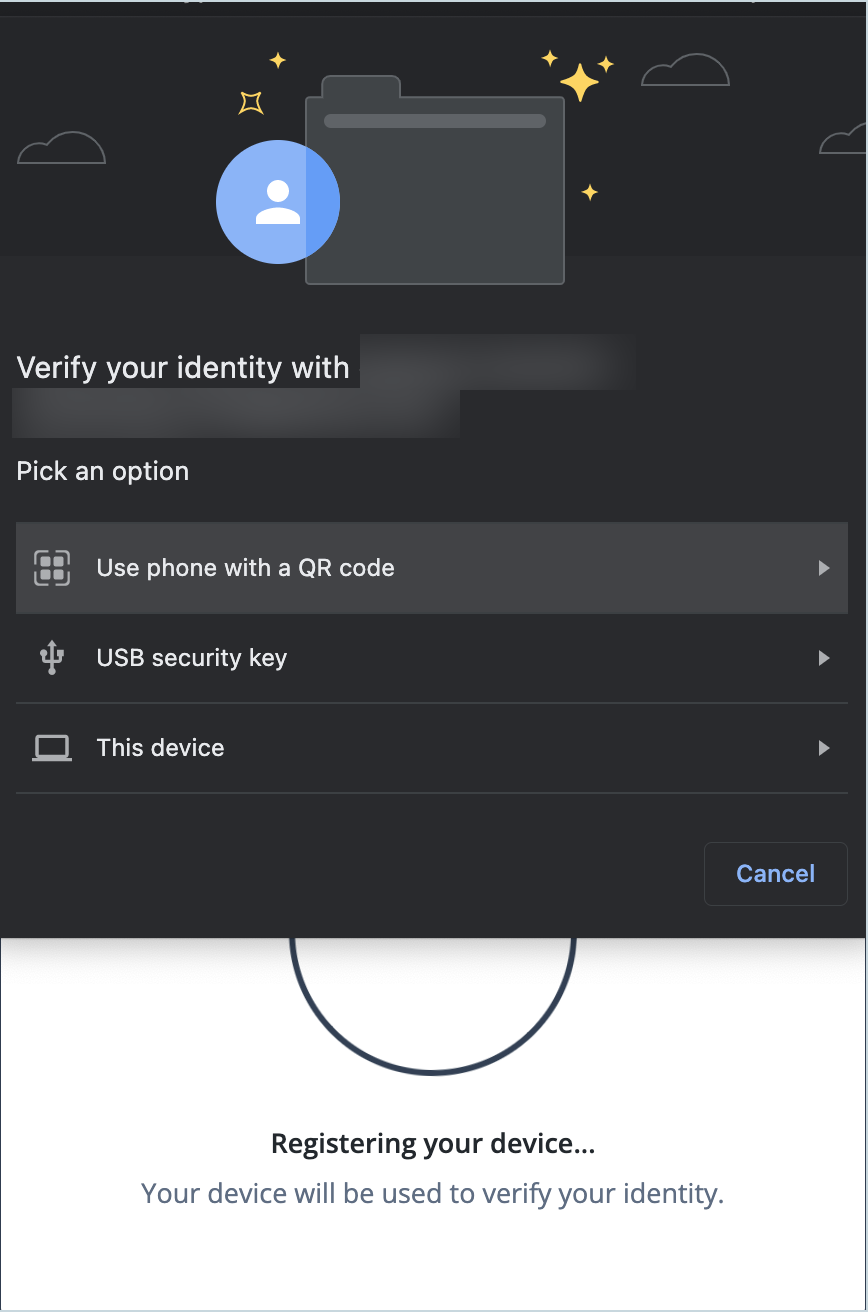
-
Click Continue.
-
Scan your fingerprint when prompted.
-
Once the test user’s identity has been verified and the device has been associated with the account you are successfully logged in.
-
Click Edit Your Profile.
In the Sign-in & Security section, 2-Step Verification should be ‘On’. This indicates that a device has been registered for two-factor authentication.
-
Click Change.
-
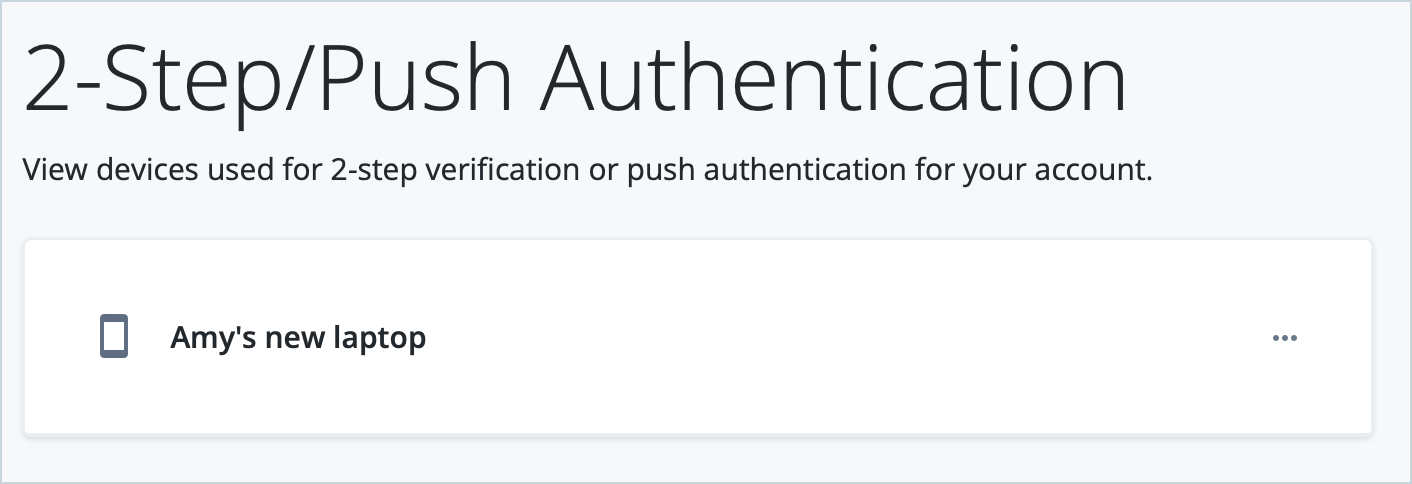
Next to New Security Key, click … > Edit Name, rename the newly registered device, and click Save.
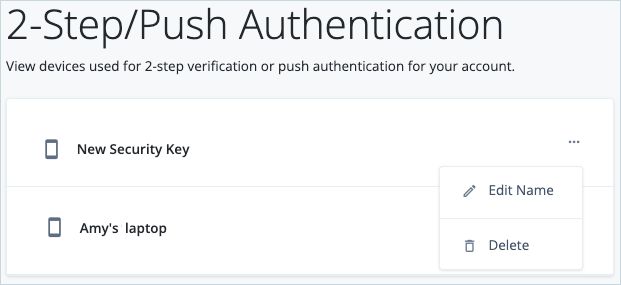
For example:
-
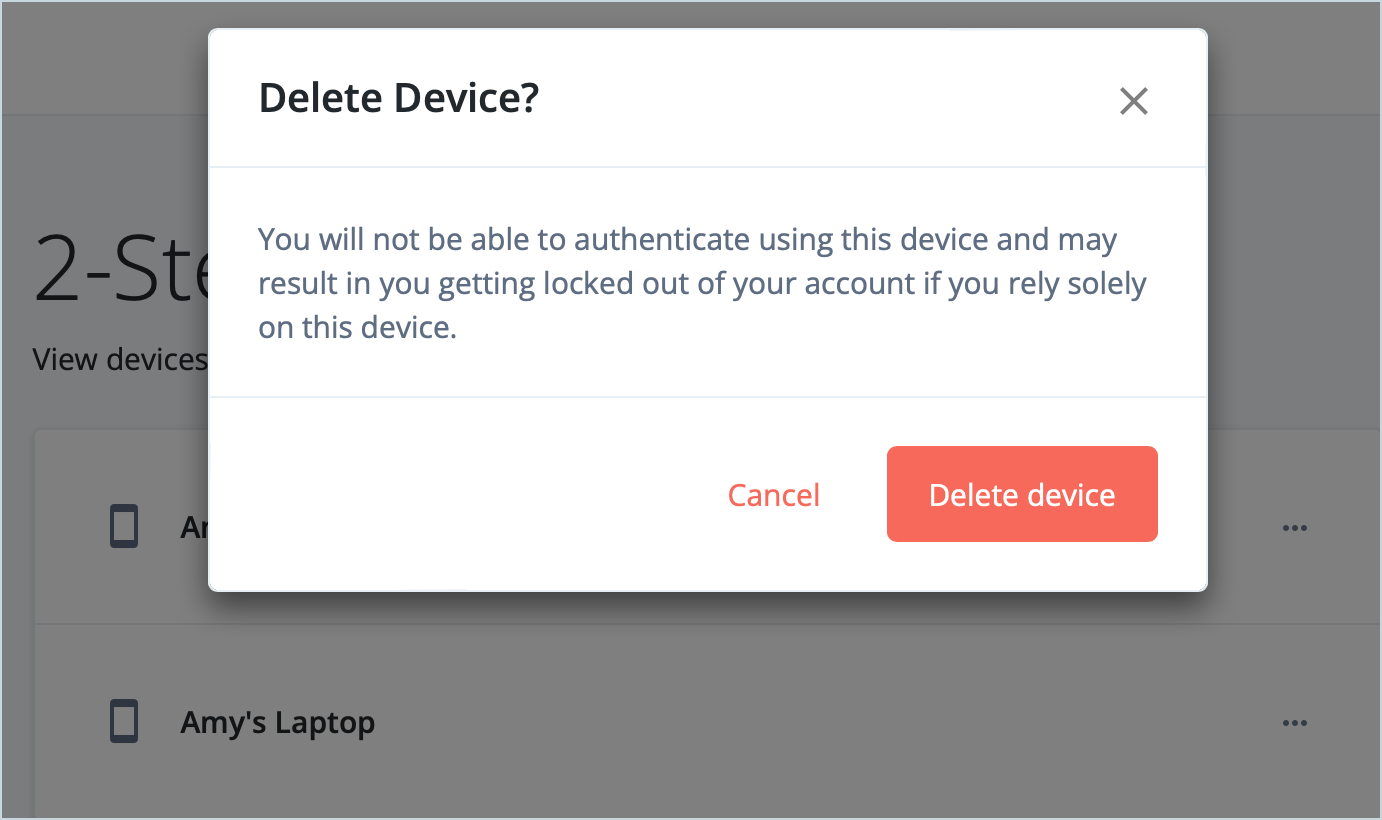
Next to the old device, click … > Delete.
-
Click Delete device to remove the old device.
Conclusion
This use case has demonstrated how you can easily design user journeys in Identity Cloud that enable your users to authenticate and register a new device if their second-factor device has been lost or stolen. End users can manage their devices in a simple UI, allowing them to remove devices that are no longer used.