Part 1: Creating Themes in ForgeRock Identity Cloud
Author: |
George Bafaloukas |
Created at: |
Jul 2021 |
Updated at: |
Jul 2022 |
This article was written by George Bafaloukas and Adam Crockett.
Overview:
Who is this article for?
Step-by-step instructions follow for anyone who wishes to use hosted pages (more on that later in the article) in their mobile or web app, with the help of the ForgeRock SDKs.
The goal is to give you practical advice on theming, show how the SDKs help the integration, and provide some best practices along the way.
Prior knowledge configuring ForgeRock Identity Cloud is helpful, but not assumed.
This article is the first of four in a series:
-
Creating Themes in ForgeRock Identity Cloud (Part 1)
-
Integrating a Single-Page app (SPA) with ForgeRock Identity Cloud (Part 2)
-
Integrating Native Mobile Apps with ForgeRock Identity Cloud (Part 3)
-
Navigate to a Specific Journey Using Centralized Login (Part 4)
What are hosted pages?
Hosted pages are a ForgeRock Identity Cloud capability that let you centrally host parts of the user interface (UI) of your mobile or web application. Use the pages to enable any user journey registration, self-service, authentication, and authorization.
Leveraging the power of Intelligent Access and Centralizing the UI for access journeys lets you:
-
Seamlessly and quickly integrate multiple web and mobile applications with ForgeRock Identity Cloud—a consistent omnichannel experience.
-
Maximize your flexibility to change the self-service and authentication behavior of a journey without disrupting the end-user experience.
-
Use a WYSIWYG editor to brand and theme pages to match an organization’s color palette and UI standards.
The result: When your users start the login process within your application, the app seamlessly redirects the users to your Identity Cloud tenant for authentication. Based on the access journey you designed, a UI appears that contains all of your theming and branding.
Prerequisites for using themes in ForgeRock Identity Cloud
Before reading further, visit the following links:
-
Access to a Forgerock Identity Cloud Tenant with admin privileges
Themes in the Identity Cloud admin portal
Changing the Realm theme
-
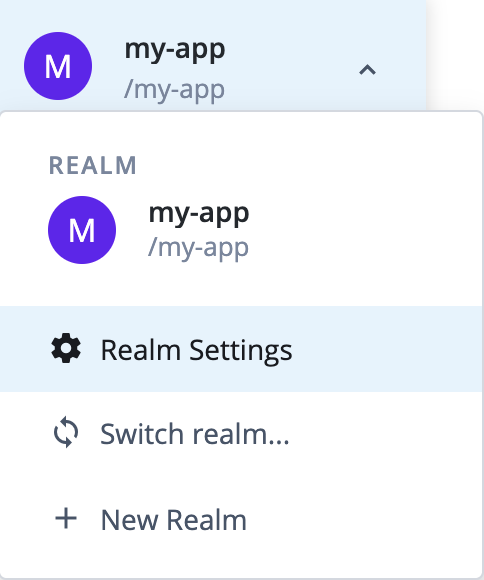
Log in to the Admin UI of your Forgerock Identity Cloud instance using an administrator account.
-
Navigate to Realm Settings → Theme.
**
-
Using the WYSIWYG editor, select colors for the elements that display on the screen. You can customize the default look and feel for sign-in, registration, and profile pages.
-
You can add a company logo using the Logo tab on the editor:
Set a small logo for sign-in and registration pages.
Set a larger logo for user profile navigation. (Base64-encoded String, or self-hosted Logo URL).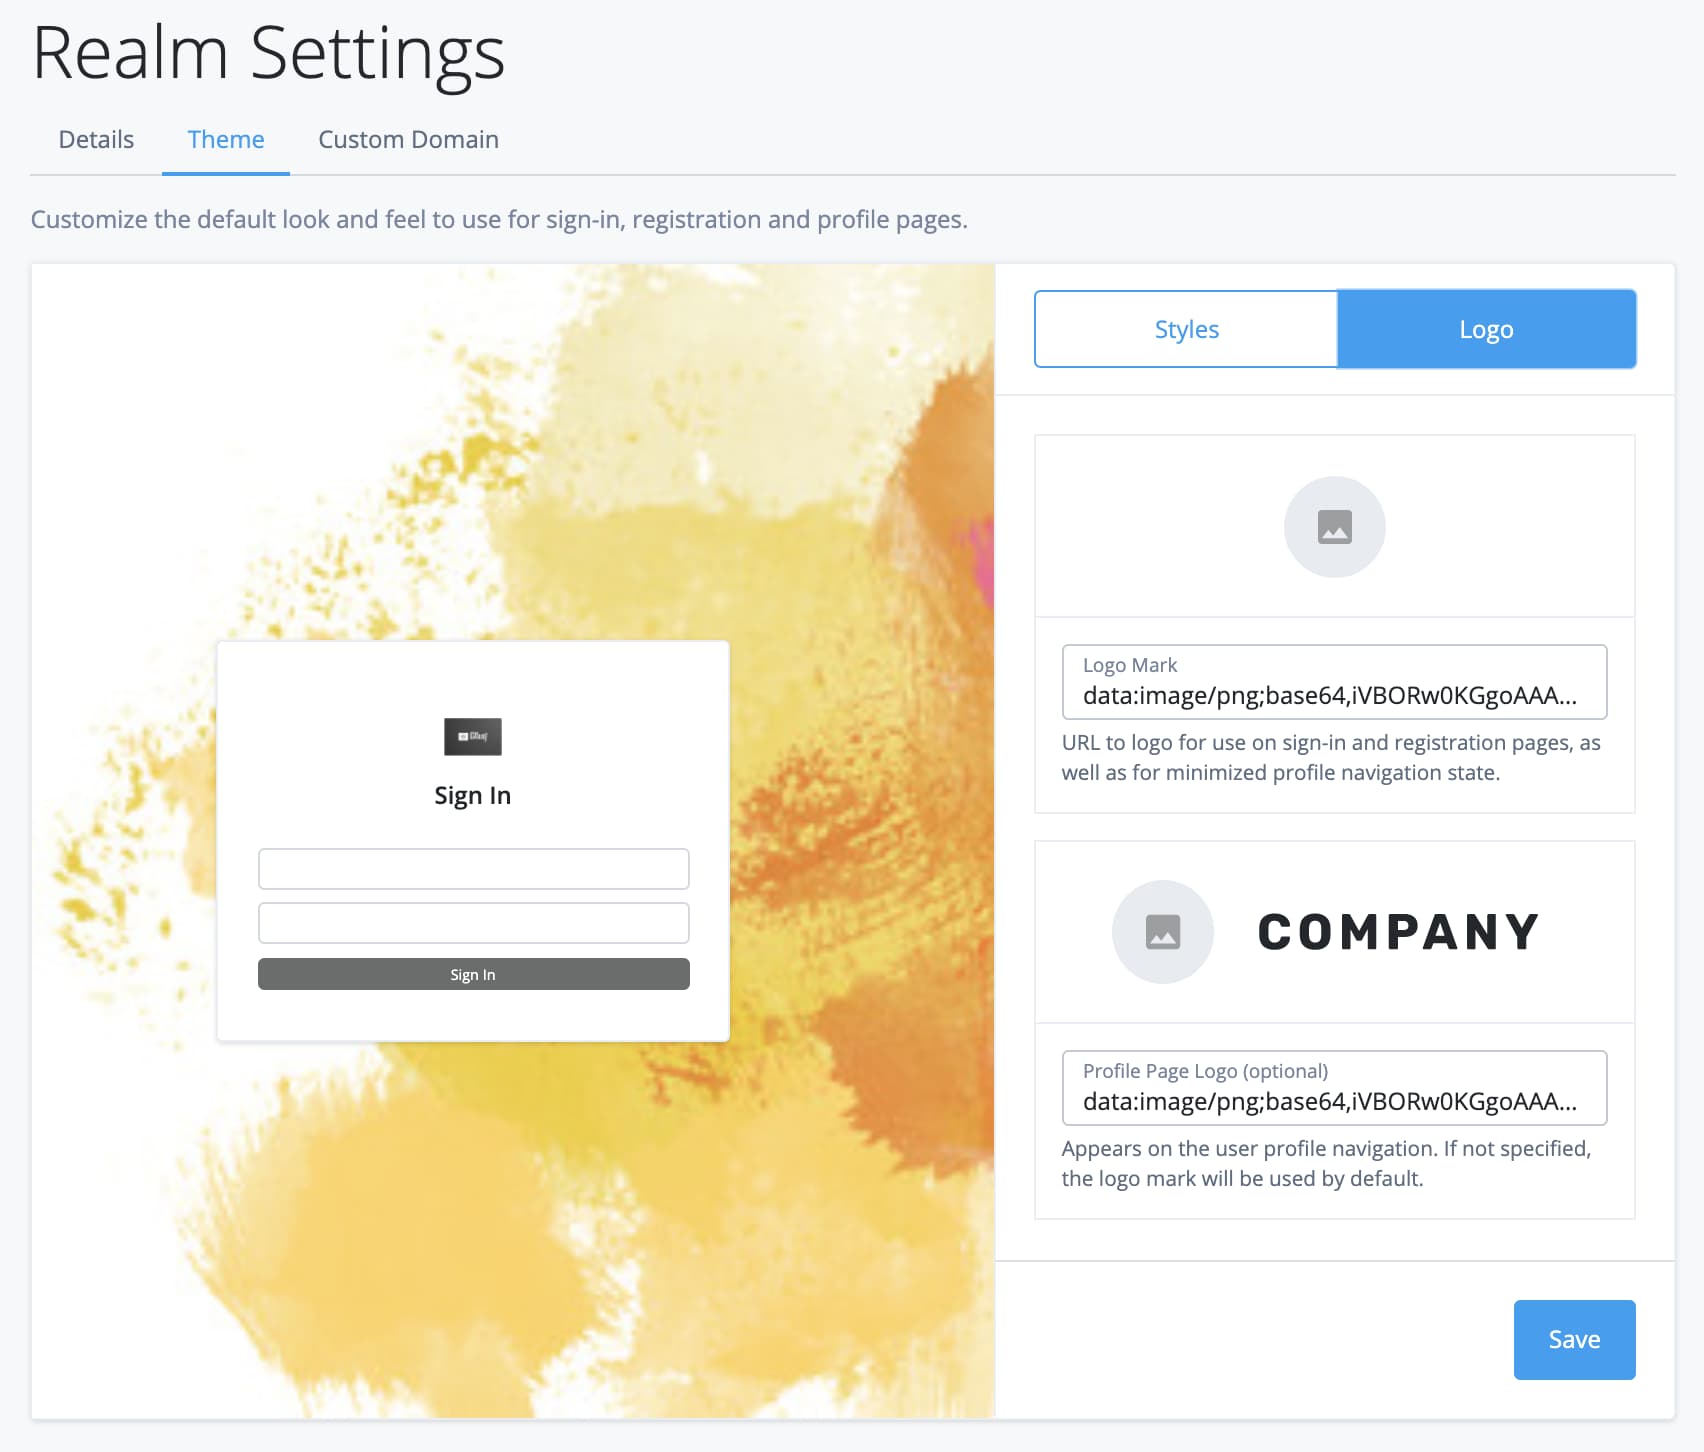
Use the Theme Logo tab to change the small logo or logo mark as seen in the above screenshot. You can also adjust the full-size logo or profile page logo that appears when a customer or admin completes authentication.
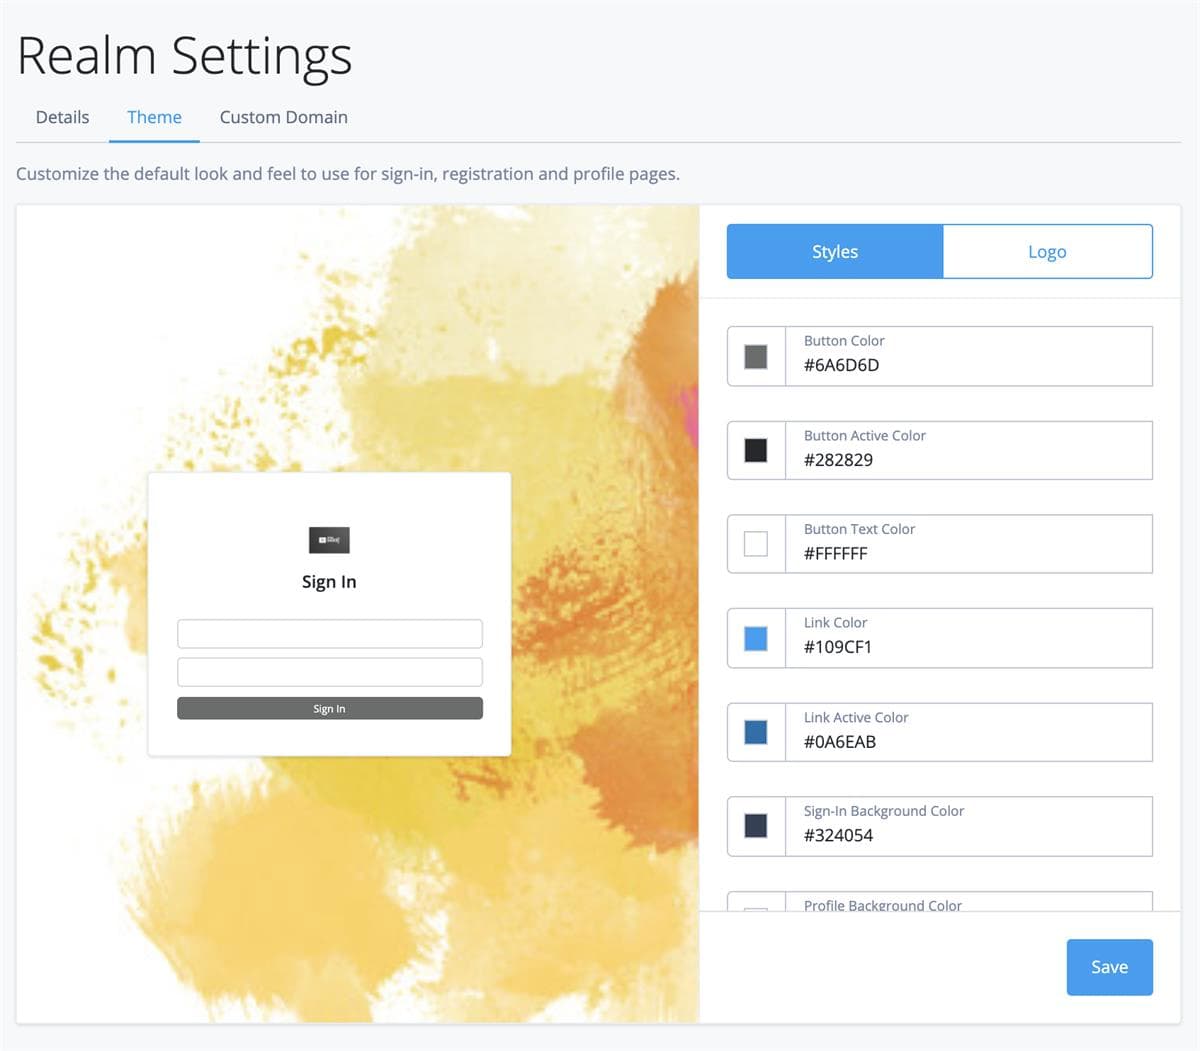
Use the Theme Styles tab to change the look and feel of the UI on your hosted page.
Testing your Theme configuration
-
Log out from the Admin UI
-
In a new tab, access the default login journey of your tenant:
-
https://[TENANT-ADDRESS]/am/XUI/?realm=alpha&authIndexType=service&authIndexValue=Login
-
-
Use a user (non-admin) account to authenticate.
-
Based on your theming configuration, the Login and Self Service profile pages should look similar to the following pages:

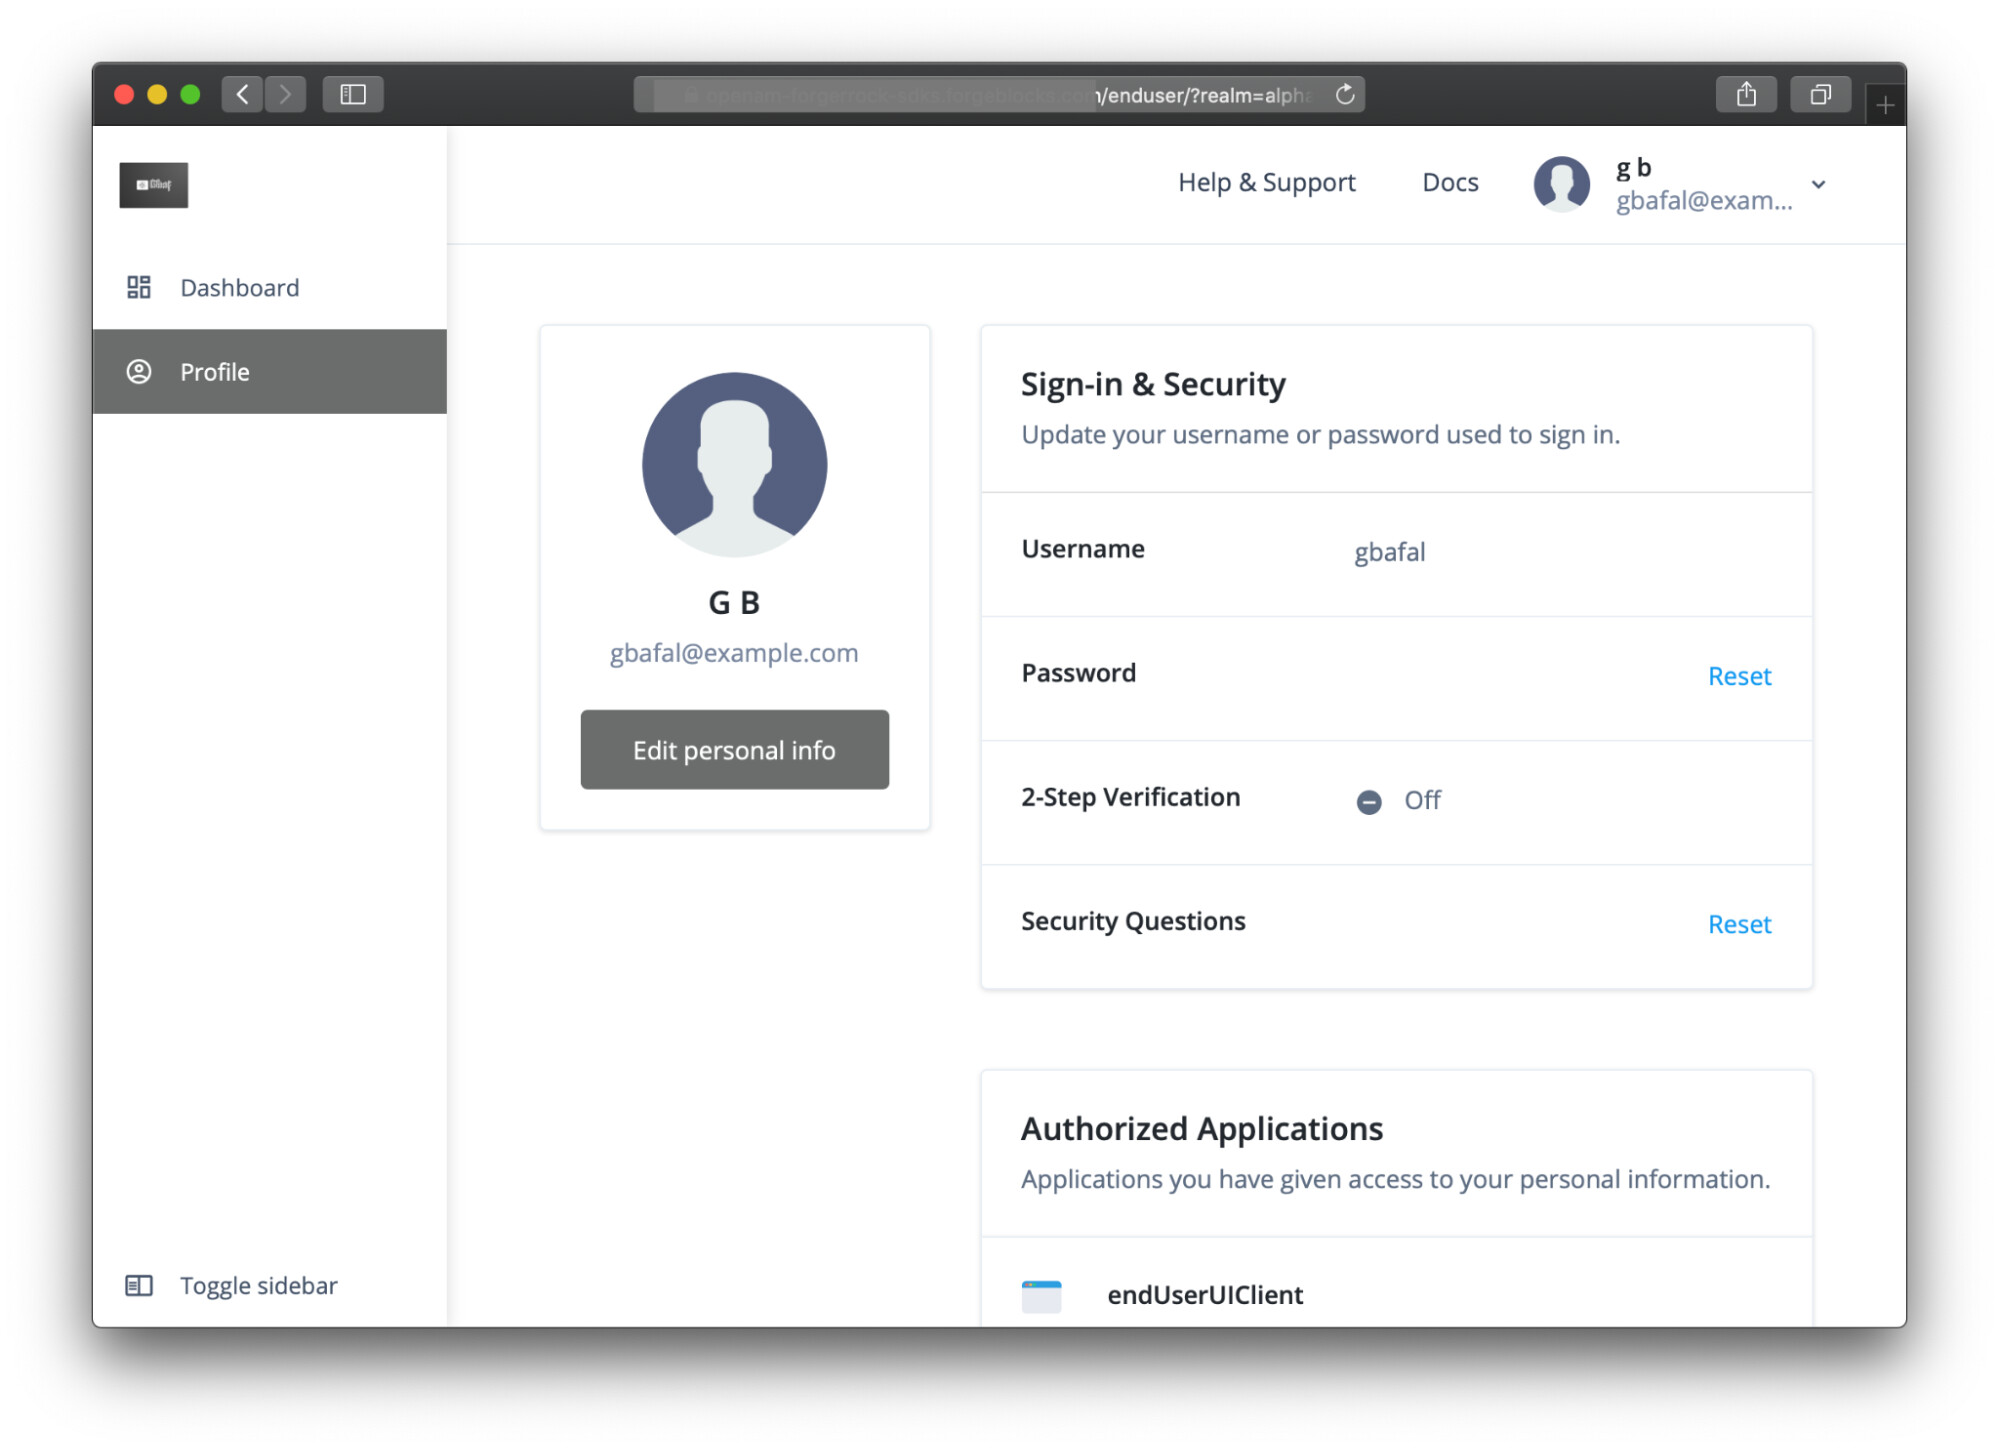
Notice the logo at the top of the page, as well as the custom color of
the buttons and the links.
Themes and realms
ForgeRock Identity Cloud tools let you set theming and branding for your
Authentication, Registration, and Self-Service journeys. Themes apply to
the selected Realm and are active for all journeys under that Realm. You
can use two Realms per tenant: Alpha and Bravo. Therefore, you can apply
two different themes to each tenant by setting a custom theme for each
of the available Realms.
What’s next?
In this article, you learned how to theme and brand your authentication, registration, and self-service pages in ForgeRock Identity Cloud. In a forthcoming article, you will learn how to integrate your JavaScript SPAs with ForgeRock Identity Cloud, reusing the themed, hosted pages.
Other Articles by This Author
![]() Part
2: Integrating a Single-Page app (SPA) with ForgeRock Identity Cloud
[.badge-category__name#Integrations#]
Part
2: Integrating a Single-Page app (SPA) with ForgeRock Identity Cloud
[.badge-category__name#Integrations#]
This article was written by George Bafaloukas and Adam Crockett. Overview Who is this article for? Step-by-step instructions follow for anyone who wishes to use hosted pages in their mobile or web app, with the help of the ForgeRock SDKs. The goal is to give you practical advice about themes and provide some best practices along the way. Prior knowledge configuring ForgeRock Identity Cloud is helpful but not assumed. This article is the second of four in a series: Creating Themes in Fo…
![]() Part
3: Integrating Native Mobile Apps with ForgeRock Identity Cloud
[.badge-category__name#Integrations#]
Part
3: Integrating Native Mobile Apps with ForgeRock Identity Cloud
[.badge-category__name#Integrations#]
This article was written by George Bafaloukas and Adam Crockett. Overview Who is this article for? Step-by-step instructions follow for anyone who wishes to use hosted pages in their mobile or web app, with the help of the ForgeRock SDKs. The goal is to give you practical advice about themes and provide some best practices along the way. Prior knowledge configuring ForgeRock Identity Cloud is helpful but not assumed. This article is the third of four in a series: Creating Themes in For…
![]() Part
4: Navigating to a Specific Journey Using Centralized Login with
ForgeRock Identity Cloud
[.badge-category__name#Setup#]
Part
4: Navigating to a Specific Journey Using Centralized Login with
ForgeRock Identity Cloud
[.badge-category__name#Setup#]
This article was written by George Bafaloukas and Adam Crockett. Overview Who is this article for? Step-by-step instructions follow for anyone who wishes to use hosted pages in their mobile or web app, with the help of the ForgeRock SDKs. The goal is to give you practical advice about themes and provide some best practices along the way. Prior knowledge configuring ForgeRock Identity Cloud is helpful but not assumed. This article is the last of four in a series: Themes in ForgeRock Ide…