Connecting AM and Azure with OIDC
Author: |
Patryk Krolikowski |
Created at: |
Dec 2020 |
Updated at: |
Oct 2022 |
Introduction
Microsoft Azure (Azure) is one of the most popular cloud platforms available. We often integrate with it in different ways. In this article, we’ll show you one of those ways, using Azure to provide authentication services and act like a social identity provider. Think of it as a kind of a “login with Azure” approach.
We’ll use ForgeRock® Access Management 7.0; specifically, its intelligent authentication capabilities, and OpenID Connect (OIDC) standard. To make things more interesting, we’ll also use ForgeRock® Identity Cloud as the environment.
Preparing Azure
First, let’s set up Microsoft Azure. We’ll assume that we already have users configured in Azure, so we’ll skip that part of the setup.
We need to configure AM as an OIDC client. We’ll do this in Azure Portal (portal.azure.com), where we’ll configure an application via the App Registrations service:
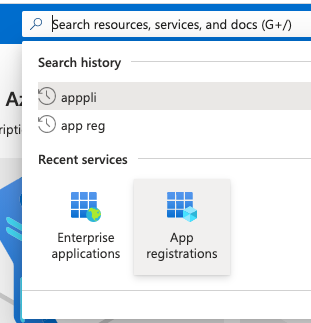
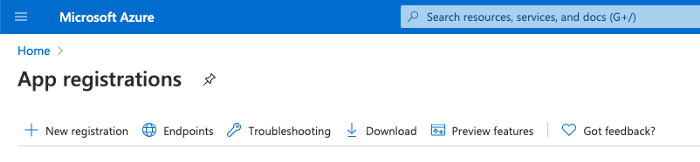
Next, we need to create a new app registration:
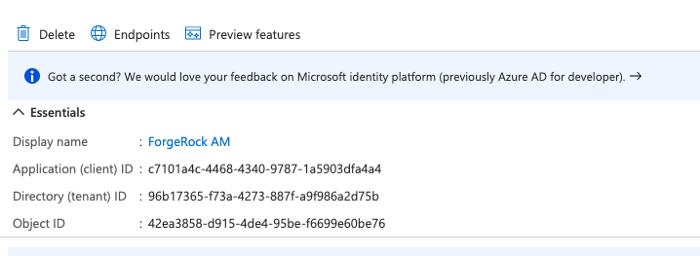
Let’s give it a name; for example, “ForgeRock AM”, define who can use our application, and configure a redirect URI that would instruct Azure where to redirect a user when the authentication process is finished Ihttps://[amFQDN]/am or for ForgeRock Identity Cloud https://[amFQDN]/login):

Now, we need to copy the application (client) ID:
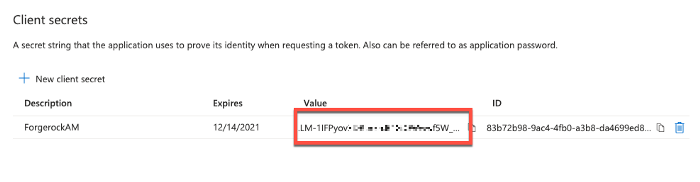
What’s definitely missing here is a client secret. We can generate it through the Security section on the left menu:
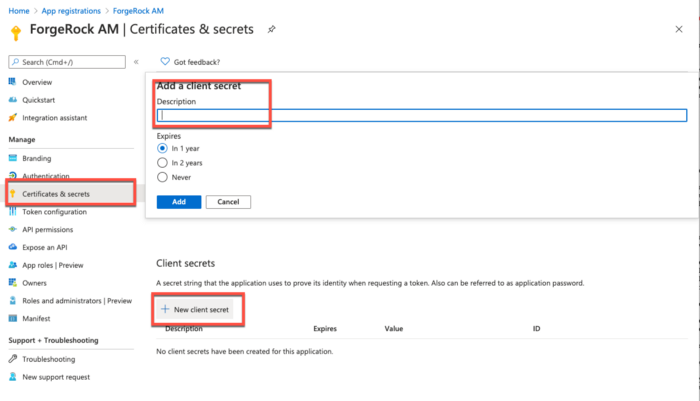
Once generated, copy the Value, as we’ll need it shortly:
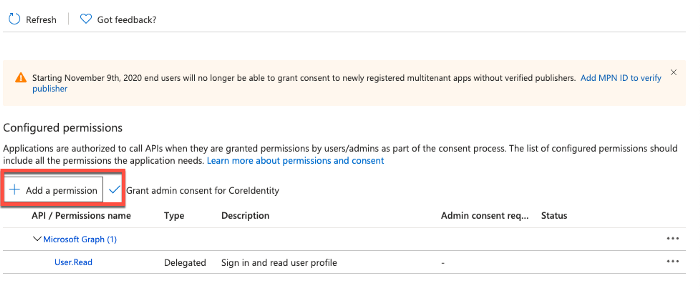
So far, our application (AM) has one privilege assigned (scope) for Azure API; this happens by default. We can review that in the API Permissions section. You should determine the privileges you’ll grant on what’s needed on the application side. By default, only User.Read permission should be assigned; that’s sufficient for our use case. If you need to add additional permissions, click the Add a permission button in the wizard:
Preparing AM
AM 7.x makes any OIDC based integration deadly simple.
In our case, there are only two steps involved: preparing a social identity provider service, and creating a user journey (via authentication trees). For a better “visual” effect, we’ll use the Admin UI. The same configuration can be performed in a programatic way using REST API.
Social Identity Provider Service
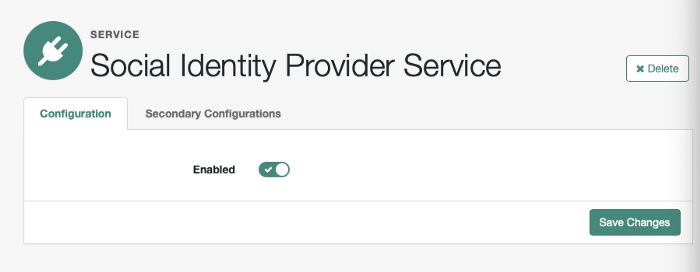
We need to configure Azure as one of the social identity providers. This is done on a realm level in the Services section:

We need to make sure the service is enabled:
And then configure microsoft in the Secondary Configurations section, populating the details that were returned when we created an application in Azure:
The only thing we need to change for the default config is Client IDClient ID and Client Secret. The rest is already there. We can tweak the look and feel in UI Config Properties:

We can skip that for now. The important thing to mention here is the transformation script, also called Microsoft profile normalization.
The script converts identity data received from a social provider to a “common” object format. The reason for this is various social providers might bring information in various claims/attributes. Abstracting the normalization part gives us huge flexibility when adding custom identity providers and matching attributes, and, we can normalize whatever identity provider brings to a common format. By the way, we can extend the script to suit our needs. Let’s have a look what the scripts do out-of-the-box by going to the Scripts section in AM administrative console:
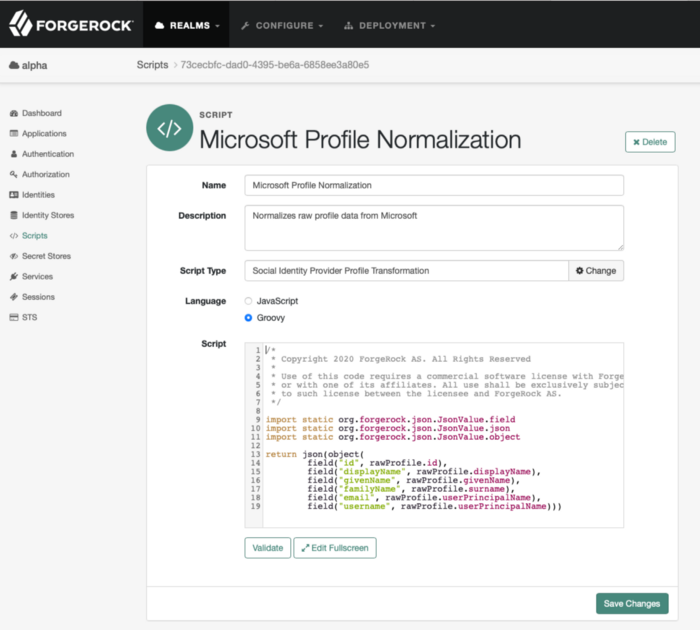
As you can see, this script has simple logic and requires minimum effort to adjust (if needed).
ForgeRock Authentication Tree
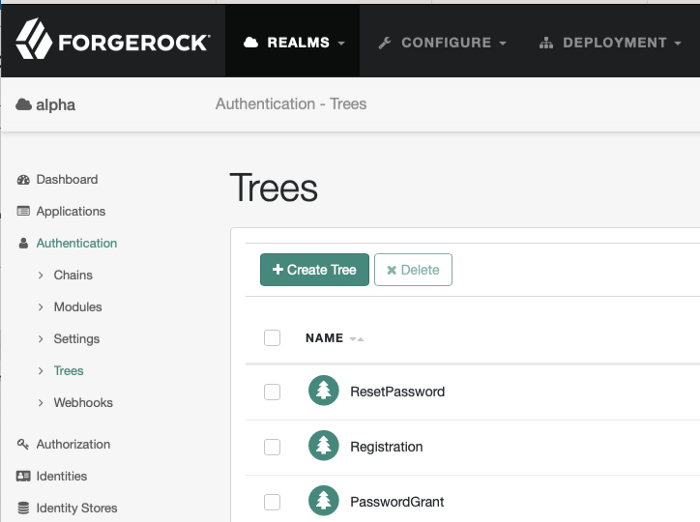
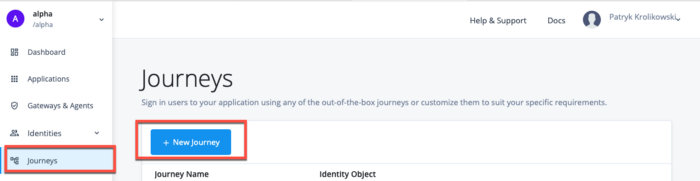
Next, we will configure the authentication journey. As we are using ForgeRock Identity Cloud, we have a nice, new UI at our disposal that lets us create this journey. If we had a standalone AM deployment, we could do exactly the same thing in the native AM Admin UI in Authentication >Trees:
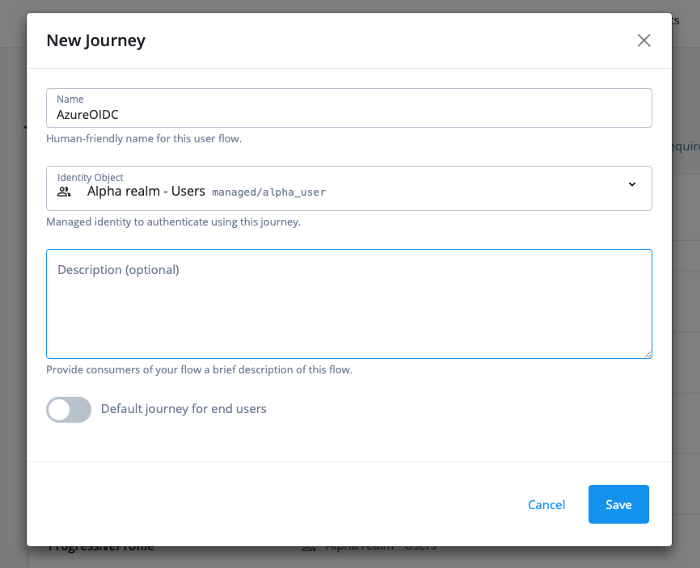
Let’s create a tree in the new Platform UI:
Let’s add nodes, which are the building blocks of a journey:
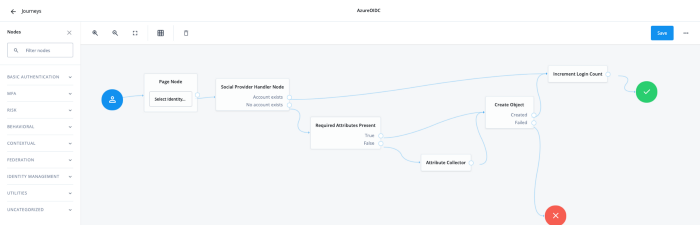
Here’s what happens in our tree after user selects it:
-
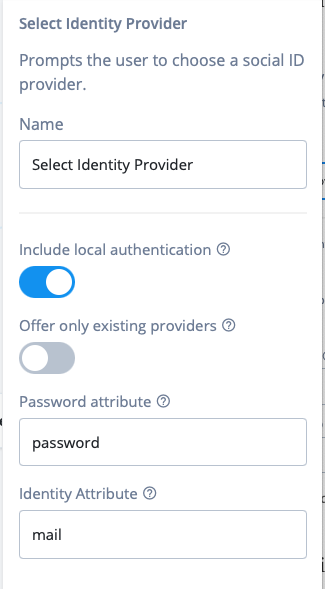
Page Node: this is a “frame” node that lets you bring several elements together, and show them to the user. It can also have a description assigned so that user can be presented with an informative message. In our case, we included a single element, a node called “Select Identity Provider”, that serves social providers that were previously configured and enabled.
-
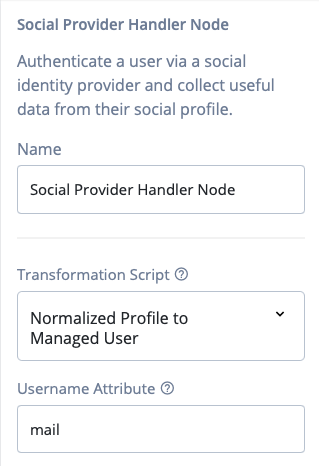
Social Provider Handler Node: provides the actual identity provider login capability. In addition it verifies if the user already exists or not.
-
There are two outcomes when you exit the Social Provider Handler node:user exists or not:
-
If user exists, the journey was completed successfully. I also added one more useful node,“Increment Login Count”, which, in our case, stores a number of successful user logins. This information can be used later on for triggering a progressive profiling journey.
-
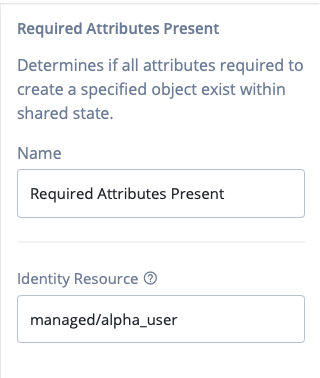
The user does not exist. If that’s the case, first determine whether we have all the required attributes present (“Required Attributes Present” node) in the token coming back from the IdP, or any other preceding nodes. Please note that, as we’re using ForgeRock Identity Cloud, “Identity Resource” is mapped to managed/alpha_user:
-
-
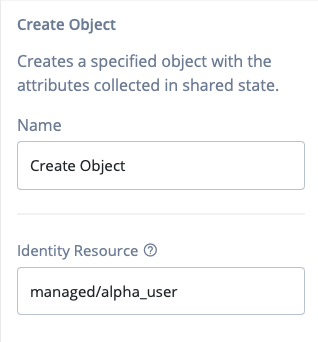
If we have all the required information, we can create a user object and finish the journey with success:
-
If we don’t have the required information, the Attribute Collector node can help us get the information from the user:
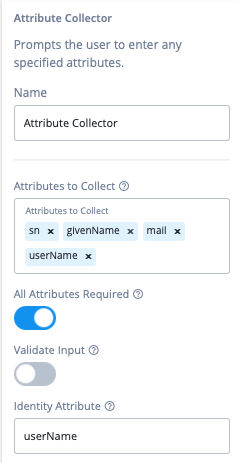
Select Create Object, as shown in the image above. If, for whatever reason the object cannot be created, we will fail the journey.
Testing the flow
Finally, we can test the flow. In the Journey view, we have a little helper to help us copy the URL that would directly invoke our new AzureOIDC tree:
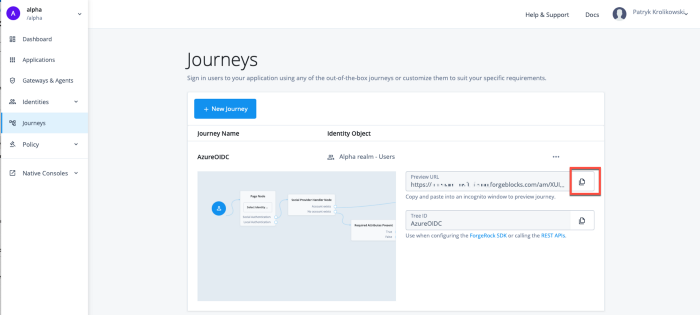
After going to that url here’s what should happen…more or less … :-)
Step 1: go to the URL you copied in the previous step: https://[am_instance]/am/XUI/?realm=alpha&authIndexType=service&authIndexValue=AzureOIDC
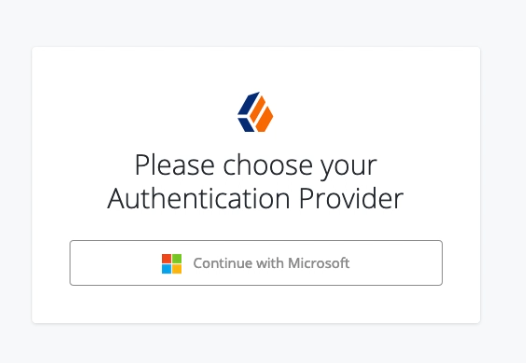
Step 2: sign in to Azure.
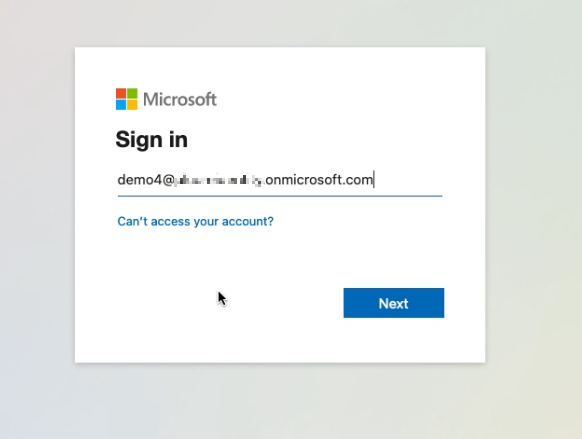
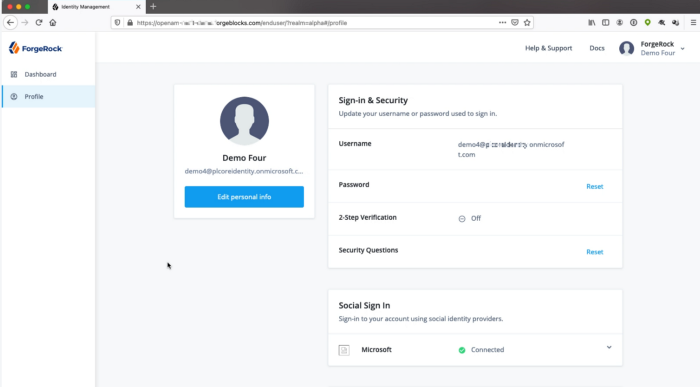
Step 3: the account is created (if does not exist), and user is logged in.
 +
I hope that was useful. Happy integration!
Other Articles by This Author
![]() ForgeRock Identity Cloud
& Azure AD B2C
[.badge-category__name#Integrations#]
ForgeRock Identity Cloud
& Azure AD B2C
[.badge-category__name#Integrations#]
By Patryk Krolikowski Originally posted on https://medium.com/@scureq Did you ever wonder how to integrate ForgeRock Identity Cloud (this also applies to ForgeRock Access Management) and Microsoft Azure AD B2C? And maybe even how to do it using OpenID Connect? If so, read on! Why… First, you might be asking yourself — Azure AD B2C can be an Identity Provider itself, right? So, why would I even consider using a 3rd party provider? That’s a very valid question and I think there might be sever…
![]() Zendesk
and ForgeRock Identity Cloud SAML based SSO in 5 minutes
[.badge-category__name#Integrations#]
Zendesk
and ForgeRock Identity Cloud SAML based SSO in 5 minutes
[.badge-category__name#Integrations#]
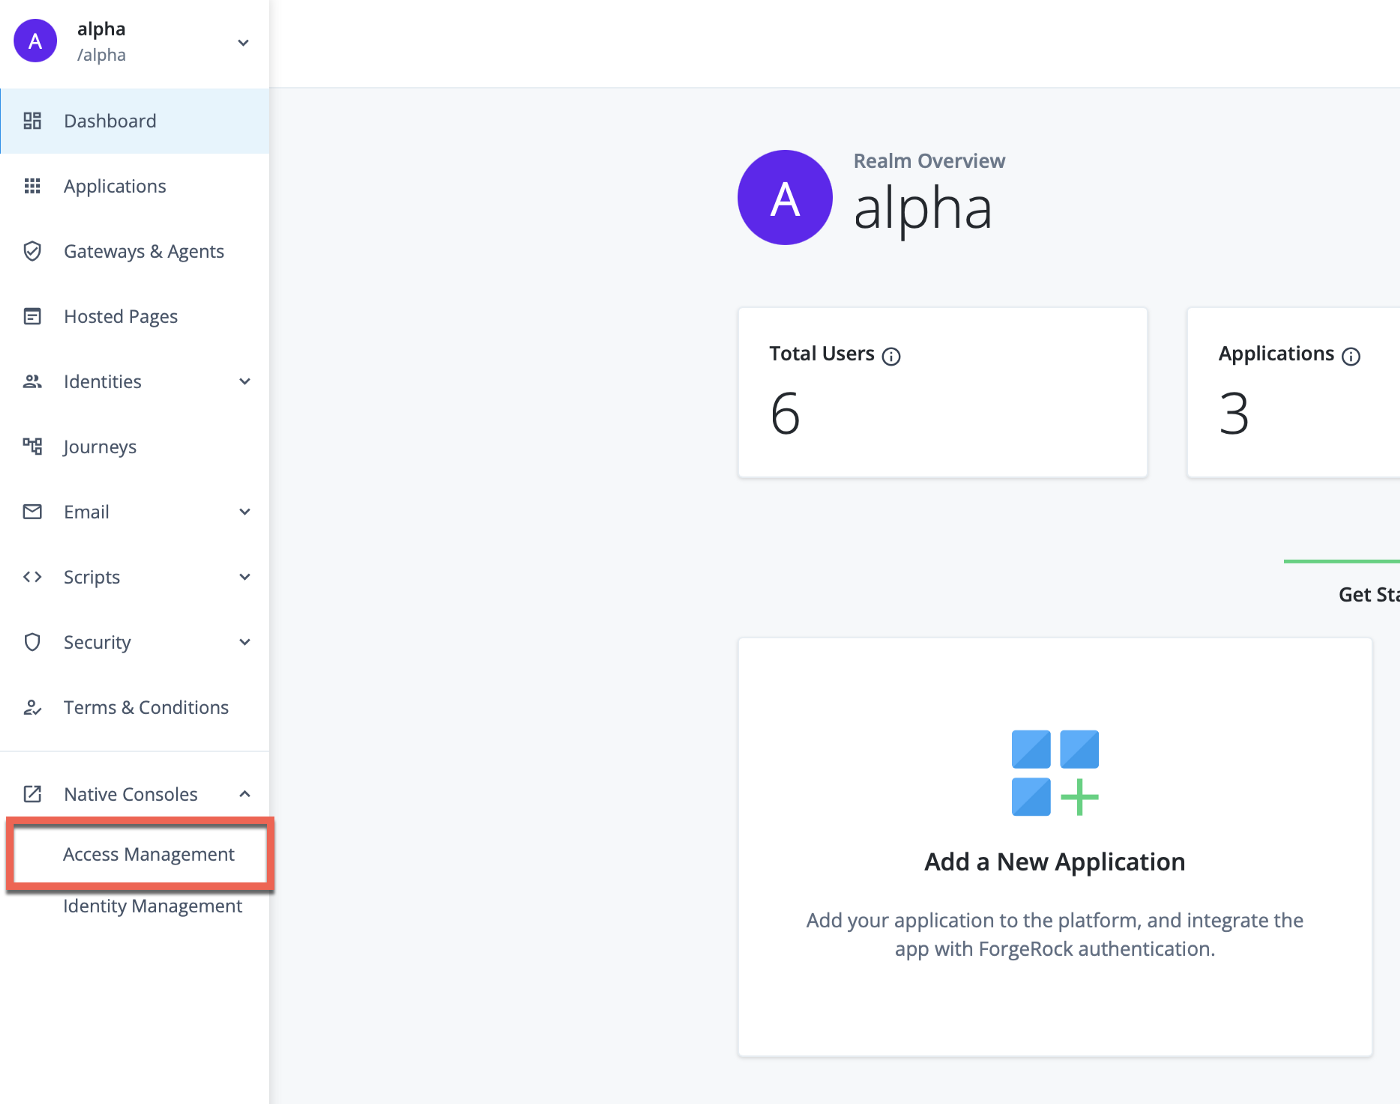
By Patryk Krolikowski Originally posted on https://medium.com/@scureq If you need to integrate Zendesk with ForgeRock Identity Cloud acting as an Identity Provider using SAML then this story is for you. If not, you can still read it ;). This post is a joint effort of Andre Posner and myself. ForgeRock Identity Cloud configuration First let’s visit the Platform UI of our Identity Cloud instance. Then go to Access Management Native console: [image] Forgerock Identity Cloud Platform console…
![]() Deploying
ForgeRock Access Manager on OpenShift Online (Part 2)
[.badge-category__name#Integrations#]
Deploying
ForgeRock Access Manager on OpenShift Online (Part 2)
[.badge-category__name#Integrations#]
Summary Instructions for deploying ForgeRock® Access Manager on OpenShift® Online using using manifests and the oc command-line interface (CLI) tool. This is the second of two related articles. You can find the first article here. Requirements Following are requirements for creating an all-in-one setup with an embedded directory store. This article assumes you already have the following: An OpenShift Online account. We will use this account to create a new project to run the example that we…