Deploying ForgeRock Access Manager on OpenShift Online (Part 1)
Author: |
Steffo Weber |
Created at: |
Feb 2018 |
Updated at: |
Oct 2022 |
Summary
Instructions for deploying ForgeRock® Access Manager on OpenShift® Online using a browser-based console. This is the first of two articles.
This is the first of two articles on deploying ForgeRock® Access Manager or OpenAM (AM), on OpenShift® Online (OpenShift). This article will focus on the using browser-based console to perform the deployment. The second article will focus on using manifests and the oc command-line interface (CLI) tool, which are much faster and better for automation.
This article assumes that you have never accessed OpenShift before. We will use a Docker container to create an OpenShift application. The main steps are:
-
Create an AM Docker image.
-
Deploy the AM Docker image to create an OpenShift application.
Creating an AM Docker Image
To create an AM Docker image, you need a Dockerfile.
To do this, pull the content from GitHub (GitHub - steffow/openam-docker: OpenAM buildfile for Docker), and download the OpenAM WAR file.
Build and run the image as described in the Readme.
Next, commit/tag/push the image. To do this, follow these instructions: Push a Docker Image to a Personal Repository - Karl’s Code.
Deploying an AM Docker Image on OpenShift
If you do not already have an OpenShift account, you will need to set one up and sign up for a paid plan. Note that this procedure has been tested using a paid plan. We used 4 GB RAM and 4 GB disk; you should be able to run this with 2 GB (RAM and disk).
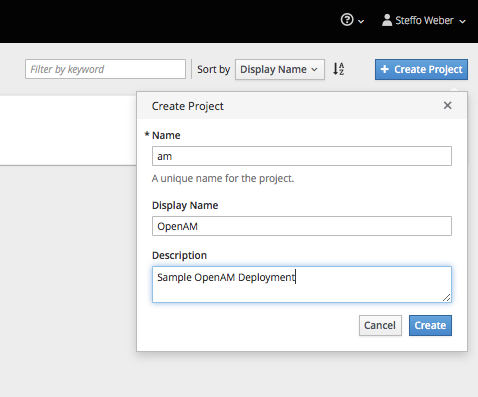
After you’ve logged in to the OpenShift administration console, select
Create Project. The Create Project dialog box displays. Enter Sample
OpenAM Deployment in the Description text area and select Create:
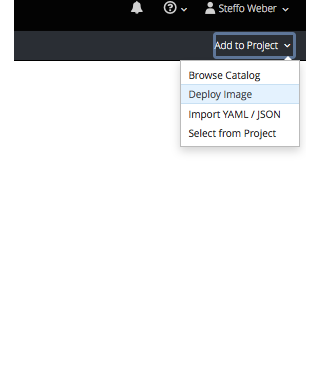
Next, we need to deploy a Docker image. Note that due to licensing, a ready-made AM container is not available, so you need to download the WAR file and create the container using the aforementioned Dockerfiles. To do this, from the Add to Project menu, select Deploy Image. The Deploy Image dialog box displays:
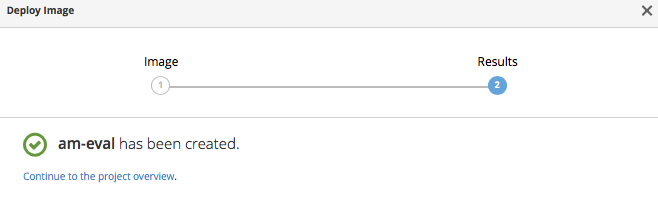
Enter an image name in the *Image Name text area. We used steffow/am-eval, which refers to Docker, and select Deploy:

OpenShift populates the *Name text area, and displays an “am-eval image has been created” confirmation message:
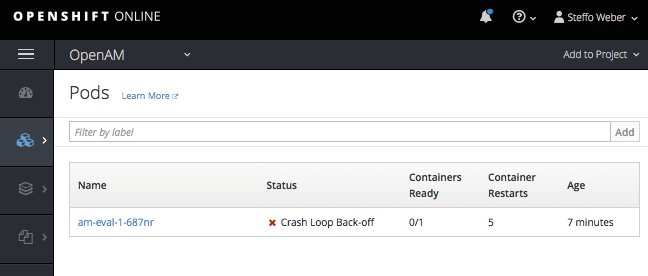
OpenShift starts to create a new pod. The pod might crash, as we have not yet assigned additional memory to it. If the pod crashes, you’ll see a status message like the one below:
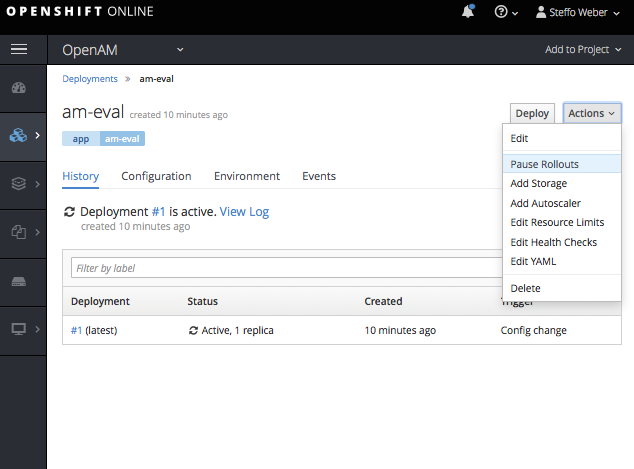
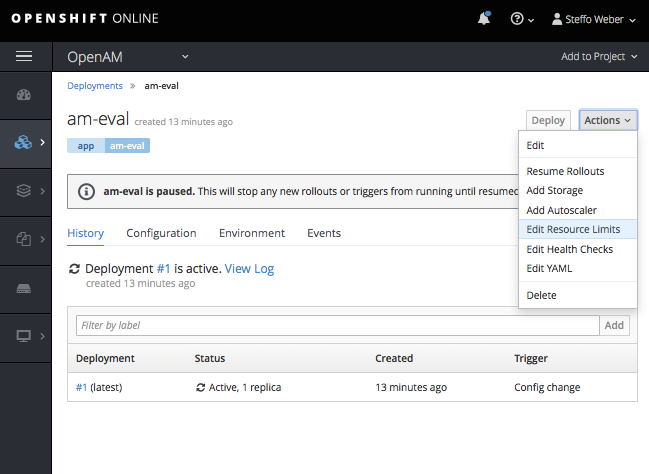
To increase memory, navigate to Deployments > am-eval. From the Actions menu, choose Pause rollouts. (As you will see in the second article, you can use the CLI in OpenShift to deploy in one step using the oc command). The rollout is paused:
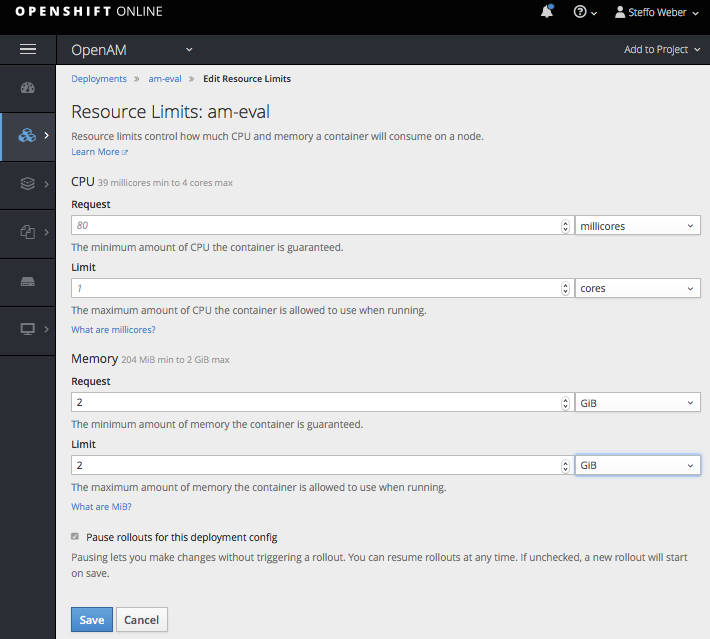
Now you can edit the resource limits. From the Actions menu, select Edit Resource Limits. The Resource Limits: am-eval dialog box displays:
Enter 2 in the Request field and in the Limit field, and select Save:
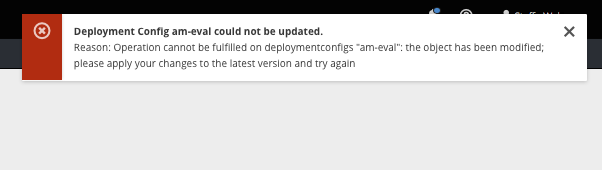
If you see a message like the one below, you will need to refresh the console. To do this, select Shift + Reload in your browser, repeat the previous step, and select Save:
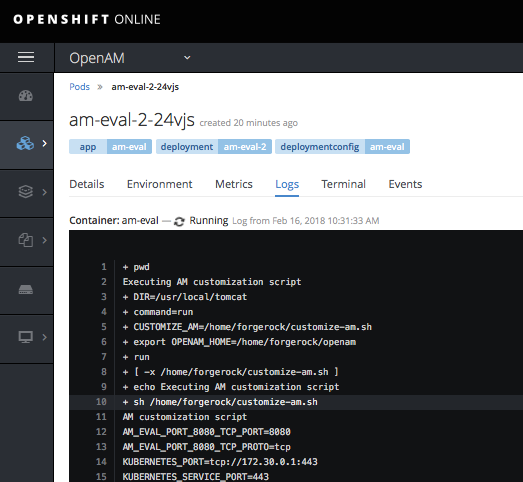
Resume rollouts by deselecting the Pause Rollouts for this deployment config check box and selecting Save. To verify that the pod is running and tp check for errors, select Applications > Pods > (select a pod). The am-eval-2-24vjs dialog box displays:
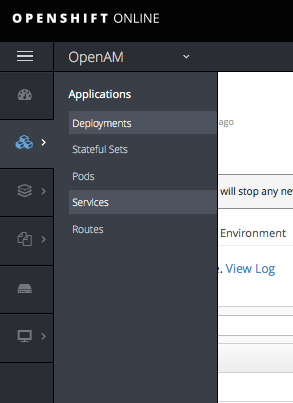
Next, we will make your application/pod accessible by creating a route. From the OpenAM menu, select Services:
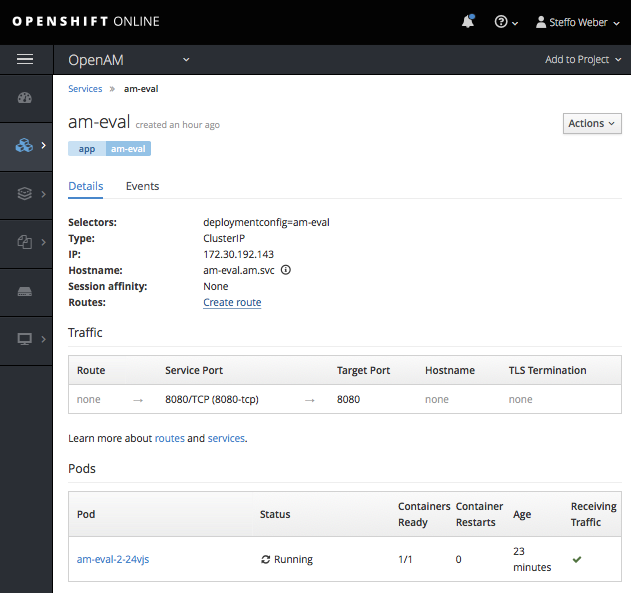
The am-eval dialog box displays. From the Actions menu, select Create route:
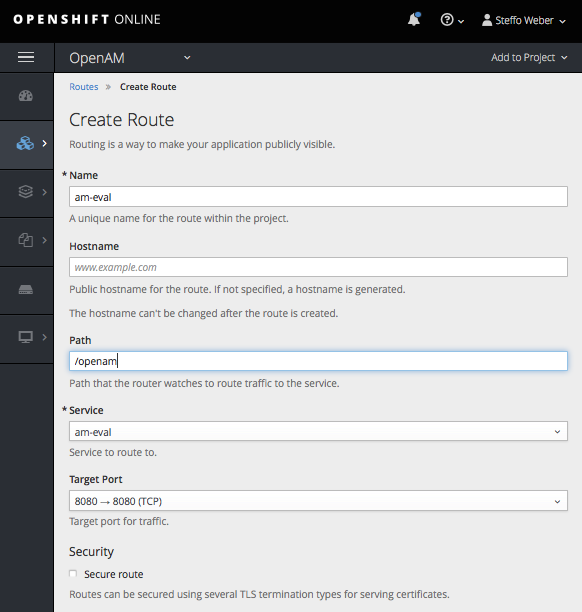
The Create Route dialog box displays. In the Path text area, enter the path name in which OpenAM is deployed:
The am-eval dialog box displays. In the Traffic area, select the URL:

On success, you will see the following. Does it look familiar?

Select Create New Configuration. You will see a small “Directory is not empty” warning. You can safely ignore this, because Dockerfile created /home/forgerock/openam for you. We will use that later as a mount point for a persistent volume:
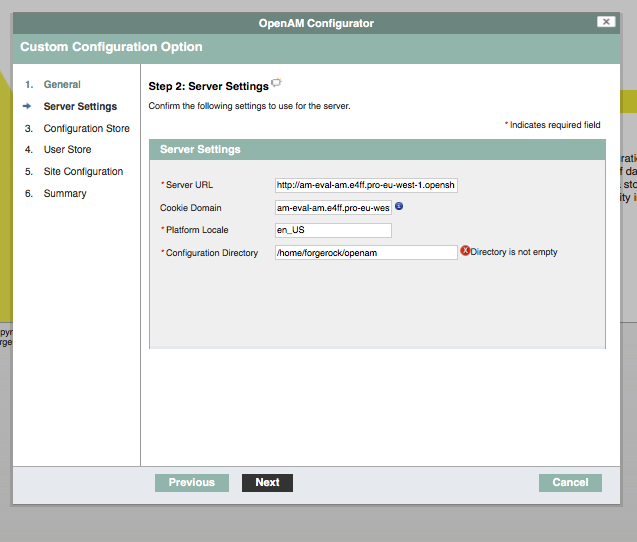
Do not make changes to Configuration Directory (unless you modify the Dockerfile). Because the pod isn’t properly DNS-configured, the AM configurator cannot determine the port numbers and defaults them to -1.
Select Next. The Custom Configuration Option dialog box displays:
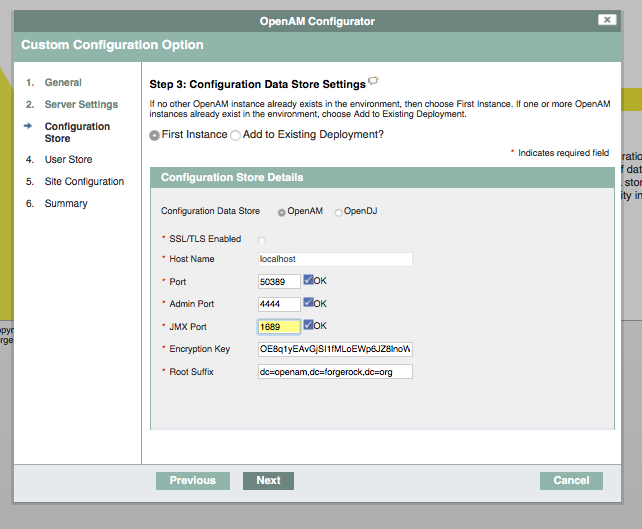
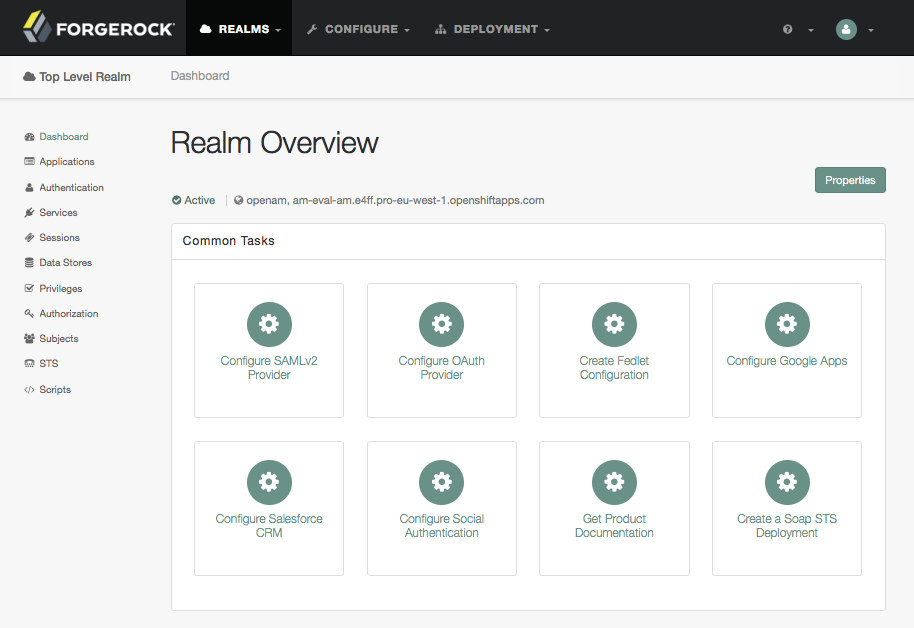
Enter the correct port numbers in the respective text areas and select the OK checkboxes that correspond to each port text area and select Next. Complete the installation and access AM using the service route (the same URL as above). A realm is created and the Realm Overview dialog box displays:
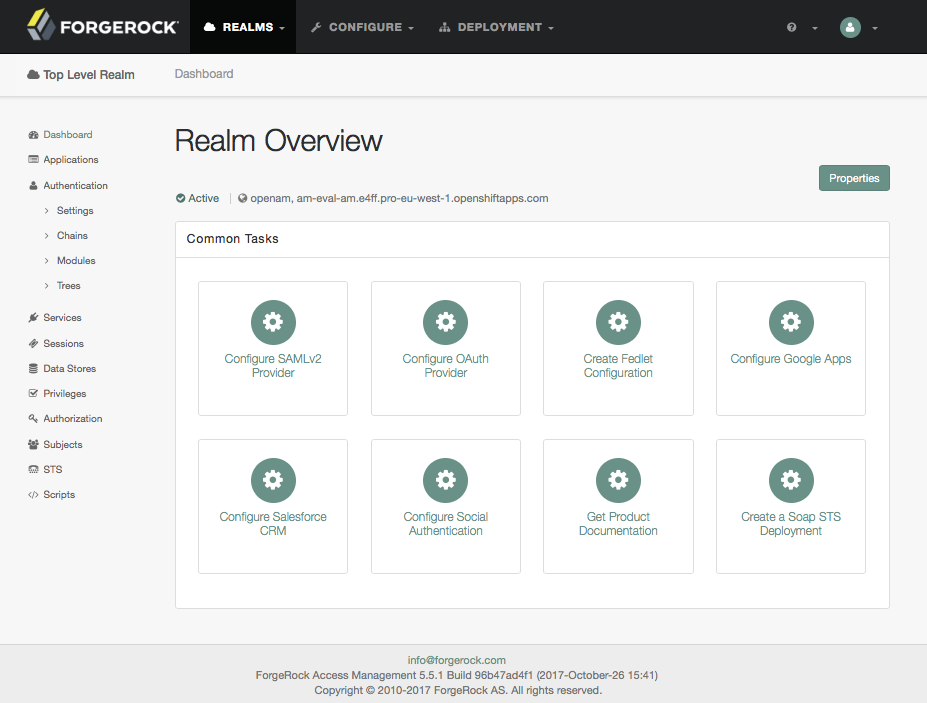
Congratulations on creating your first realm! Next, we will add a persistent volume.
Adding a Persistent Volume
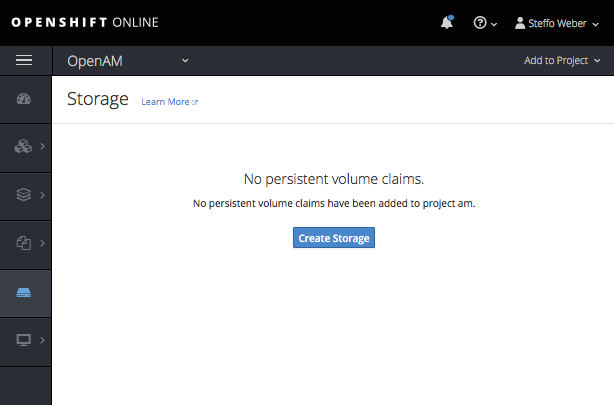
While the procedure you just performed puts the OpenAM configuration directory inside the Docker container, it does not perform volume mapping. This is problematic, because if your pod crashes, the configuration will be lost. As a result, we need OpenShift to create something does the same job as volume mapping—a persistent volume. Enter the following:
$ docker run — name am-eval -p 8080:8080 -v $PWD/openam-configuration:/home/forgerock/openam/ am-evalNavigate to the storage section and select Create Storage. The Create Storage dialog box displays:
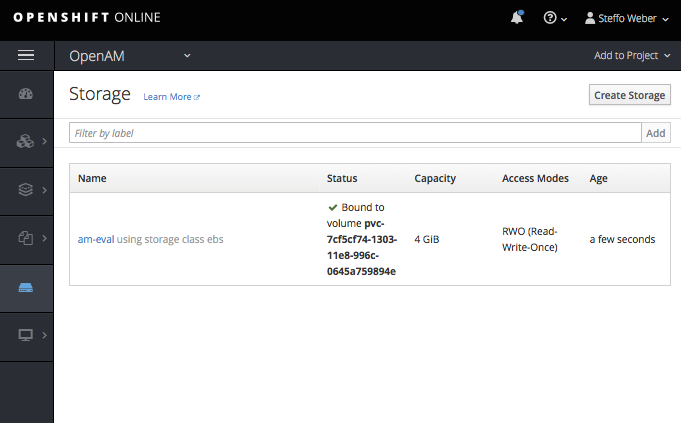
Enter 4 in the *Size Min: 1GiB text area. Note that 2 GB should be fine as well. Select Create. The Storage dialog box displays:

Select Create Storage. A persistent volume is created:
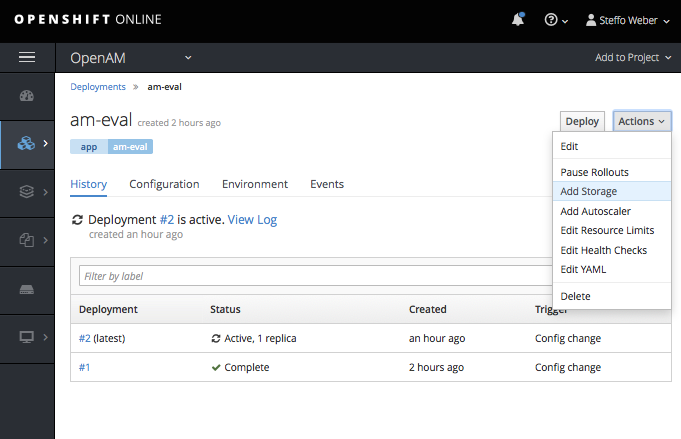
Next, we will mount the new volume at the /home/forgerock/openam mount point. From the Actions menu, select Add Storage:
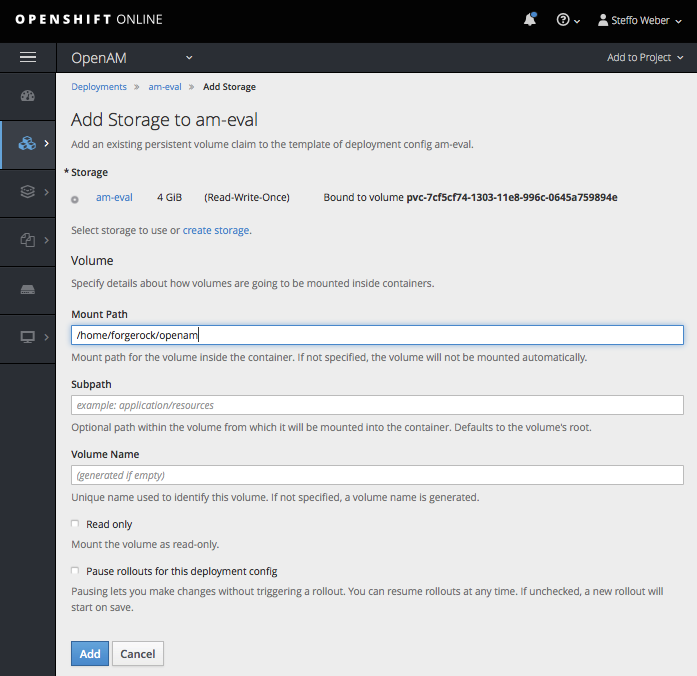
Enter a mount path in the respective text area and select Add:
OpenShift will now roll out the new configuration. The previous OpenAM configuration, which did not reside on a persistent volume, is lost. The configurator will display again, and you’ll see that the port 50389 and others are not free, because your pod is still running.
To delete the pod, from the Actions menu, select Delete:
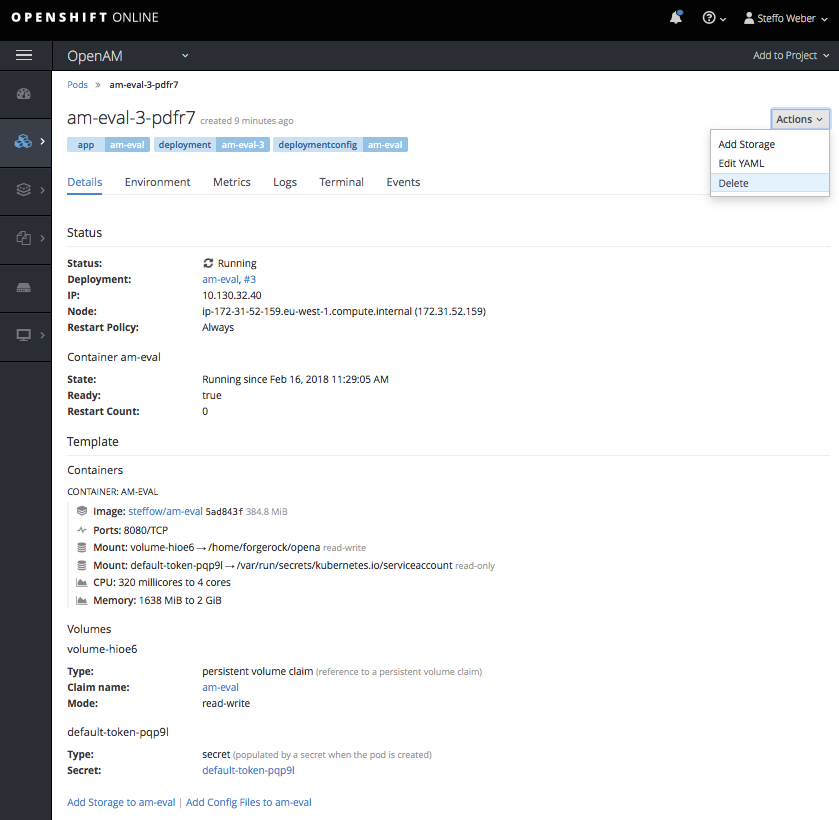
A warning message, such as the one below, displays. Select the Delete pod immediately without waiting of the processes to terminate gracefully check box and select Delete:

OpenShift will automatically create a new pod. Return to the URL you entered earlier and run the configuration again. You should see that port 50389 and others are free. Because that the configuration data now resides on a persistent volume, you can delete the pod without losing your data. The Realm Overview dialog box displays:
Your session is still valid and you do not need to re-authenticate after a pod crashes/dies.
To continue, go to the next article, “Deploying ForgeRock Access Manager on OpenShift Online (Part 2).”