Use ForgeRock Access Manager to provide MFA to Linux using PAM Radius
Author: |
Mark Nienaber |
Created at: |
Jul 2019 |
Updated at: |
Jul 2024 |

Introduction
Our aim is to set up an integration to provide Multi-Factor Authentication (MFA) to the Linux (Ubuntu) platform using ForgeRock Access Manager. The integration uses pluggable authentication module (PAM) to point to a RADIUS server. In this case AM is configured as a RADIUS server.
We achieve the following:
-
Outsource Authentication of Linux to ForgeRock Access Manager.
-
Provide an MFA solution to the Linux Platform.
-
Configure ForgeRock Access Manager as a RADIUS Server.
-
Configure PAM on Linux server point to our new RADIUS Server.
Setup
-
ForgeRock Access Manager 6.5.2 Installed and configured.
-
OS — Ubuntu 16.04.
-
PAM exists on your your server (this is common these days and you’ll find PAM here: /etc/pam.d/ ).
Configuration Steps
Configure a chain in AM
Firstly we configure a simple Authentication Chain in Access Manager with two modules.
a. First module – DataStore.
b. Second Module – HOTP. Email configured to point to local fakesmtp server.
Simple Authentication Chain
Configure ForgeRock AM as a RADIUS Server
Now we configure AM as a RADIUS Server.
a. Follow steps here: ForgeRock Access Management 6.5 > RADIUS Server Guide
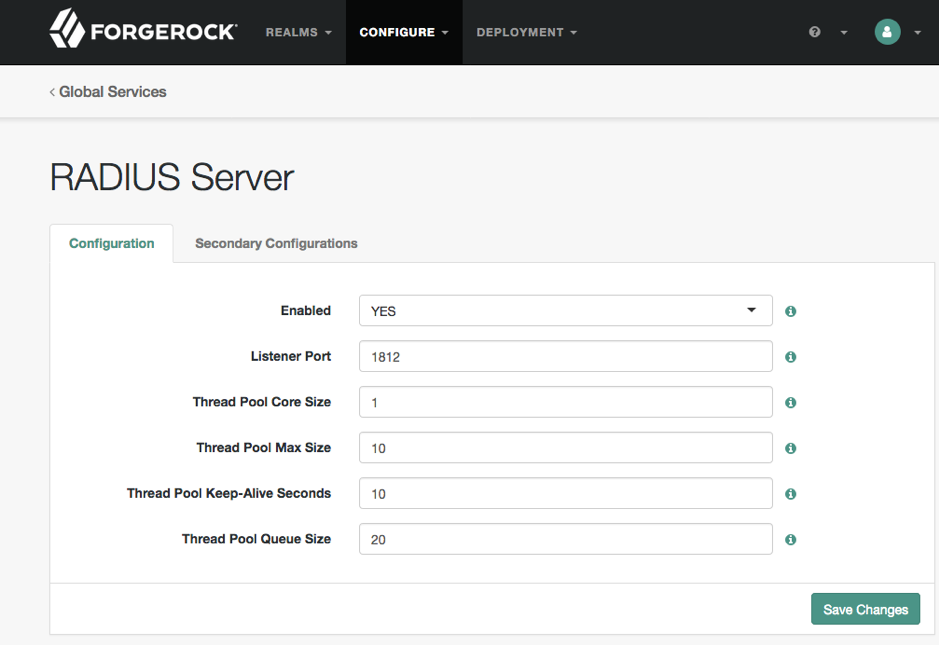
RADIUS Server setup
Secondary Configuration — i.e. RADIUS Client
We have to configure a trusted RADIUS client, our Linux server.
a. Enter the IP address of the client (Linux Server).
b. Set the Client Secret.
b. Select your Realm — I used top level realm (don’t do this in production!).
c. Select your Chain.
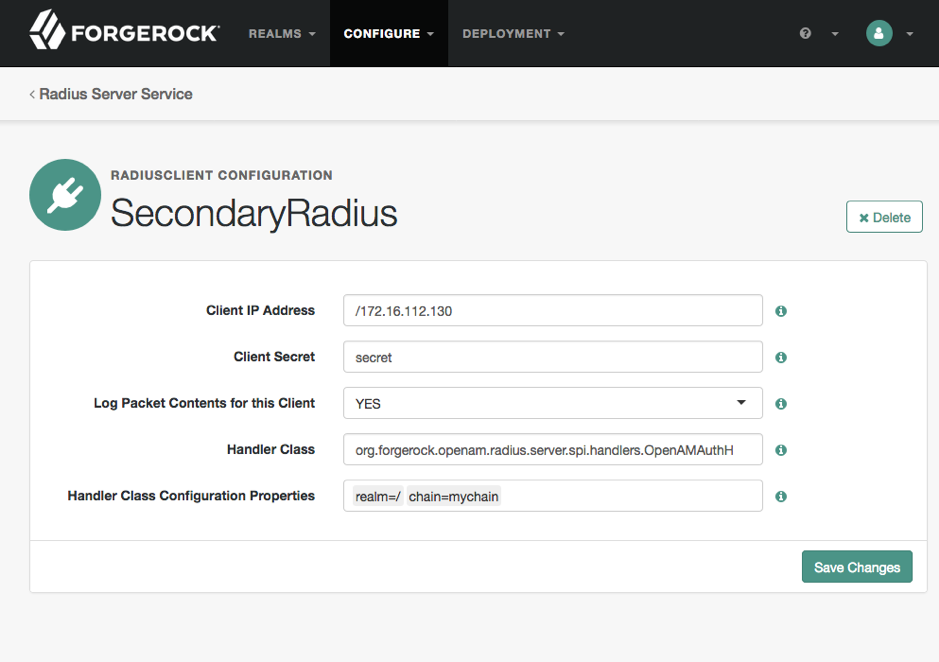
Configure RADIUS Client
How to configure Pam-radius in Ubuntu
The best way to add two-factor authentication to any system is by using strong standard protocols.
a. Install pam_radius.
sudo apt-get install libpam-radius-auth
b. Configure pam_radius to talk to RADIUS server (In this case AM).
sudo vim /etc/pam_radius_auth.conf
i.e :1812 secret 1
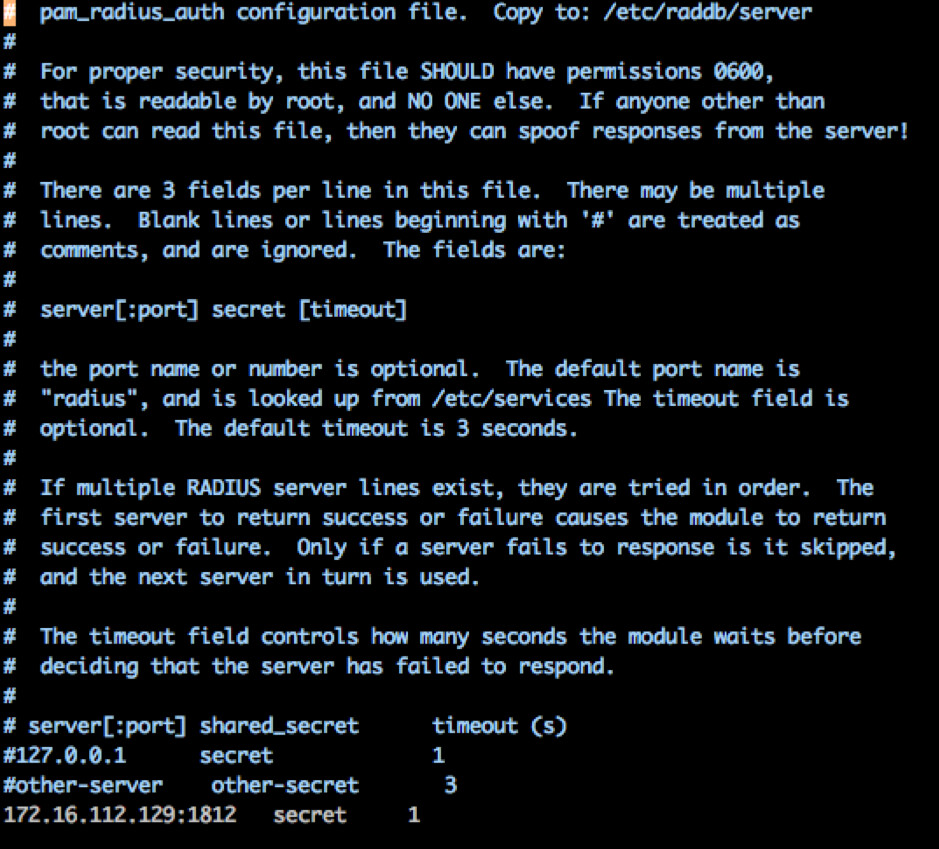
Point pam_radius to your RADIUS server
Tell SSH to use pam_radius for authentication.
a. Add this line to the top of the /etc/pam.d/sshd file.
auth sufficient pam_radius_auth.so debug
Note: debug is optional and has been added for testing, do not do this in production.
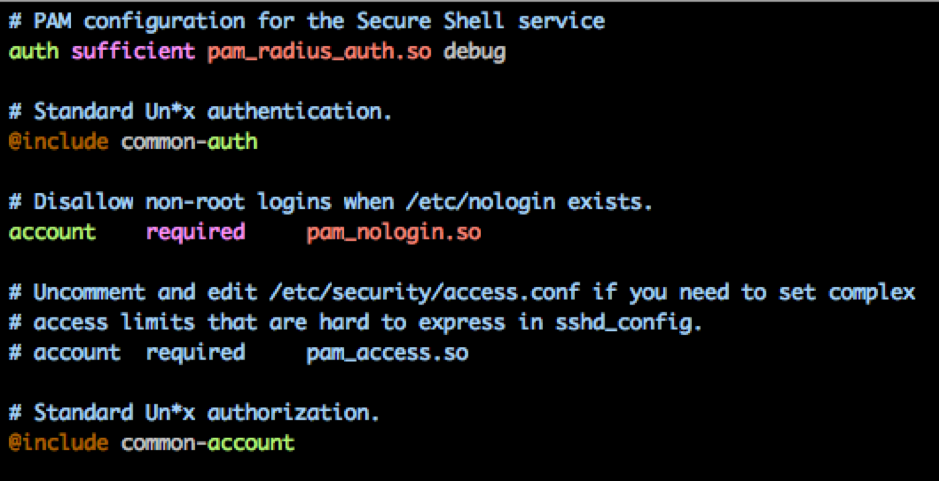
pam_radius is sufficient to authentication
Enable Challenge response for MFA
Tell your sshd config to allow challenge/response and use PAM.
a. Set the following values in your /etc/ssh/sshd_config file.
ChallengeResponseAuthentication yes
UsePAM yes


Create a local user on your Linux server and in AM
In this simple use case you will required a separate account on your Linux server and in AM.
a. Create a Linux user.
sudo adduser test
Note: Make sure the user has a different password than the user in AM to ensure you’re not authenticating locally. Users may have no password if your system allows it, but in this demo I set the password to some random string.
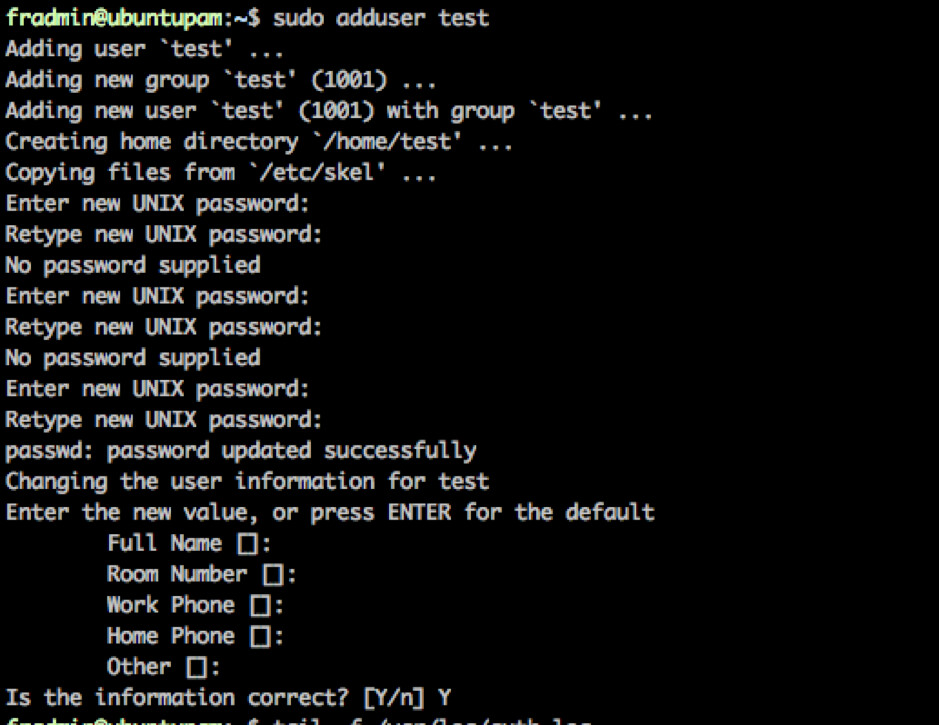
Create Linux User
b. Ensure the user is created in AM with an email address.
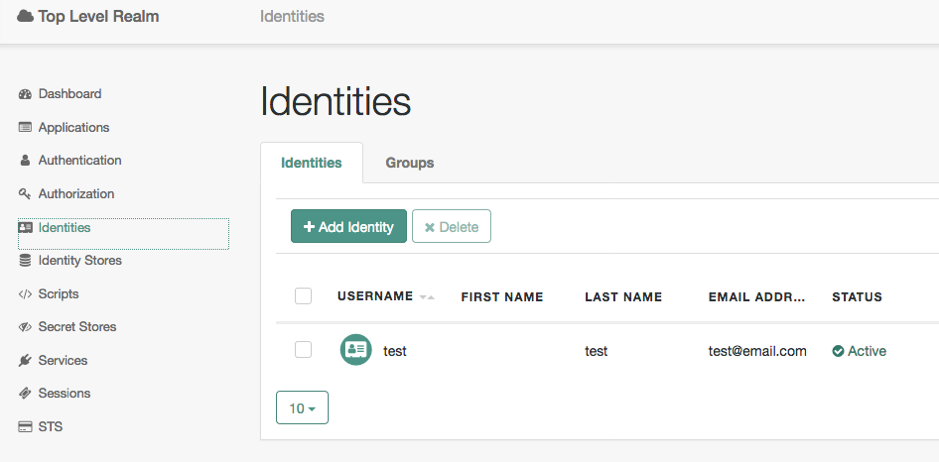
User exists in AM with an email address for OTP
Test Authentication to Unix via SSH
It’s now time to put it all together.
a. I recommend you tail the auth log file.
tail -f /var/log/auth.log
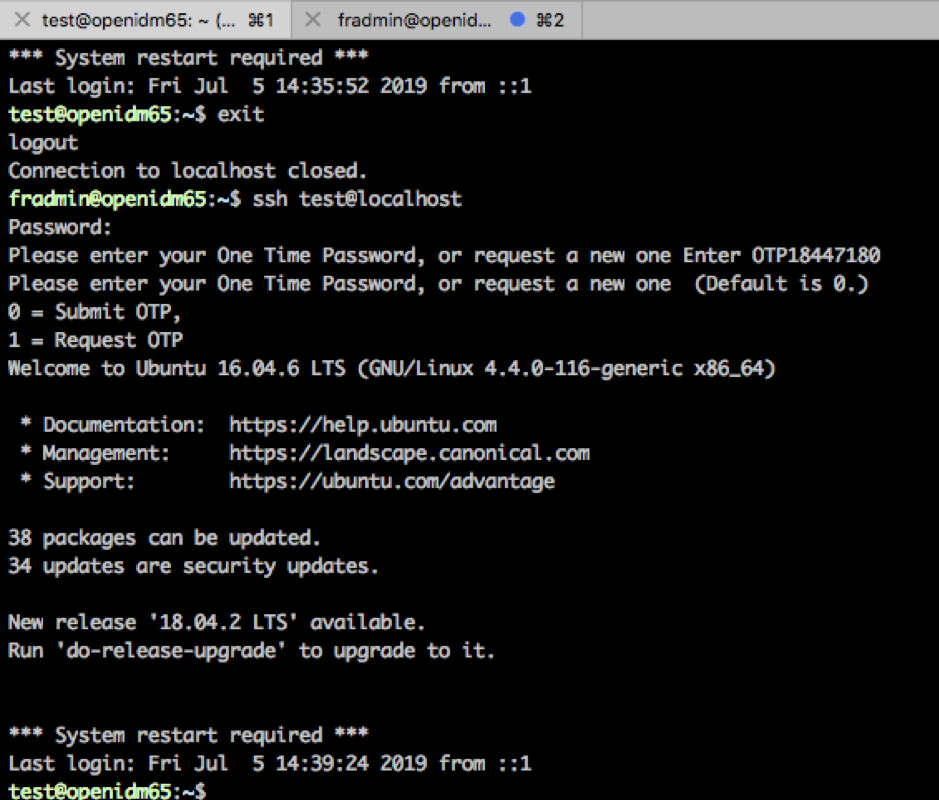
b. SSH to your server using.
ssh test@
c. You should be authenticating to the first module in your AM chain so enter your AM Password.
d. You should be prompted for your OTP, check your email.
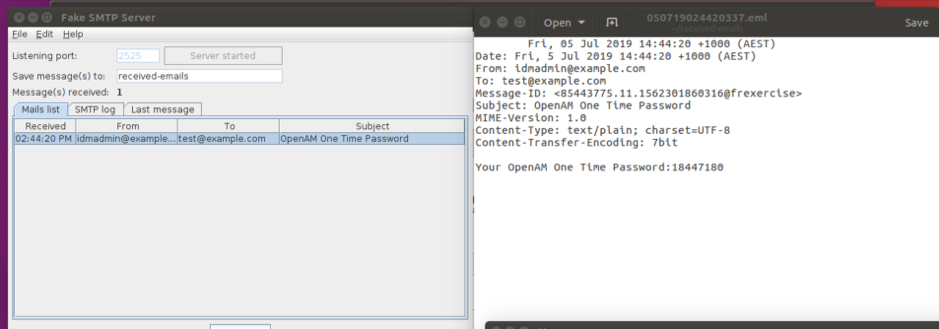
OTP generated and sent to mail attribute on user
e. Enter your OTP and press enter then enter again (the UI i.e. challenge/response is not super friendly here).
f. If successfully entered you should be logged in.
You can follow the Auth logs, as well as the AM logs i.e. authentication.audit.json to view the process.
The End.
References: