Use case: Bulk import identities into ForgeRock Identity Cloud
Author: |
Lucy Billington |
Created at: |
Dec 2022 |
Updated at: |
Jan 2023 |
Use case overview
This use case demonstrates how to import identities into ForgeRock Identity Cloud from a CSV file. This is useful when you want to add a large number of identities to a role or assignment in a single operation.
Before you can import the identities, you’ll need to prepare a CSV file containing the identity profiles in the correct format.
Steps to achieve this use case
Prepare the CSV file
Prepare a CSV file with the identity profiles you want to import. The file must comply with this CSV template example:
"userName","givenName","sn","mail","description","accountStatus","telephoneNumber","postalAddress","city","postalCode","country","stateProvince",
"preferences/custom_loyalty","preferences/custom_security","preferences/marketing","preferences/updates"
For information on generating the CSV template file, see Import bulk data.
Other requirements for a successful CSV file import include:
-
Use commas as separators. Any other separator may cause errors.
-
Include the required attributes from the managed object schema in the CSV file.
-
Leave optional properties blank in the CSV file.
An example Excel file using the CSV file template will look similar to this:
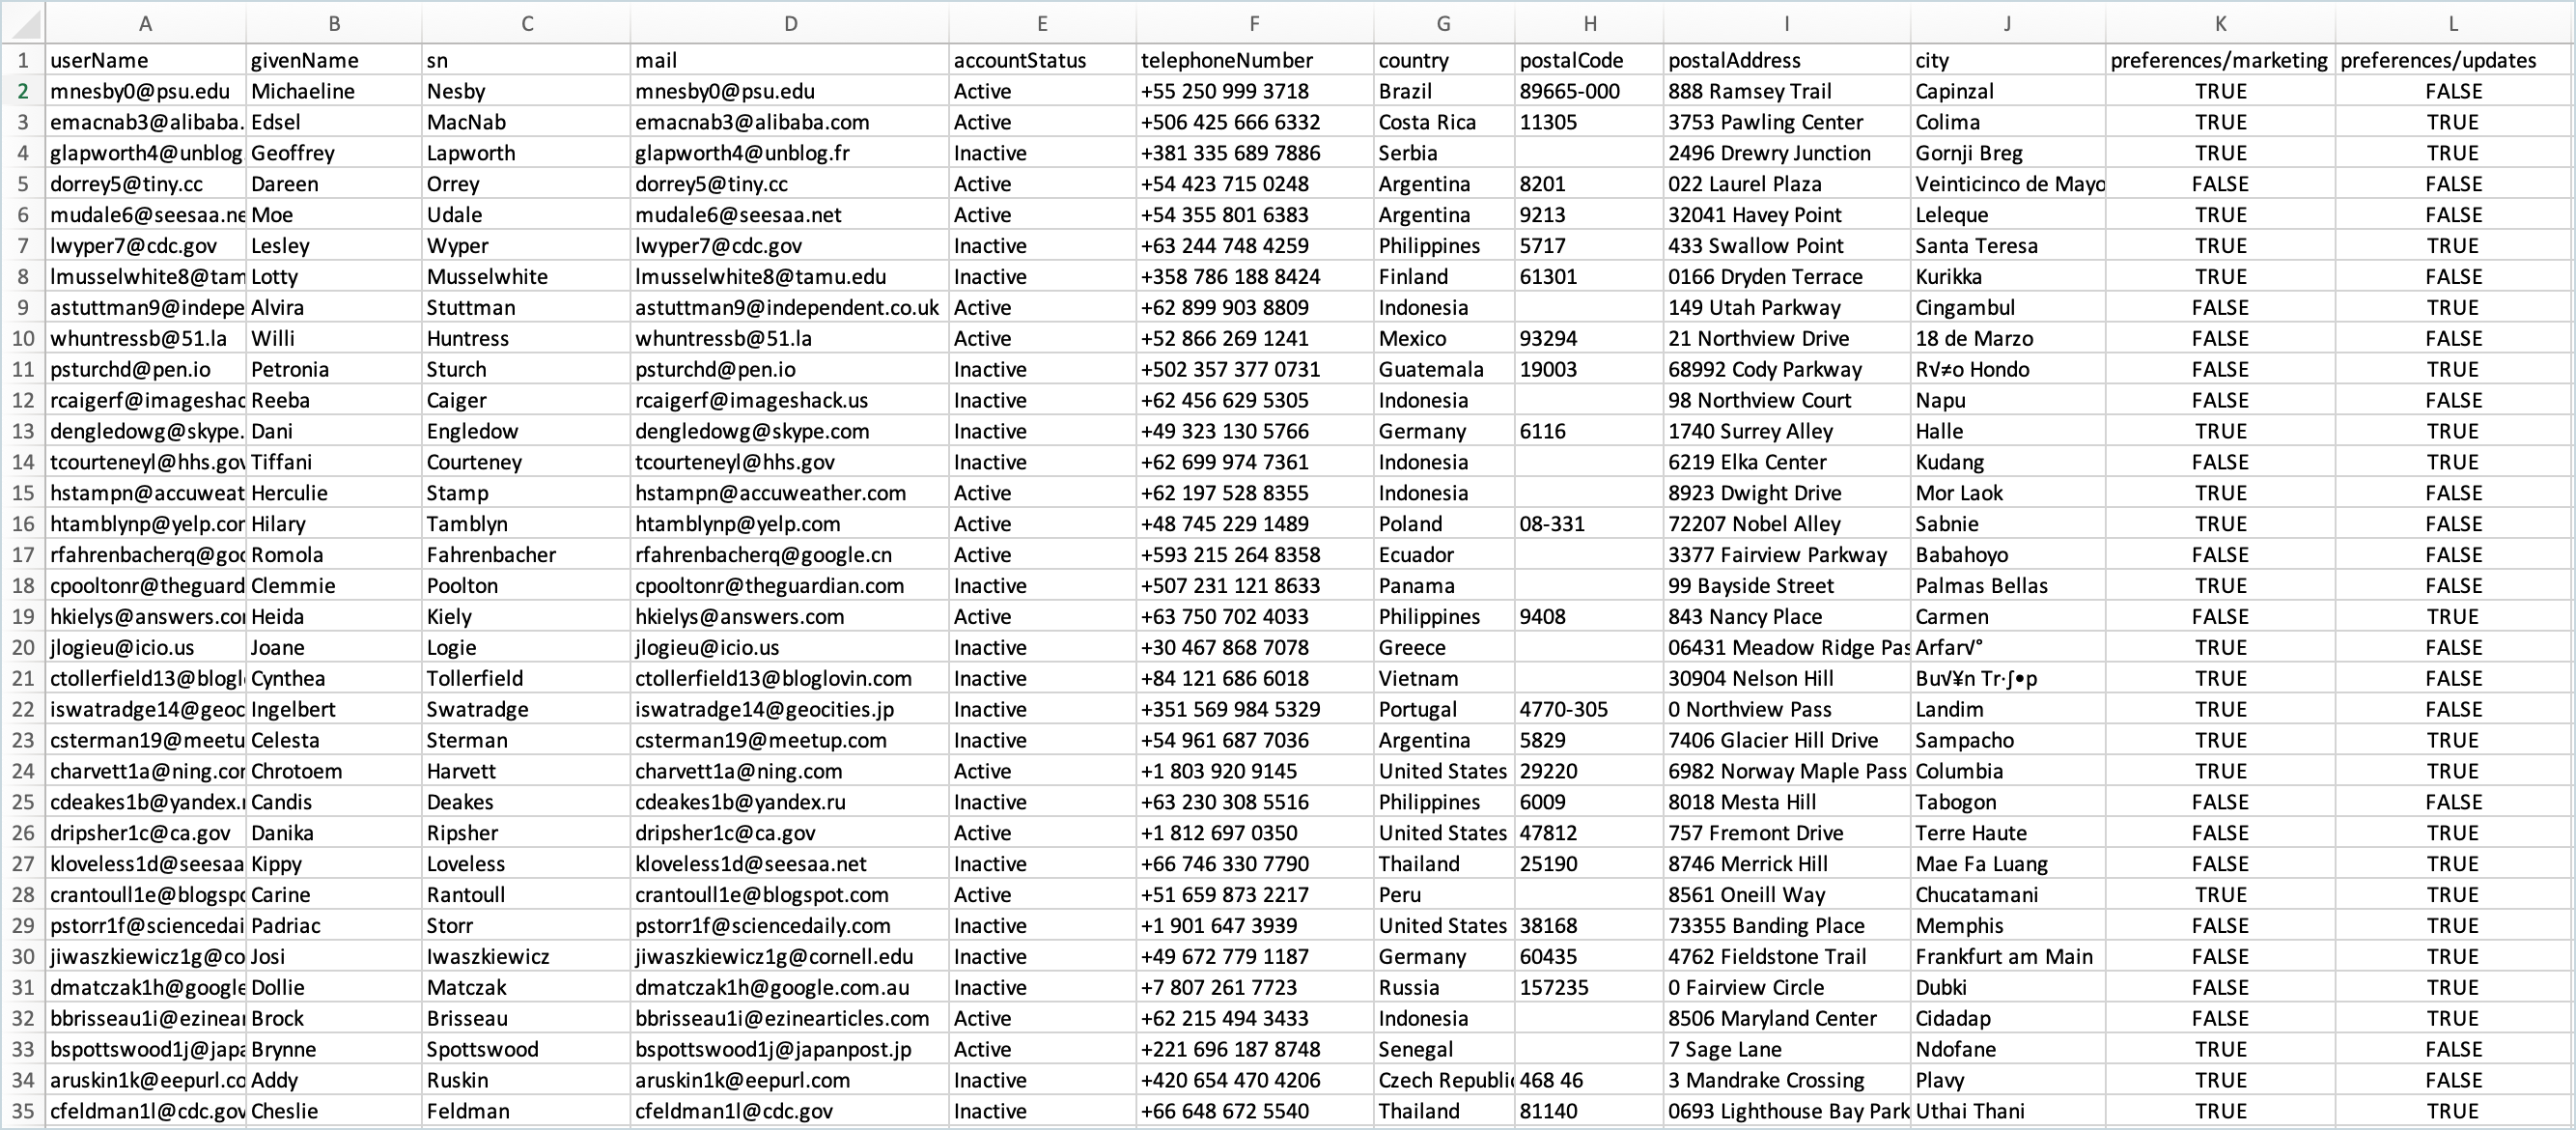
Note that there are separate columns for “preferences/marketing” and
“preferences/updates”, which are set using true and false values.
These values determine, per record, whether or not the associated
preference will be enabled during the bulk import.
NOTE: Imported accounts will require self-service password reset or pass-through authentication.
Bulk import identities from the CSV file
-
Sign in to the Identity Cloud admin UI using your admin tenant URL, in the format
https://<tenant-name>/am/XUI/?realm=/#/. -
Go to Identities > Import.
-
Click New Import.
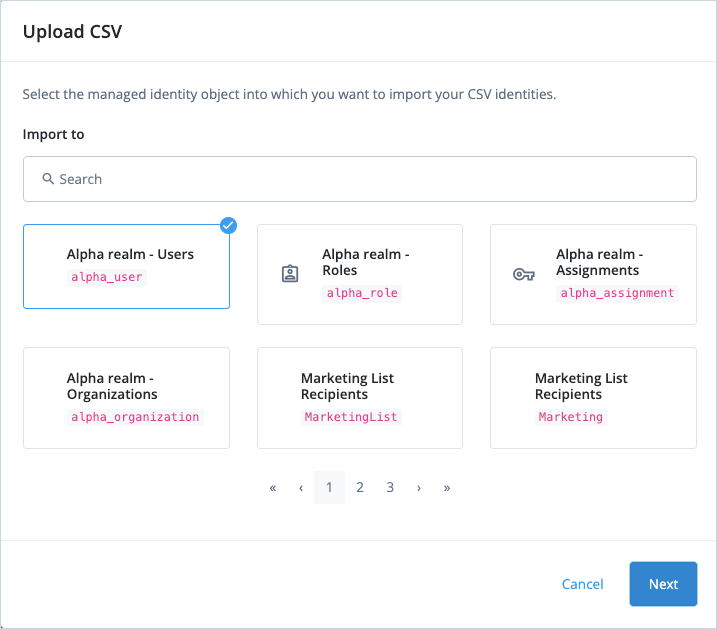
-
Select Alpha realm – Users and click Next.
-
Enter the name of the CSV file to upload, and choose a property Identity Cloud will use to match an entry in the CSV file to an identity profile. In this case, we’re using
UserName.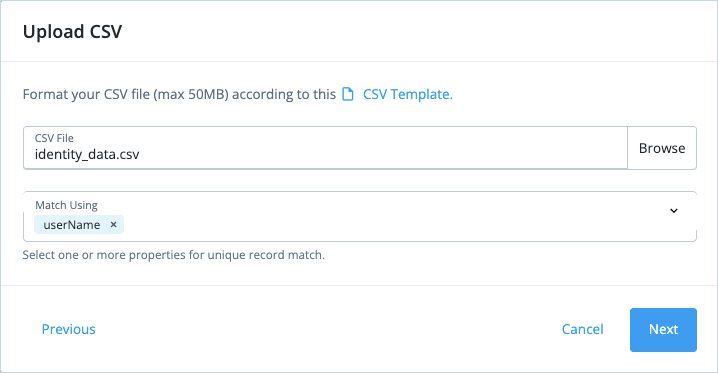
-
Click Next.
When the import is complete, Identity Cloud displays the number of new, updated, unchanged, and failed imports.
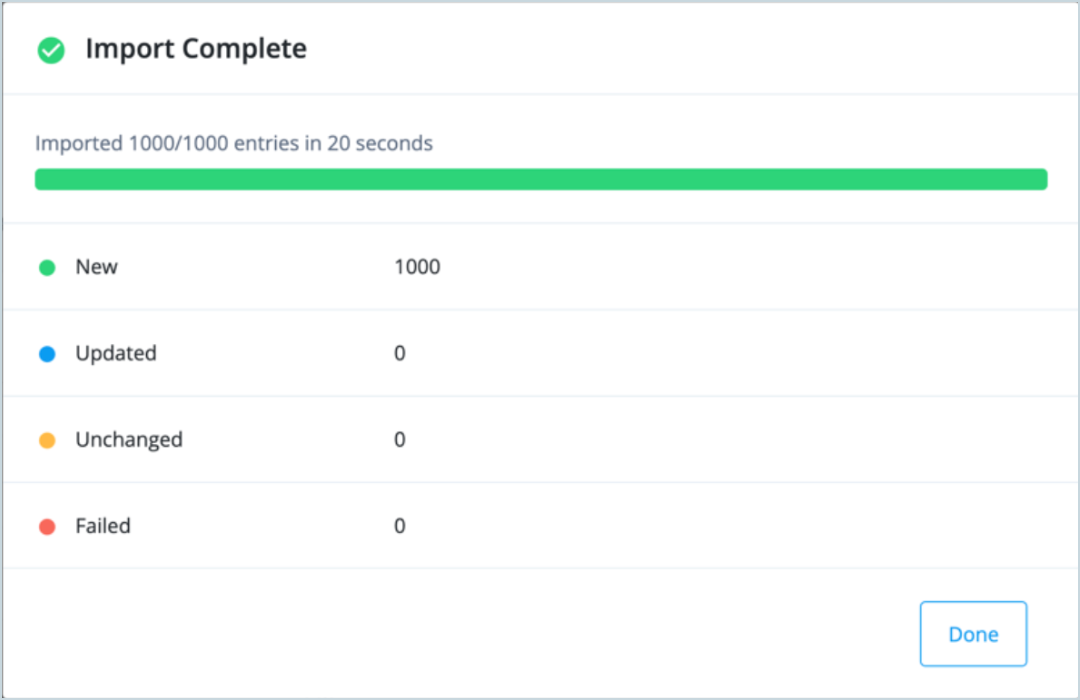
-
Click Done.
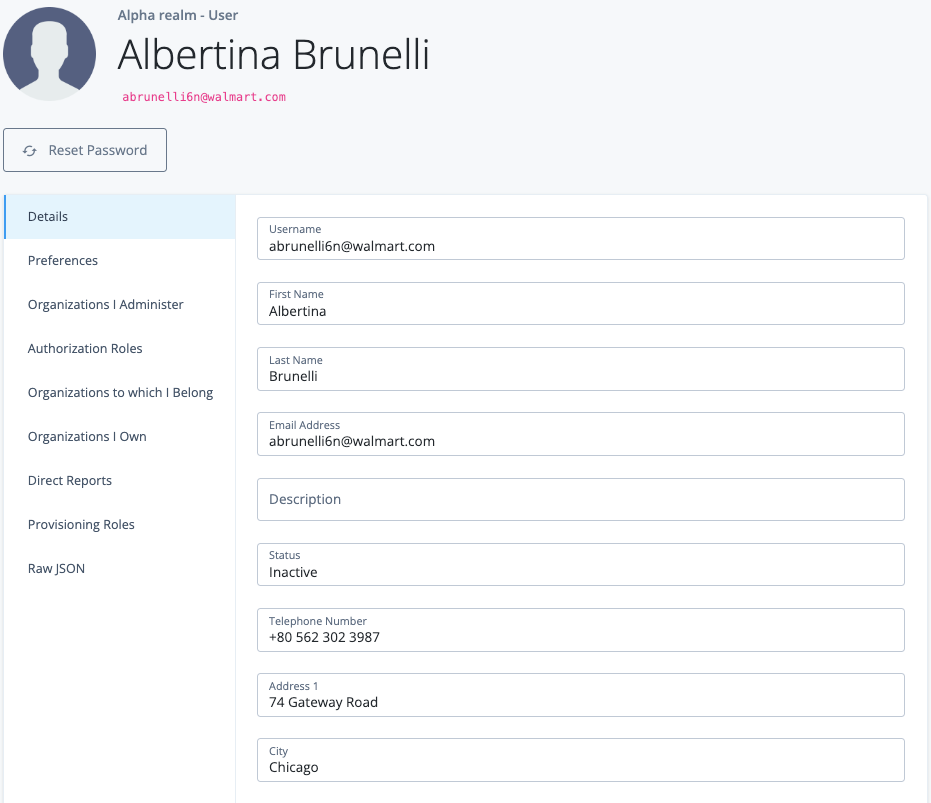
View the imported identities
-
In the Identity Cloud admin UI, go to Manage > Identities > Alpha realm - Users.
The newly imported identities appear in the list.
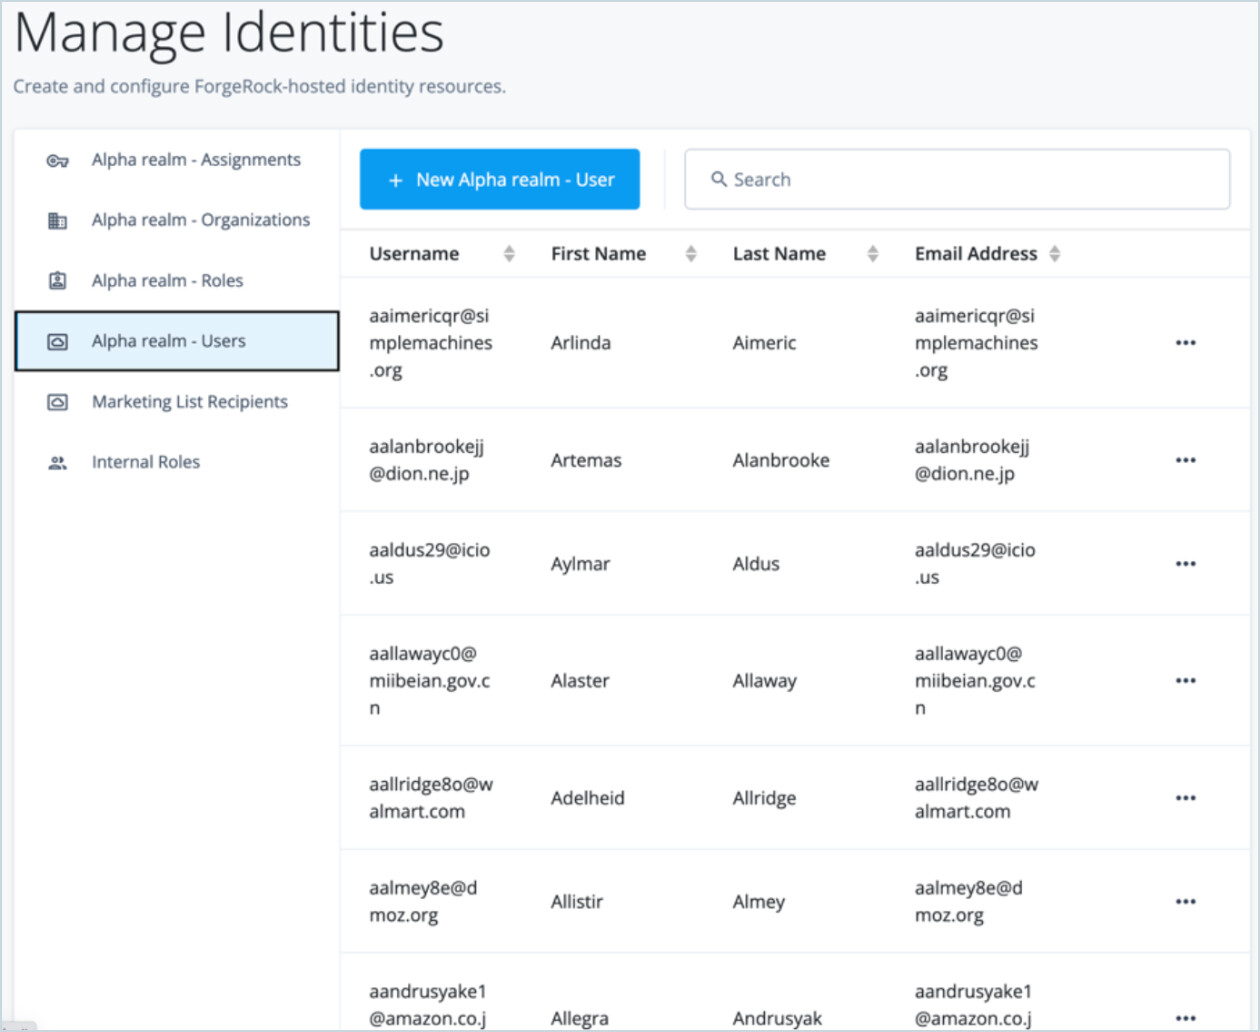
-
Click on a newly imported identity to view the details.